

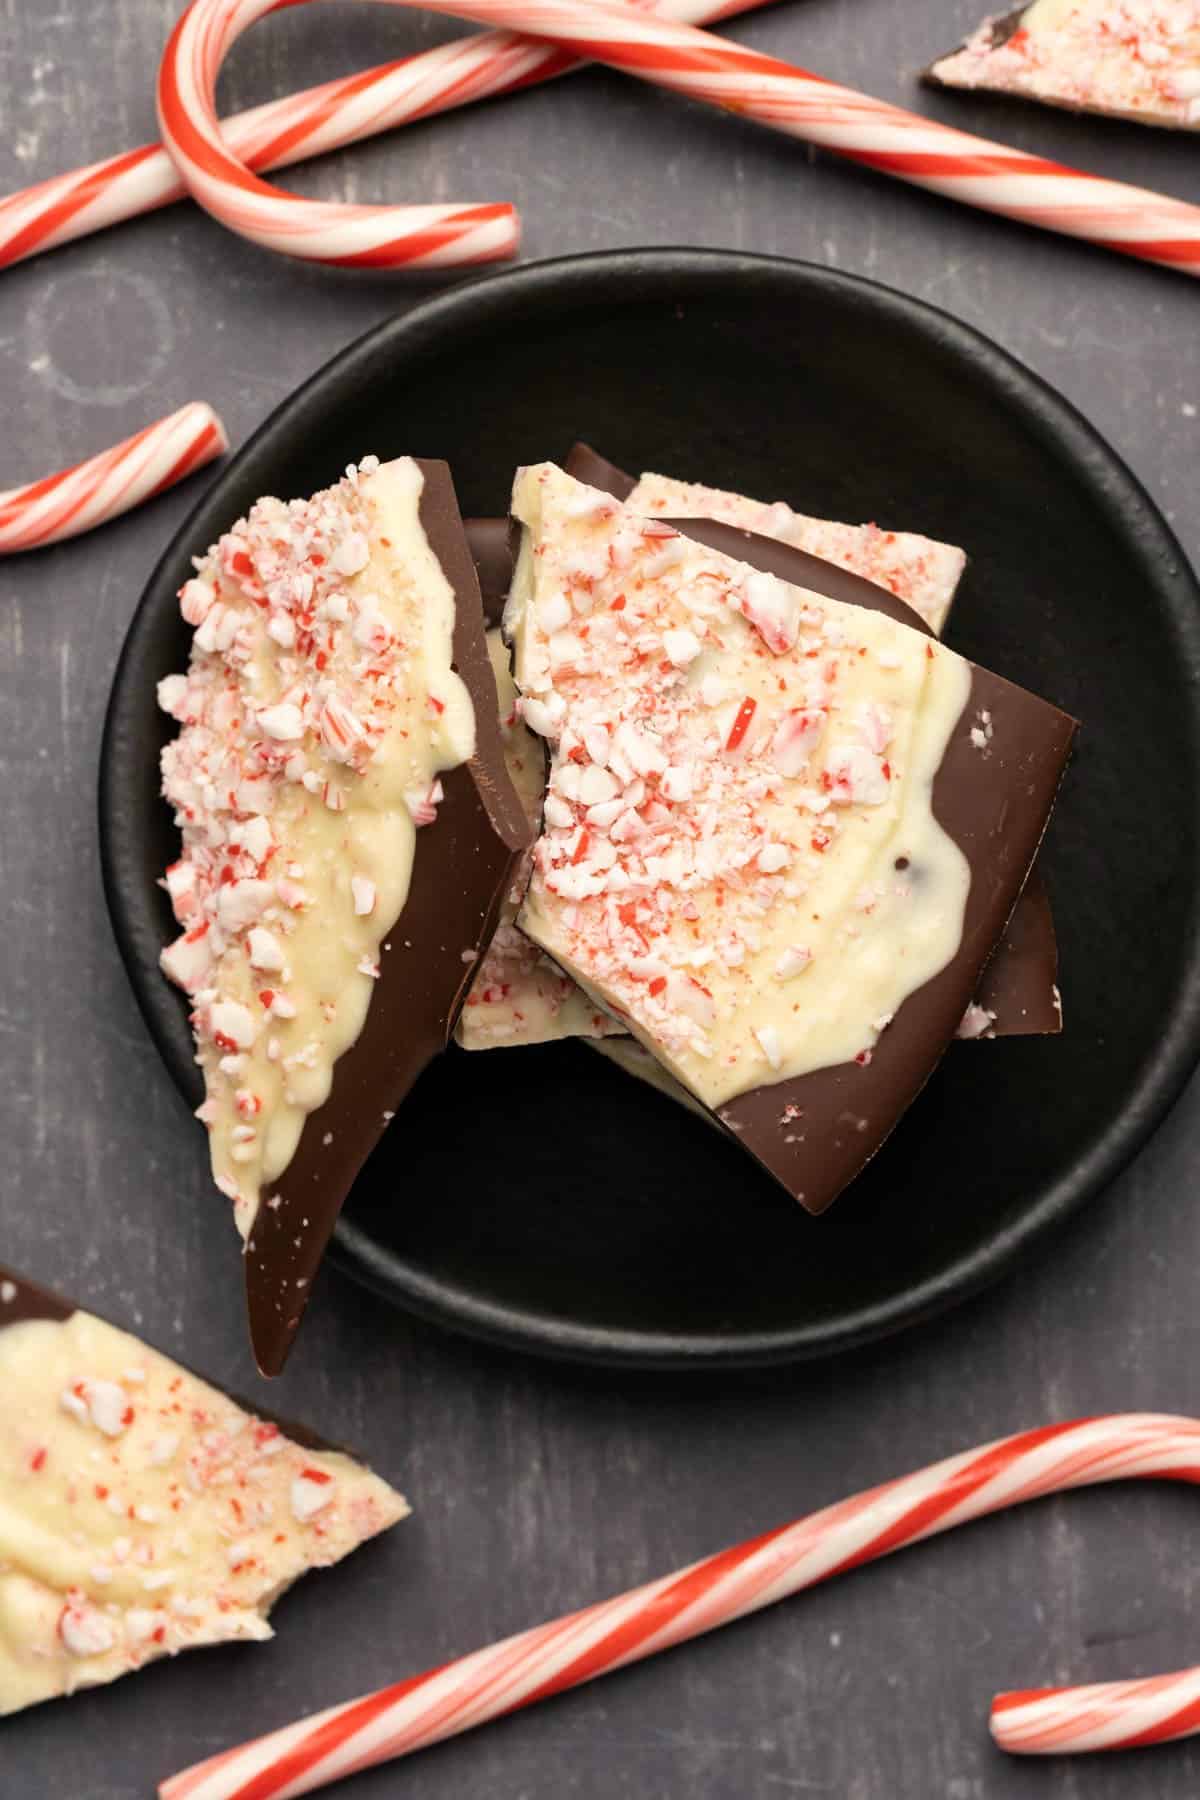
This homemade peppermint bark is so simple but seriously divine. A layer of dark chocolate topped with white chocolate and flavored with peppermint and plenty of crushed candy canes!

I absolutely love all things peppermint so this super easy recipe is always a favorite. It’s festive and fun and will get you in the Christmas spirit in no time!
And if you love peppermint check out our peppermint patties, peppermint cookies and peppermint ice cream.
Also, check out our chocolate chip cookies, double chocolate cookies and peanut butter cookies if you’re looking for Christmas cookies.

How To Make Peppermint Bark
Full instructions and measurements can always be found in the recipe card at the bottom of the post. This is a summary of the process to go along with the process photos.
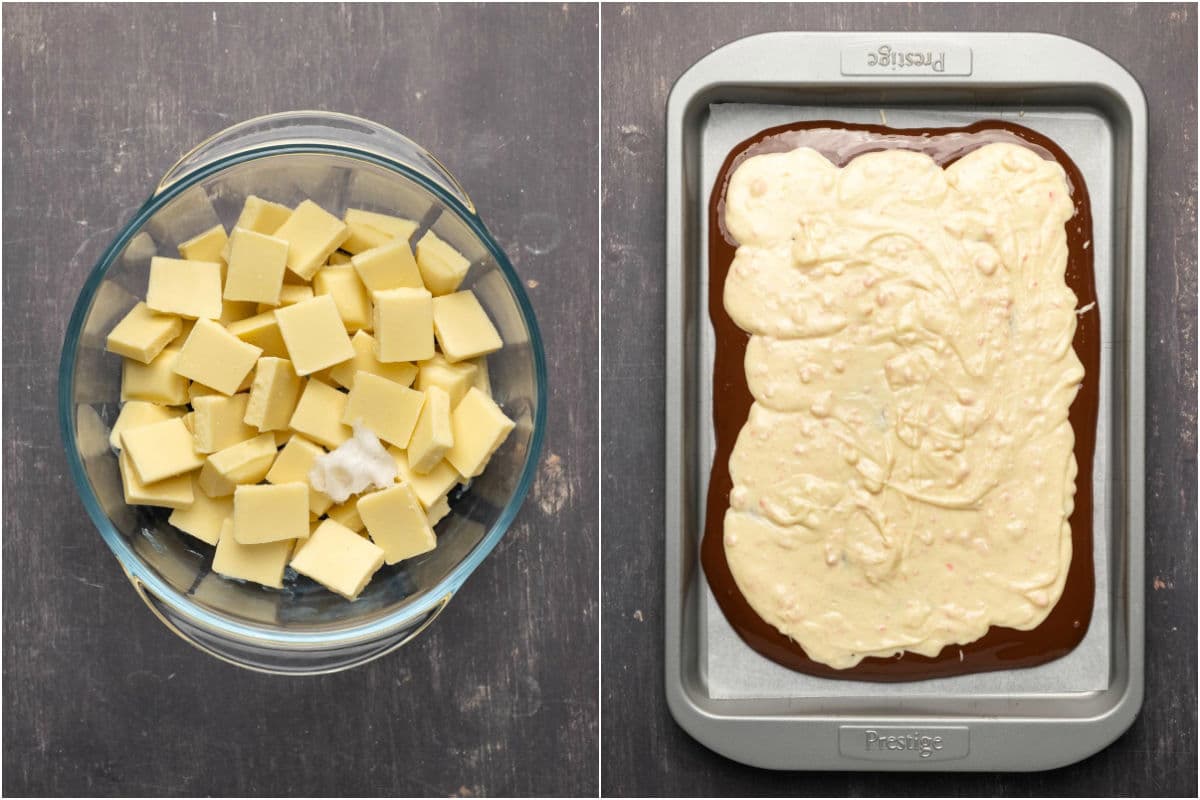
It’s really easy! Melt dark chocolate and coconut oil by microwaving it in 30-second intervals and bringing it out to stir every 30-seconds. When it’s melted stir in peppermint extract and then pour out onto a parchment lined baking sheet and smooth down.

Then melt white chocolate along with a little coconut oil, also in 30-second intervals in the microwave bringing it out to stir every 30-seconds until melted. Stir in peppermint extract and fold in crushed candy canes.
Gently spread the white chocolate out over the dark chocolate and use the back of a spoon to smooth it out as best you can.
Top with some more crushed candy canes and then place it into the fridge to set.

When it’s set, break it apart. My favorite way to do this is just to place the tip of a knife onto the top of the peppermint bark and press down and it breaks apart nicely.

Ingredient Notes
The coconut oil is crucial to thin the chocolate out a little and make it easier to handle. I found when I tested a batch without coconut oil that once I added in the peppermint extract the chocolate became very thick and hard to spread. So a little coconut oil solves that issue.
Use high quality chocolate rather than chocolate chips. Chocolate chips contain stabilizers which means that they may not set that well and may not be really smooth. So it’s ideal to use a high quality chocolate brand, something like Lindt. For the white chocolate, look for white chocolate that contains cocoa butter as that works the best.
Success Tips
Don’t let the dark chocolate layer set before you add the white chocolate. This is crucial. If the dark chocolate layer has already set along the sides when you add the white chocolate, then it will not set together and you’ll end up with layers that just separate.
The dark chocolate should still be wet when you add the white chocolate. It’s ideal if it’s just started to set but is still wet on top when you add the white chocolate layer.
Spread the layers carefully. If you add the white chocolate layer too early then you may get a little bit of a swirl thing going on, but as long as you’re careful when spreading the white chocolate out and do it really gently, this is still fine and it’s preferable to do it too early rather than too late.

Storing Instructions
Keep your peppermint bark in the fridge where it will stay good for up to 3 weeks. It is most ideal in the fridge, though it can also be stored at (fairly cool) room temperature for up to 2 weeks.
If it’s at room temperature then it can tend to get a little soft so it’s more ideal in the fridge.

Did you make this recipe? Be sure to leave a comment and rating below.

Peppermint Bark
Ingredients
For the Dark Chocolate Layer
- 12 ounces Dark Chocolate (340g)
- 1 teaspoon Coconut Oil
- ½ teaspoon Peppermint Extract
For the White Chocolate Layer
- 12 ounces White Chocolate (340g)
- 2 teaspoons Coconut Oil
- ½ teaspoon Peppermint Extract
- 6 Candy Canes Crushed
For the Topping
- 6 Candy Canes Crushed
Instructions
- Break up the dark chocolate and place it into a microwave safe bowl along with the coconut oil and microwave in 30-second intervals, bringing it out to stir every 30-seconds until melted. Then add in the peppermint extract and stir in. Pour the chocolate out over a parchment lined baking tray and spread out evenly. Leave it to start to set* (see notes).
- Break up the white chocolate and place it into a microwave safe bowl along with the coconut oil. Microwave in 30-second intervals bringing it out to stir every 30-seconds until melted. Stir in the peppermint extract and then fold in the crushed candy canes. Gently spread this over the layer of dark chocolate and use the back of a spoon to smooth it out.
- Add remaining crushed candy canes to the top of the white chocolate layer. Place into the fridge to set completely.
- When it's set, press the tip of a knife into the chocolate to break it up into about 16 pieces and enjoy!
Video
Notes
- The dark chocolate layer should be just starting to set but still wet on top when you add the white chocolate layer. If the dark chocolate has started to set on the top then the white layer won’t stick to it properly and the layers will break apart. Rather err on the side of too soon rather than too late. If the white chocolate layer goes on too soon, then the worst that will happen is a bit of swirl, but as long as you’re careful and very gentle in spreading the white chocolate on top, it should still be okay.
- Use good quality chocolate for both layers. Melting chocolate chips isn’t the best idea as the stabilizers in them can tend to make them grainy, or they may just not set properly. A brand like Lindt is a good one to use.
- For the white chocolate, if you can’t get something like Lindt, then just look for a white chocolate that has cocoa butter as one of the ingredients.
- This will keep for up to 3 weeks in the fridge or 2 weeks at a cool room temperature. It will tend to get soft at room temperature so it’s preferable to keep it in the fridge.
So easy and so damn tasty! I am addicted to it. Every time I walk past the fridge I want another piece, haha. This could be dangerous!
It’s VERY addictive, I know this too well! Haha, thanks so much for the awesome rating. xo