
This eggless red velvet cake is rich and moist and so easy to make! You’ll never miss the eggs. Top it with a fabulous cream cheese frosting.
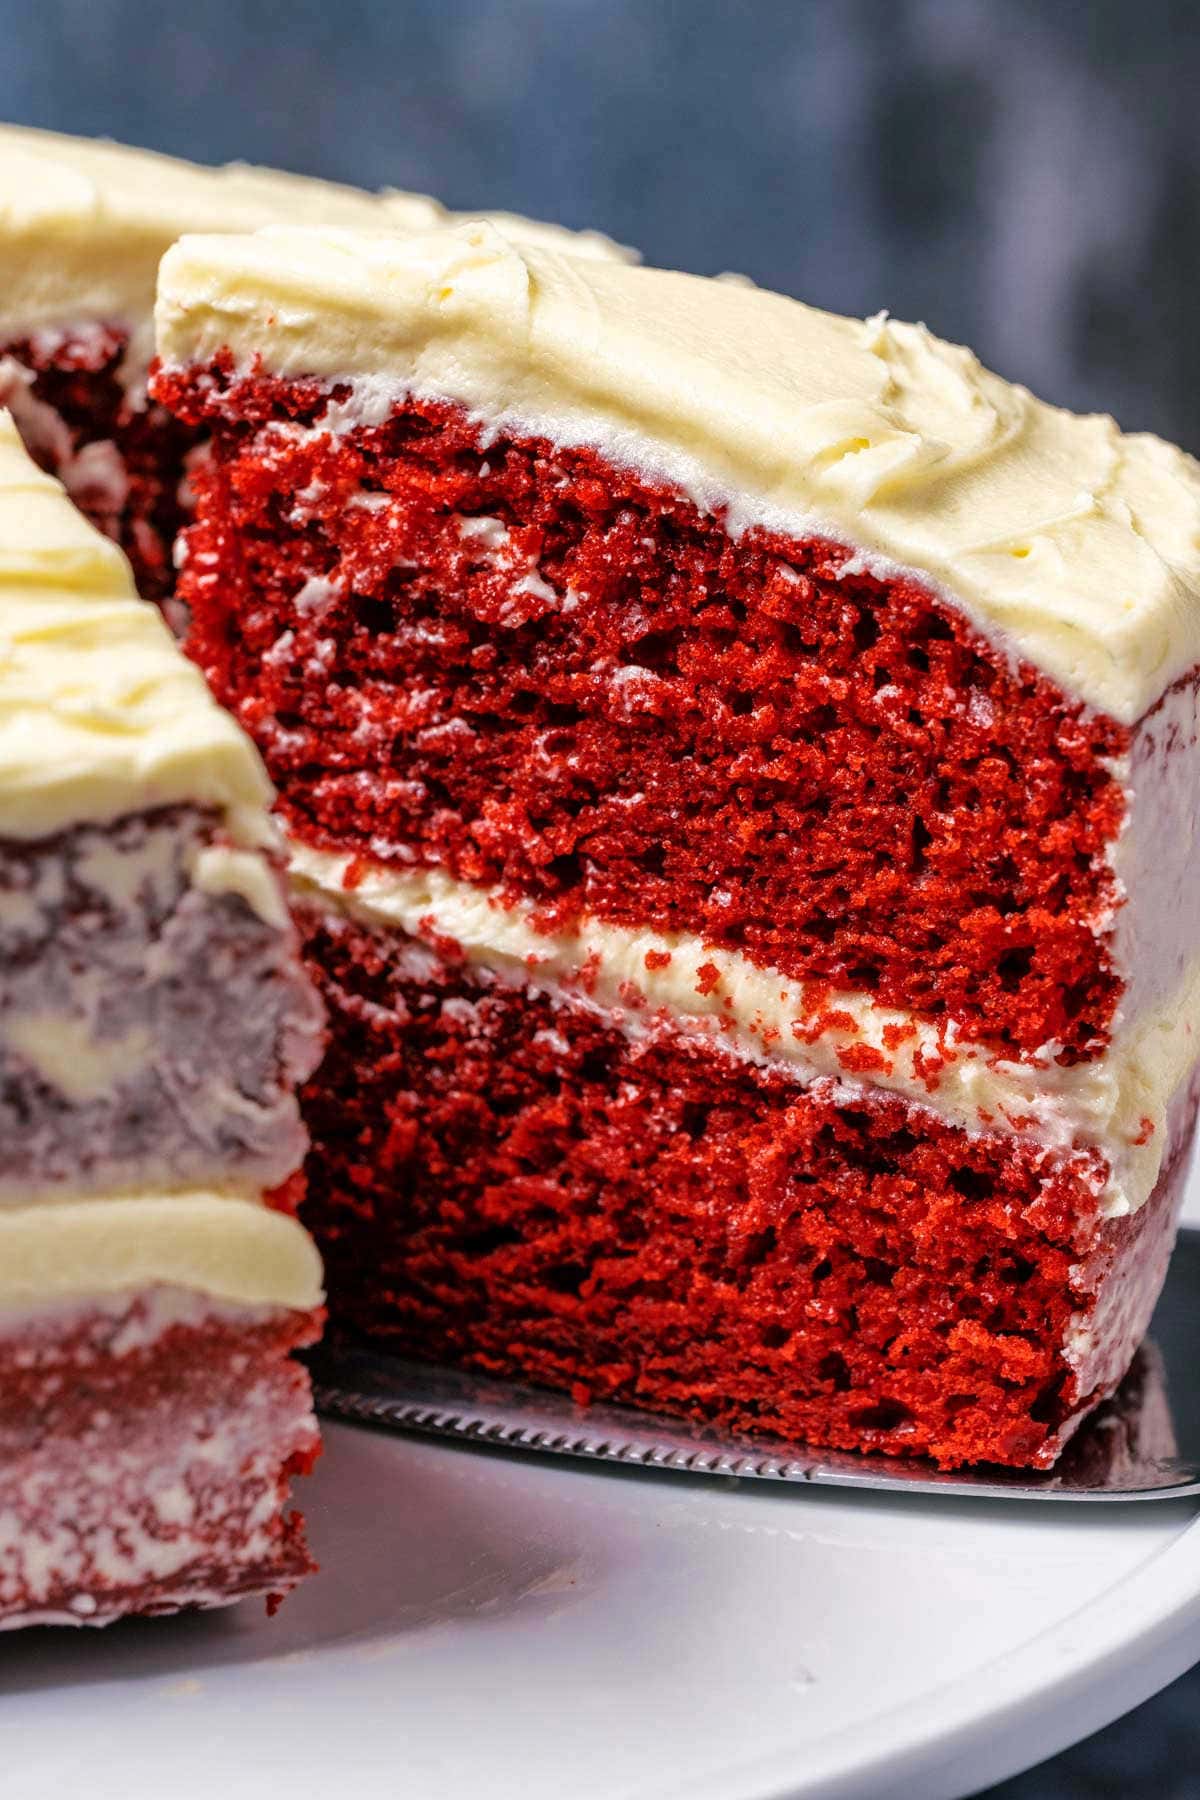
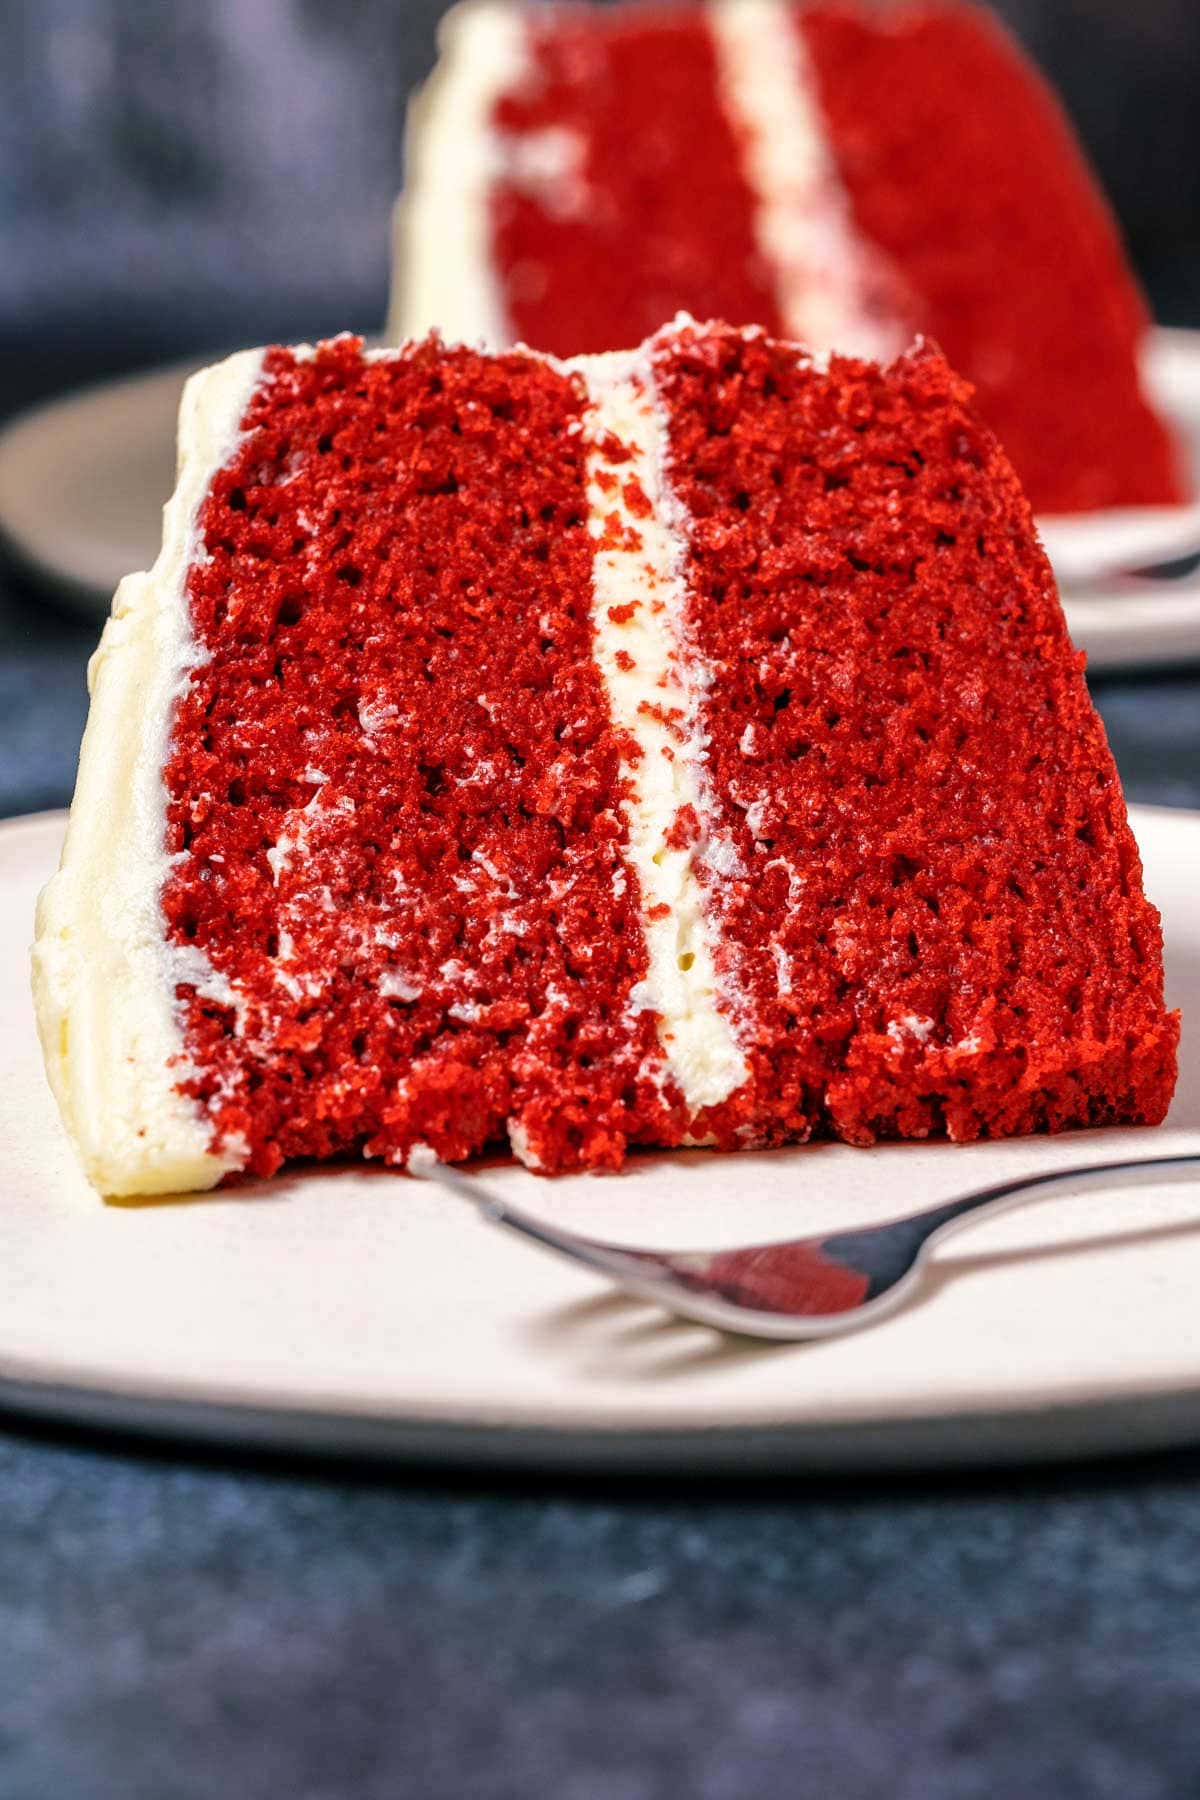
This eggless red velvet cake is so good no one would guess it’s eggless. It’s as light and fluffy and moist as a red velvet cake should be.
The recipe is based on our regular red velvet cake recipe (made with eggs) and with a few small changes the recipe becomes eggless without losing anything in terms of flavor or texture.
If you’re baking without eggs (for whatever reason) then you’ll also love our eggless carrot cake and eggless lemon cake.
Ingredients You’ll Need:
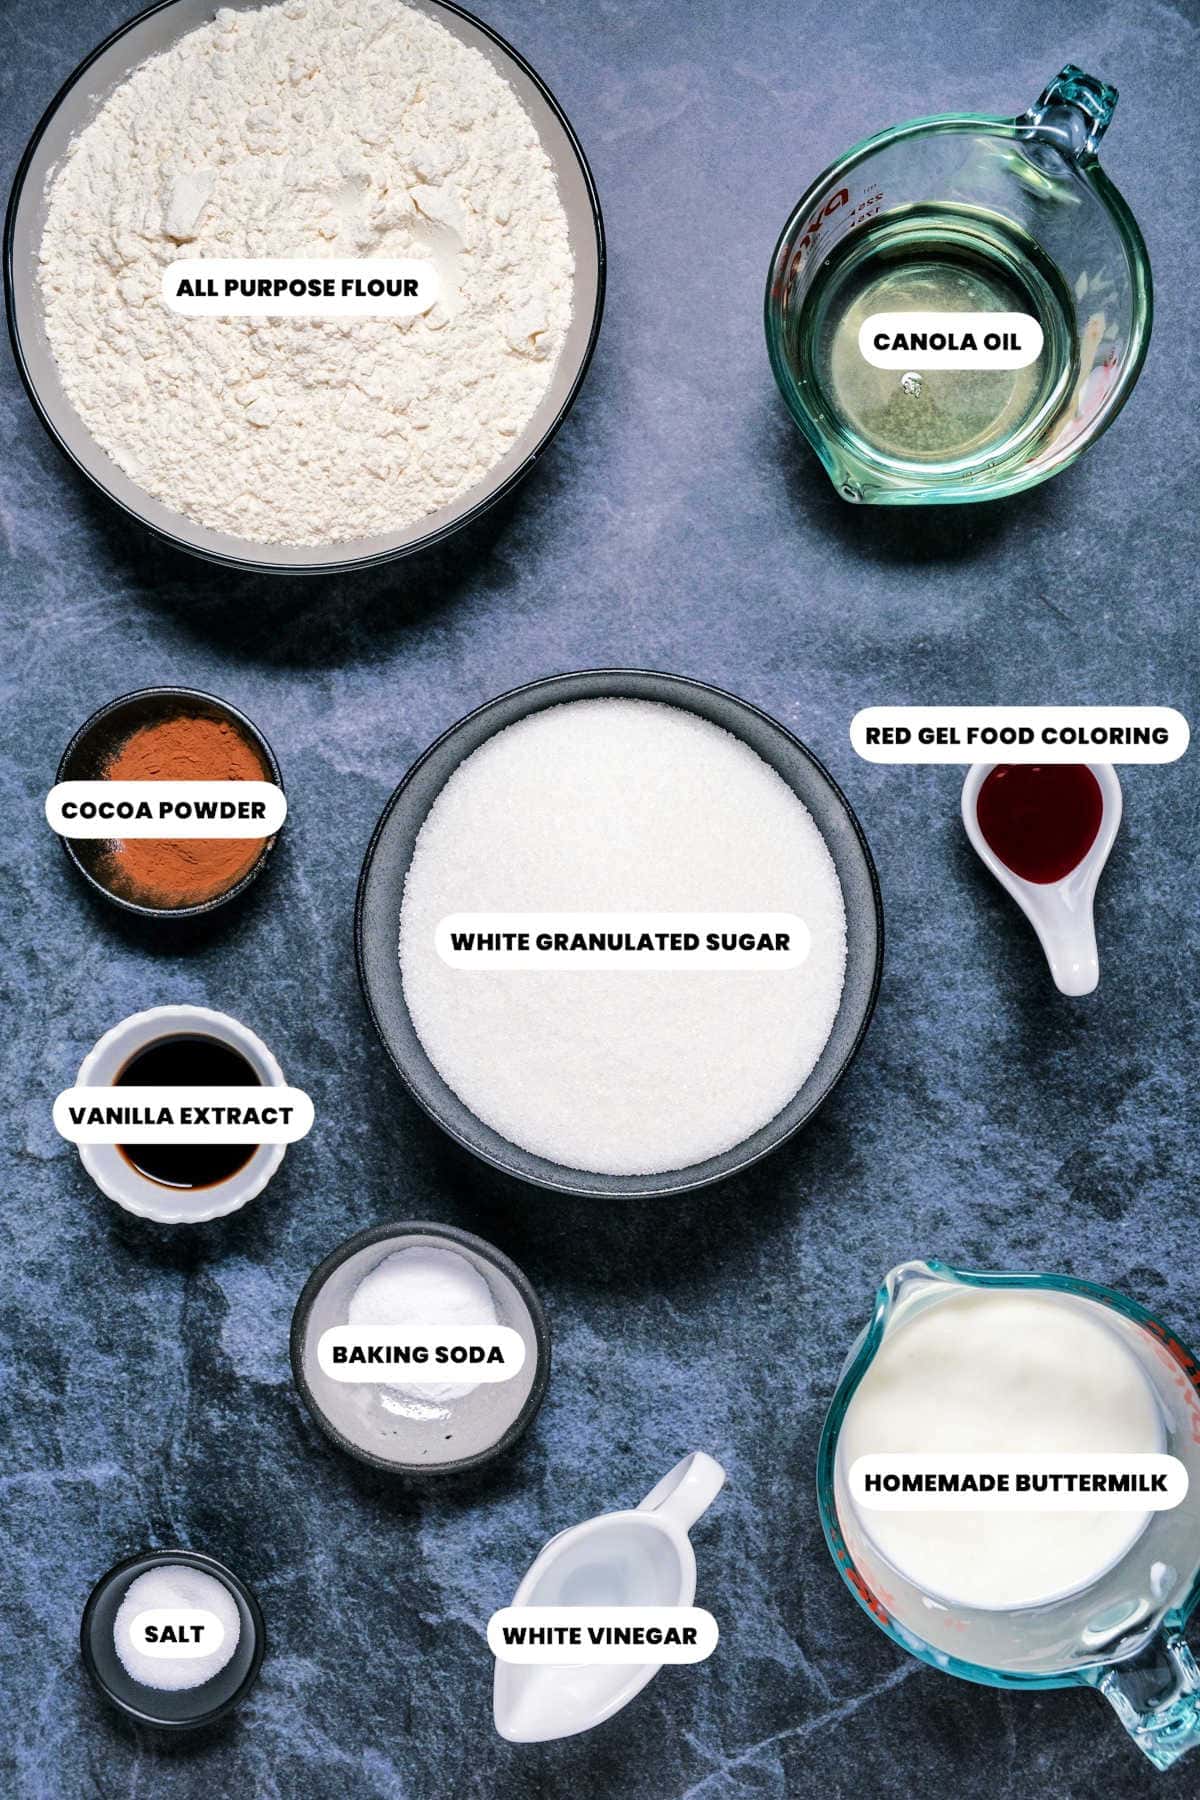
Ingredient Notes
- Canola oil – can be replaced with any vegetable oil that you have on hand.
- Red gel food coloring – works best for color as you can use a relatively small amount and the color holds fantastically. Our favorite brand is Americolor.
- White vinegar – distilled white vinegar reacts with the baking soda (as does the acidity from the buttermilk) and causes the cake to rise. It also strengthens the color.
- Homemade buttermilk – you can use real buttermilk or make your own homemade buttermilk. We tested this recipe with both options and they both work great. The benefit of the homemade version is that you likely have everything you need on hand (lemon juice and milk) and don’t need to make a trip to the store.
How To Make Eggless Red Velvet Cake
Full instructions and measurements can always be found in the recipe card at the bottom of the post. This is a summary of the process to go along with the process photos.
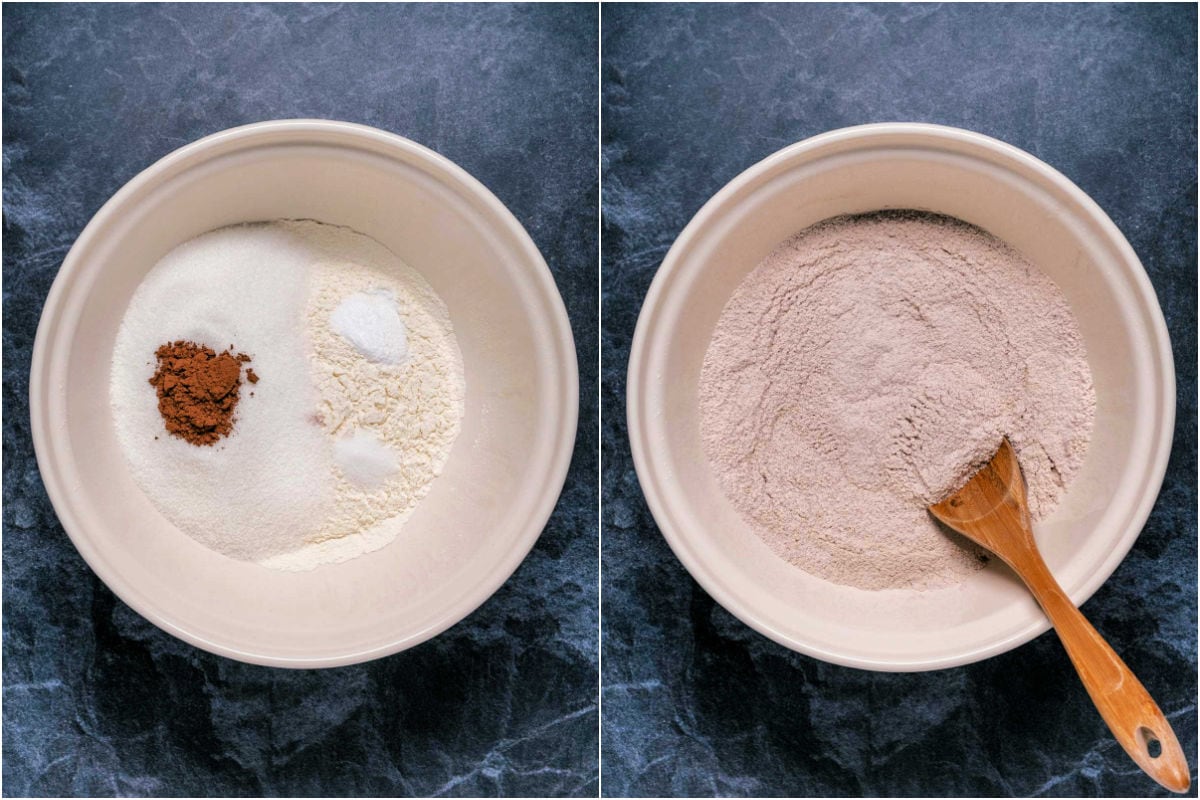
- Sift all purpose flour into a mixing bowl and add white granulated sugar, baking soda, salt and cocoa powder. Mix together.
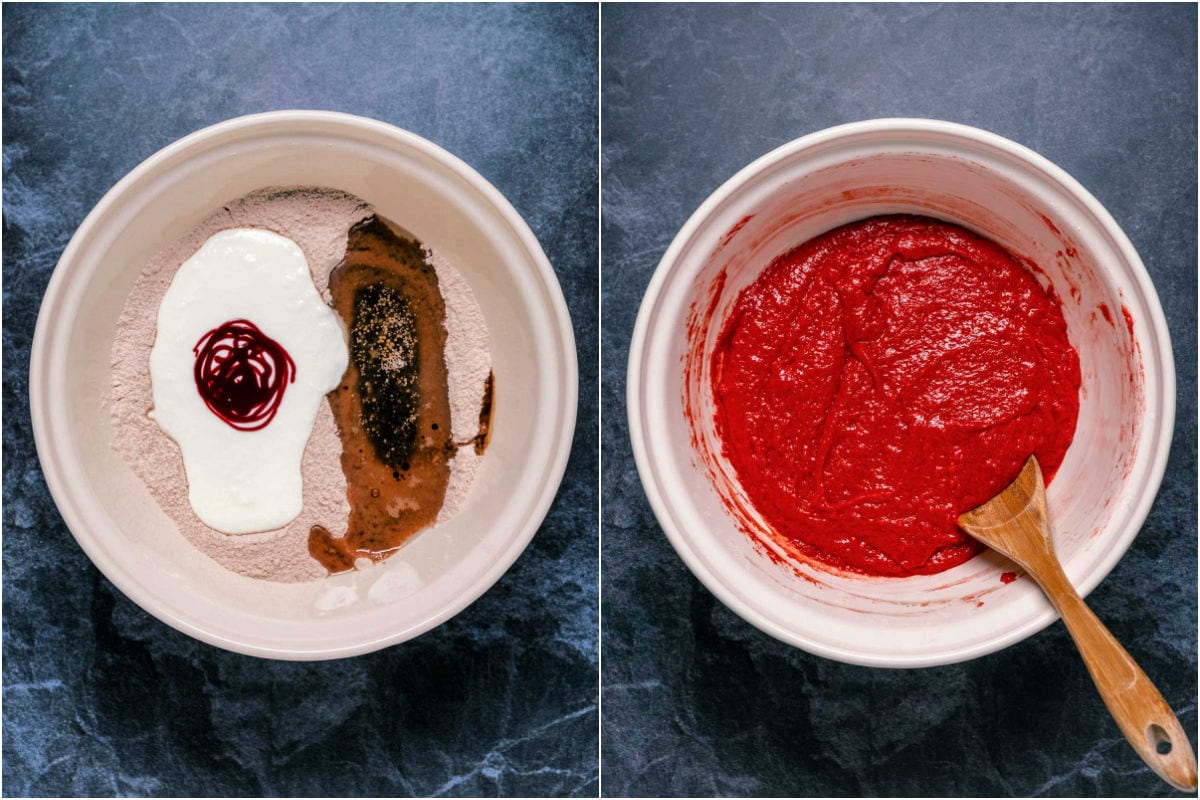
- Add buttermilk, vanilla extract, oil, vinegar and red gel food coloring and mix into a thick batter. Don’t overmix.
- Divide the batter evenly between two 8-inch cake pans (sprayed with non-stick spray and lined with parchment paper on the bottom) and smooth down.
- Bake at 350°F for 30 minutes or until a toothpick inserted into the center of one of the cakes comes out clean.
- Let the cakes cool in the pans for a few minutes before removing them from the pans and transferring to a wire cooling rack to cool completely.

The Frosting
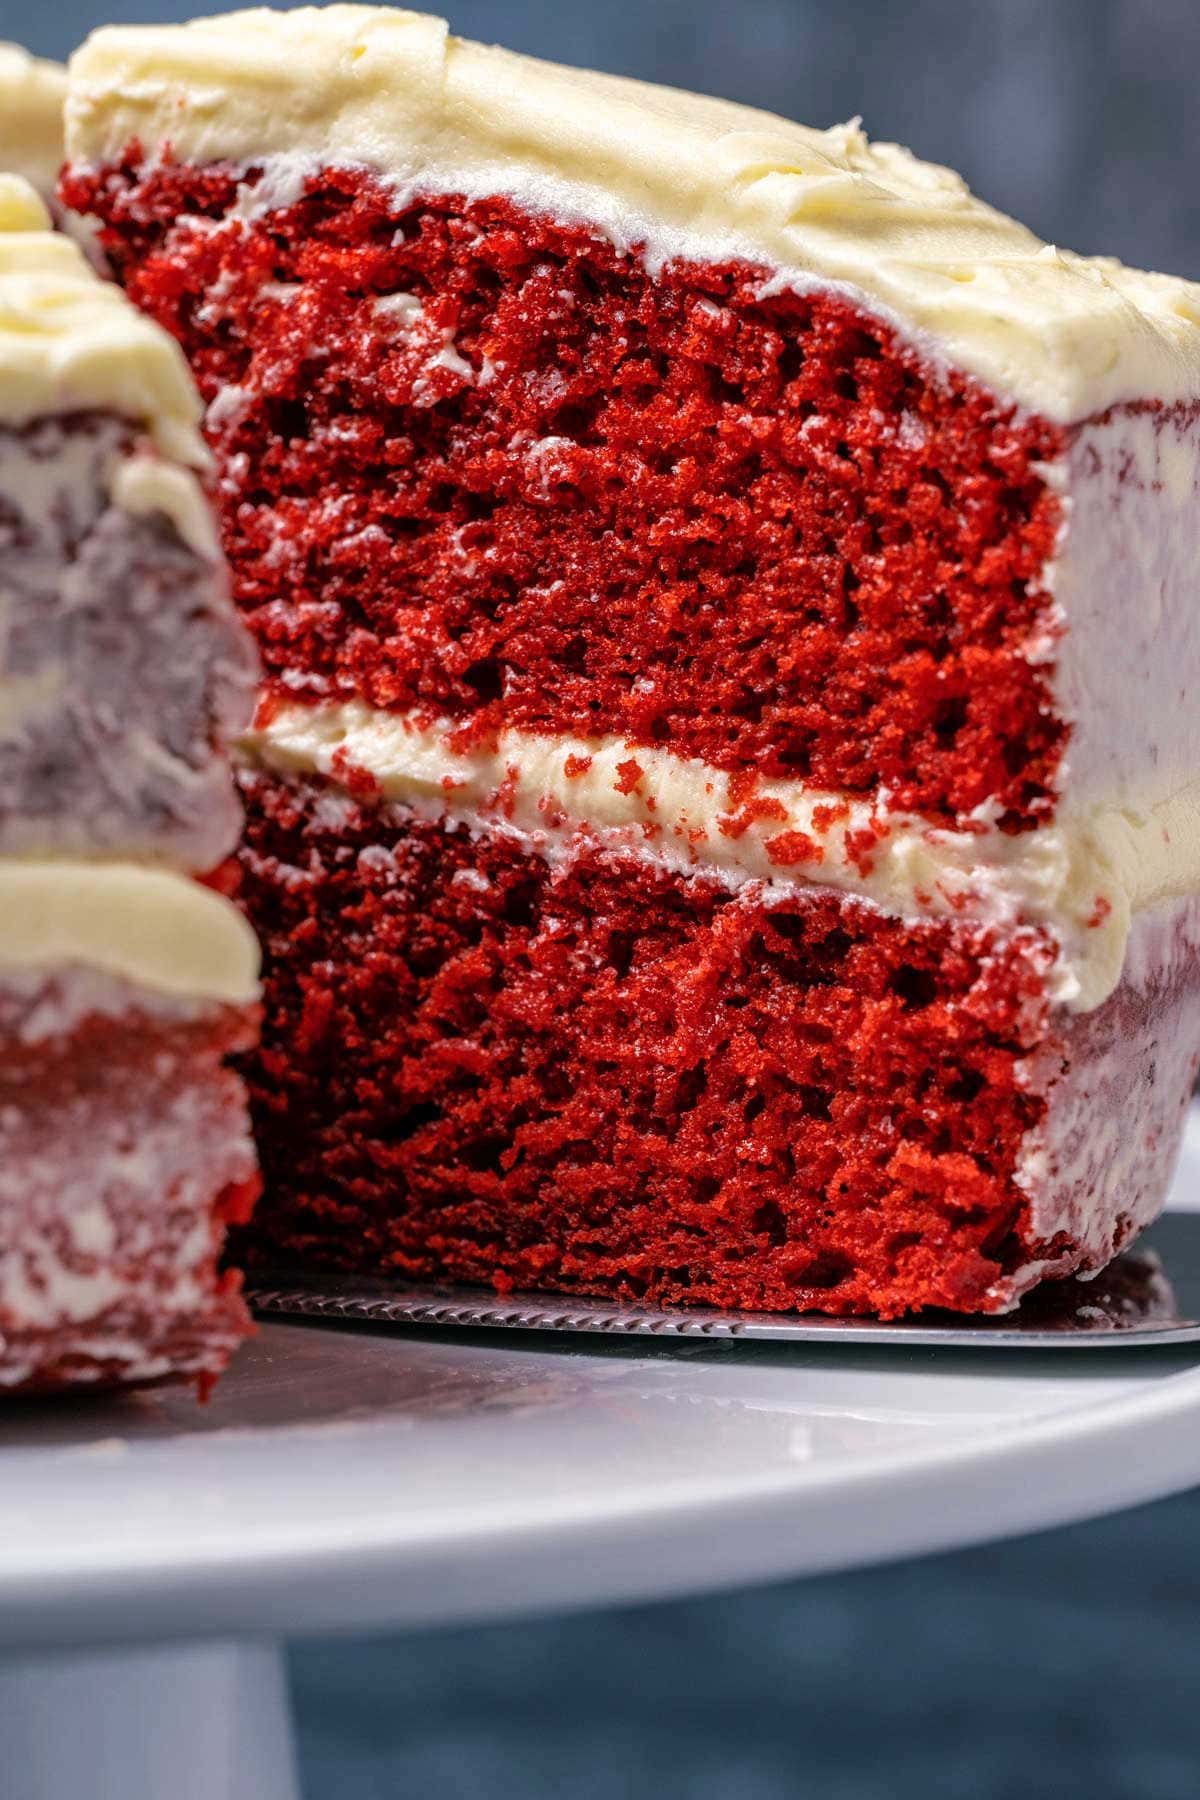
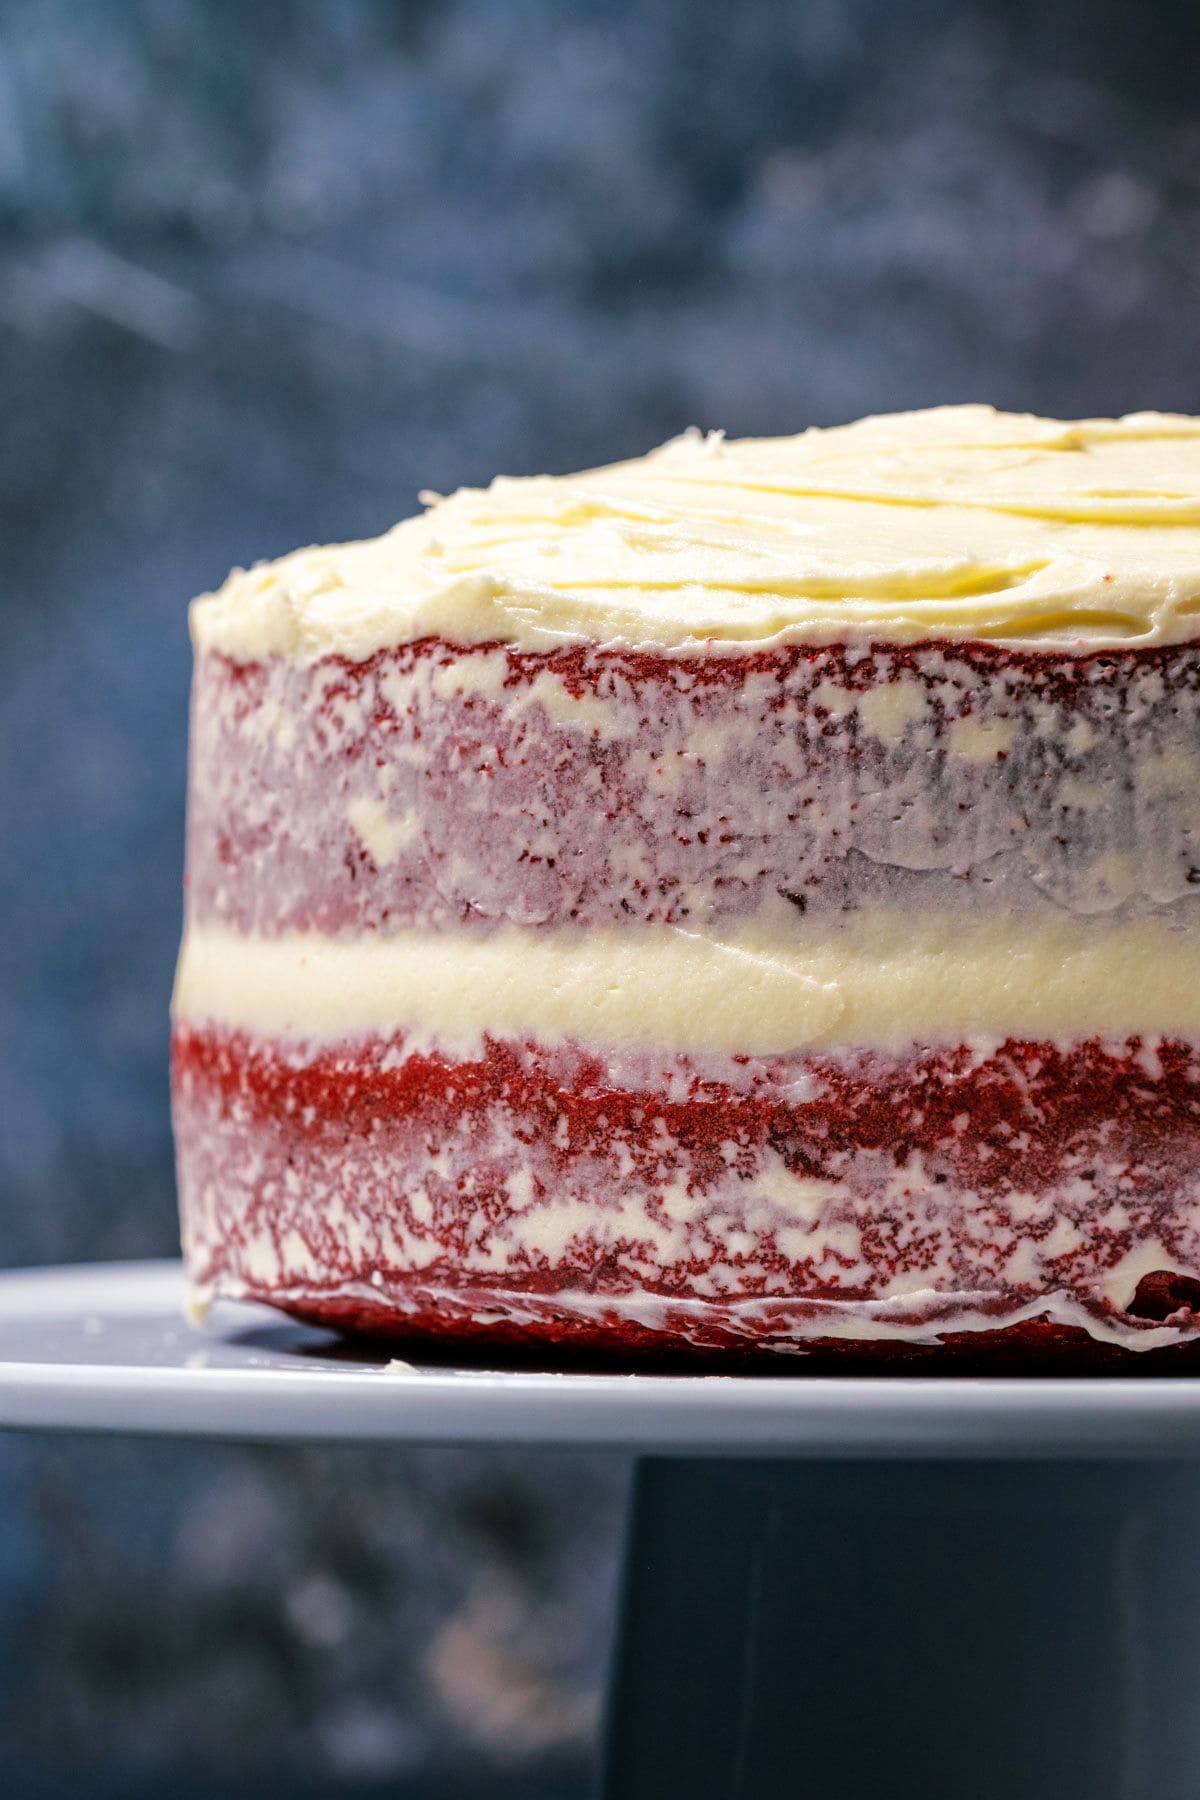
This cake is divine frosted with either our cream cheese frosting or our white chocolate cream cheese frosting.
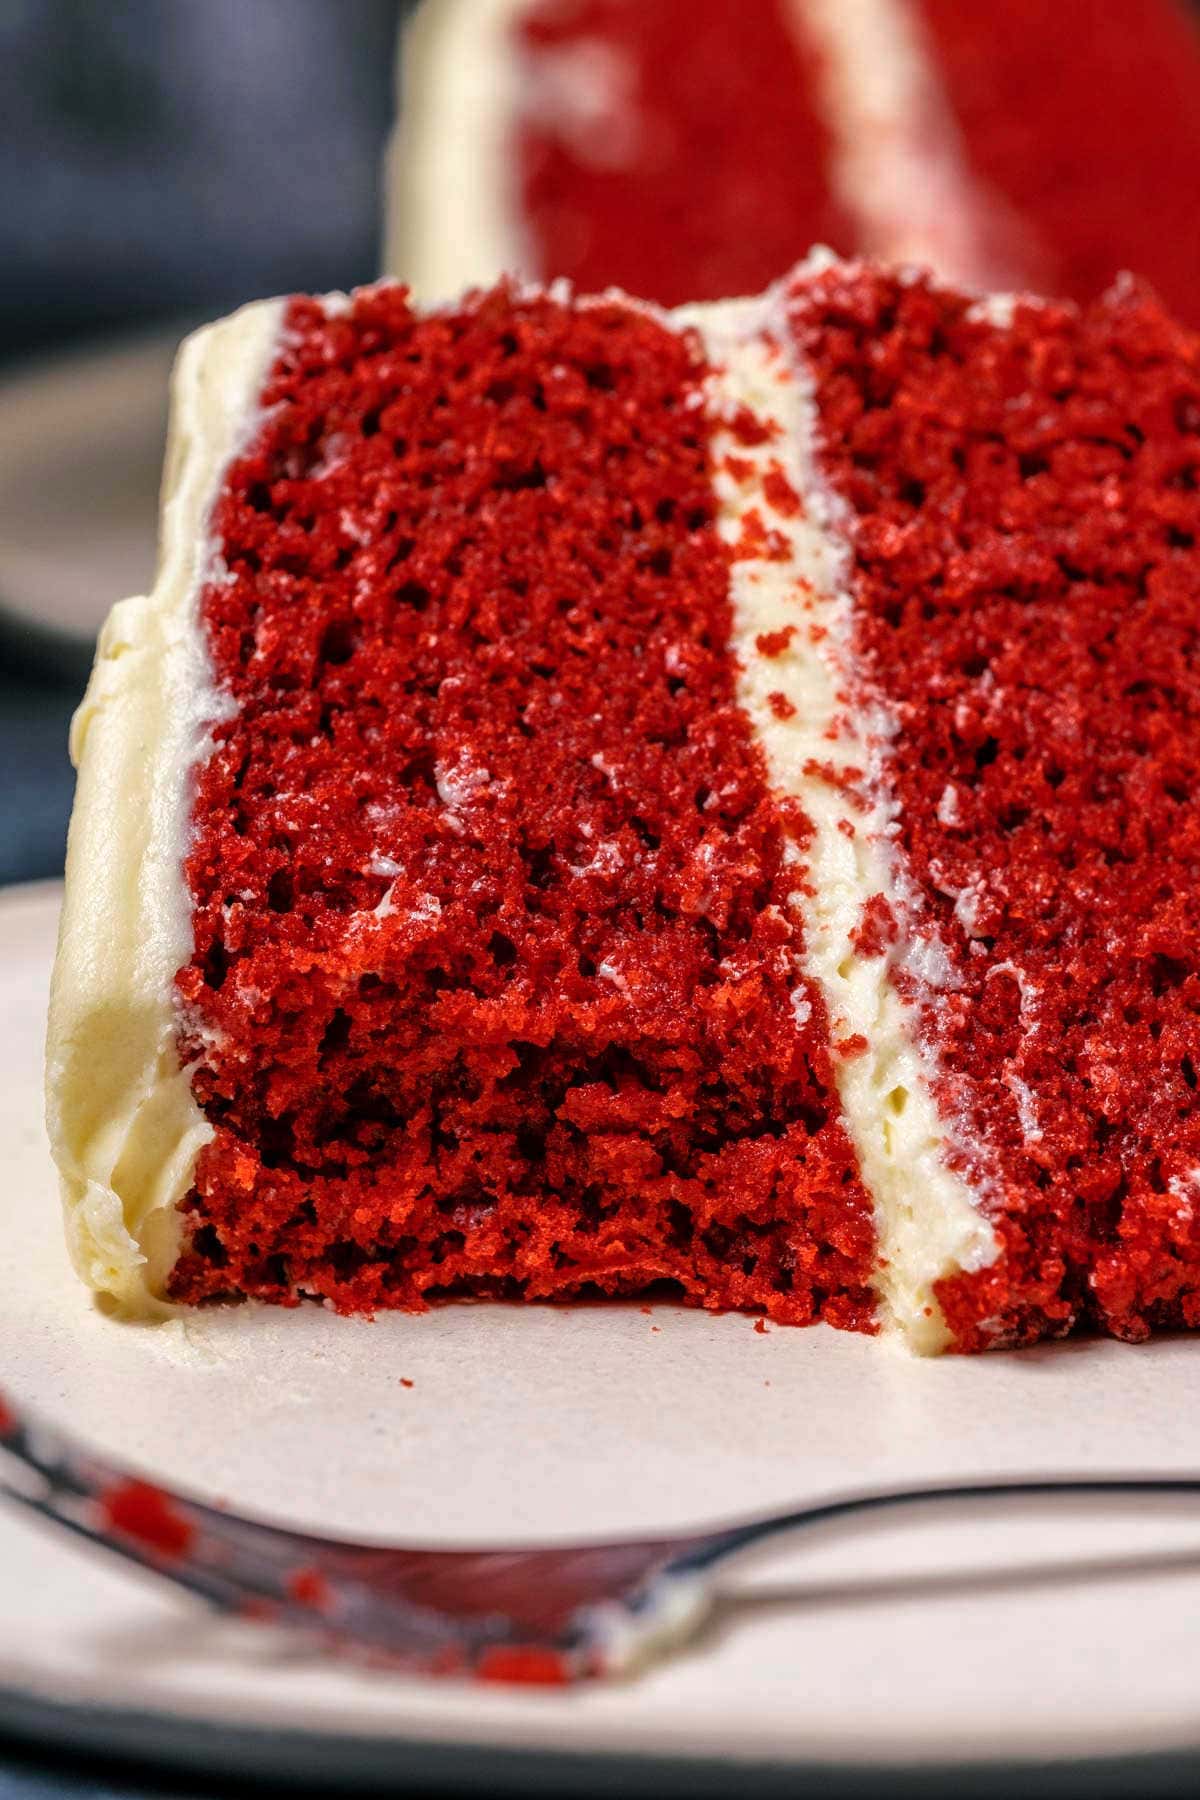
We decided to go naked on the sides so that the gorgeous red color would come through, but either of the above frosting recipes is enough to do fully frosted sides.
Recipe Tips
Spoon and level the flour. The correct way to measure flour if you’re using cups is to spoon and level. So spoon the flour into your measuring cup and then level off the top with a knife. Don’t scoop the flour and don’t pack it into your cup. Alternatively, if you have a food scale then weigh your flour out on your food scale as this is the most accurate way to measure.
Don’t over-mix the batter. Mix the batter until it’s just mixed and then stop mixing. If you over-mix the batter it can affect the cakes texture and rise.
Cake pans. You can use two 8-inch cake pans (as pictured) OR two 9-inch cake pans. If you’re using 9-inch cake pans the layers will be thinner and your bake time will be 25 minutes.
Recipe FAQ
This recipe will make 18-24 cupcakes. Bake for 20 minutes.
Store the cake covered in the fridge for up to 5 days. Bring to room temperature before serving. The reason to store it in the fridge is due to the cream cheese frosting, which is best stored in the fridge. If the weather is cool then the cake can remain covered at room temperature for up to 24 hours.
Yes, this cake is freezer friendly for up to 3 months.
More Eggless Cake Recipes
- Eggless Chocolate Cupcakes
- Eggless Carrot Cake
- Eggless Cheesecake
- Eggless Coffee Cake
- Eggless Lemon Cake
- Eggless Vanilla Cake
Did you make this recipe? Be sure to leave a comment and rating below.

Eggless Red Velvet Cake
Ingredients
- 3 cups All Purpose Flour Measured Correctly*
- 1 and ½ cups White Granulated Sugar
- 1 and ½ tsp Baking Soda
- ¾ tsp Salt
- 1 Tbsp Cocoa Powder Unsweetened
- 1 and ½ cups Homemade Buttermilk or Real Buttermilk*
- 3 tsp Vanilla Extract
- ¾ cup Canola Oil or Vegetable Oil
- 1 and ½ Tbsp Distilled White Vinegar
- 2 tsp Red Gel Food Color
Frosting Options:
- 1 Recipe White Chocolate Cream Cheese Frosting
- 1 Recipe Cream Cheese Frosting
Instructions
- Preheat the oven to 350°F (180°C) and spray two 8-inch cake pans with non-stick spray and line the bottoms with circles of parchment paper. Set aside.
- Sift all purpose flour into a mixing bowl and add white granulated sugar, baking soda, salt and cocoa powder. Mix together.
- If you're making homemade buttermilk then add 1 and ½ Tbsp lemon juice to a measuring jug and add room temperature milk up to the 1 and ½ cup line. Let it sit for a few minutes to curdle.
- Add the buttermilk, vanilla extract, oil, vinegar and red gel food coloring to the mixing bowl and mix into a thick batter. Don't overmix.
- Divide the batter evenly between the two prepared 8-inch cake pans and smooth down.
- Bake for 30 minutes or until a toothpick inserted into the center of one of the cakes comes out clean.
- Let the cakes cool in the pans for a few minutes before removing them from the pans and transferring to a wire cooling rack to cool completely before frosting.
Notes
- Spoon and level the flour. The correct way to measure flour if you’re using cups is to spoon and level. So spoon the flour into your measuring cup and then level off the top with a knife. Don’t scoop the flour and don’t pack it into your cup. Alternatively, if you have a food scale then weigh your flour out on your food scale. Click ‘metric’ below the list ingredients to get the ingredient weight in grams.
- Homemade buttermilk. You can use real buttermilk or make your own homemade buttermilk. We tested this recipe with both options and they both work great. The benefit of the homemade version is that you likely have everything you need on hand (lemon juice and milk) and don’t need to make a trip to the store.
- Frosting. This cake is divine frosted with either our cream cheese frosting or our white chocolate cream cheese frosting.
- Cake pans. You can use two 8-inch cake pans OR two 9-inch cake pans. If you’re using 9-inch cake pans the layers will be thinner and your bake time will be 25 minutes.
- Cupcakes. This recipe will make 18-24 cupcakes. Bake for 20 minutes.
- Storing. Store the cake covered in the fridge for up to 5 days. Bring to room temperature before serving. The reason to store it in the fridge is due to the cream cheese frosting, which is best stored in the fridge. If the weather is cool then the cake can remain covered at room temperature for up to 24 hours.
- Freezing. This cake is freezer friendly for up to 3 months.
- Nutritional information is for cake only and excludes frosting. The nutritional information for the cream cheese frosting or the white chocolate cream cheese frosting can be found on those separate linked recipes.
Can we use butter or ghee instead of oil ?
Really good!
thank you Alison for this amazing eggless recipe God bless you.
Hi, can this be made with gluten free flour. If so, all purpose flour or self raising flour? I have guests who doesn’t eat egg and also someone with gluten intolerance.
Thanks
You can use all purpose gluten free flour.
I made it for my Eid party. it vanished! all slices eaten , devoured!
thank you so very much.
Thanks so much for your review Fathima! Happy to hear you enjoyed the recipe!
I made this today for my Eid party that I am hosting tomorrow. My first attempt at eggless cakes as my friend is not able to eat eggs tomorrow ( religious reasons).
I also made the cream cheese frosting. I will update again with the review after the party.
Hi can i use a 13″ x 9″ pan for this recipe?
Yes you can! You will just need to adjust the time you bake the cake. Check at 20 minutes and if the toothpick does not come out clean, bake for 5b minutes more until the cake is baked through.
made this beautiful delicious red velvet yesterday was love by colleagues and family. Thoroughly enjoyed make and baking it.
thank you so much for the delicious recipe
Happy to hear you enjoyed it!:)
l am a chocolate cake lover but I wanted to give this a try so I baked it for my mom’s birthday and everyone loved it! The first time I made it with a cream cheese frosting. Second time I prepared it with a white chocolate cream cheese frosting for anniversary. Thank you for the recipe.
So glad you enjoyed it Tanu! Thanks for sharing!
I usually bake the velvet cake with eggs, but I tried this eggless recipe because my friend is allergic to eggs and it was no different than the recipe with eggs. it was delicious. I used the cream cheese frosting. it was delicious.
So happy to hear that Magda! Thanks for the awesome review!
I tried this and it came out very nice ..thank you for sharing.
Wonderful! Thanks for posting Benny!
I tried this recipe, but I divided all ingredients by 3. I got 10 cupcakes and the colour and rise was great. I will add more chocolate next time and maybe a TBSP of black coffee to see how that turns out. I cooked for 16mins as my oven runs a bit hot and I am pleased with my first ever chocolate based cake. I only ever made banana or vanilla sponge before this. Thanks very much for your efforts. It is really appreciated.
Sonny
Awesome, so happy to hear they turned out well!