
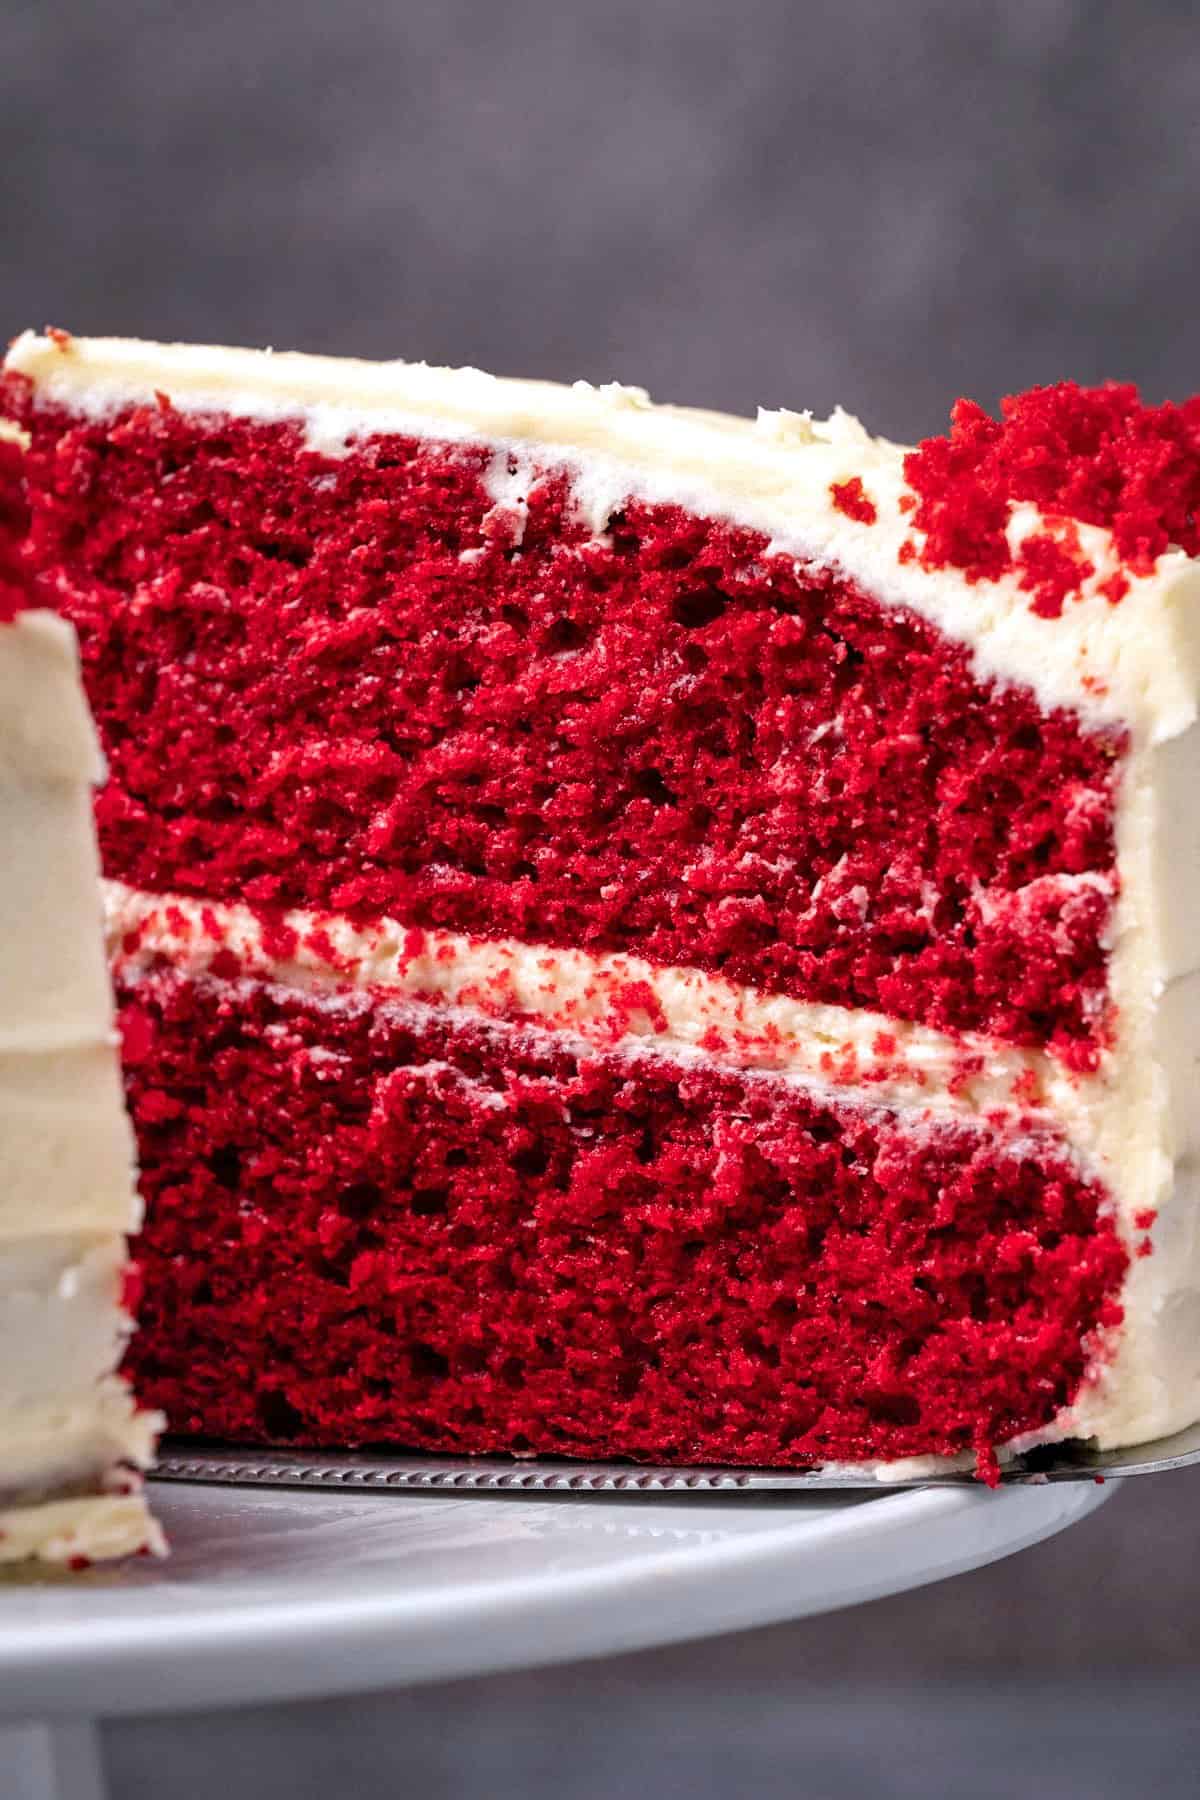
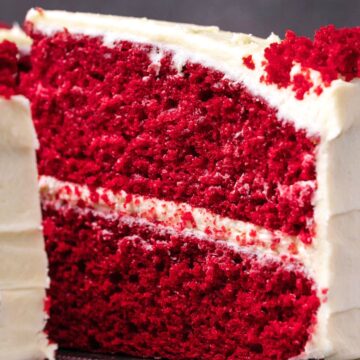
This red velvet cake is fluffy and moist with a velvety texture and perfect balance of flavors. It’s also super easy and topped with cream cheese frosting.
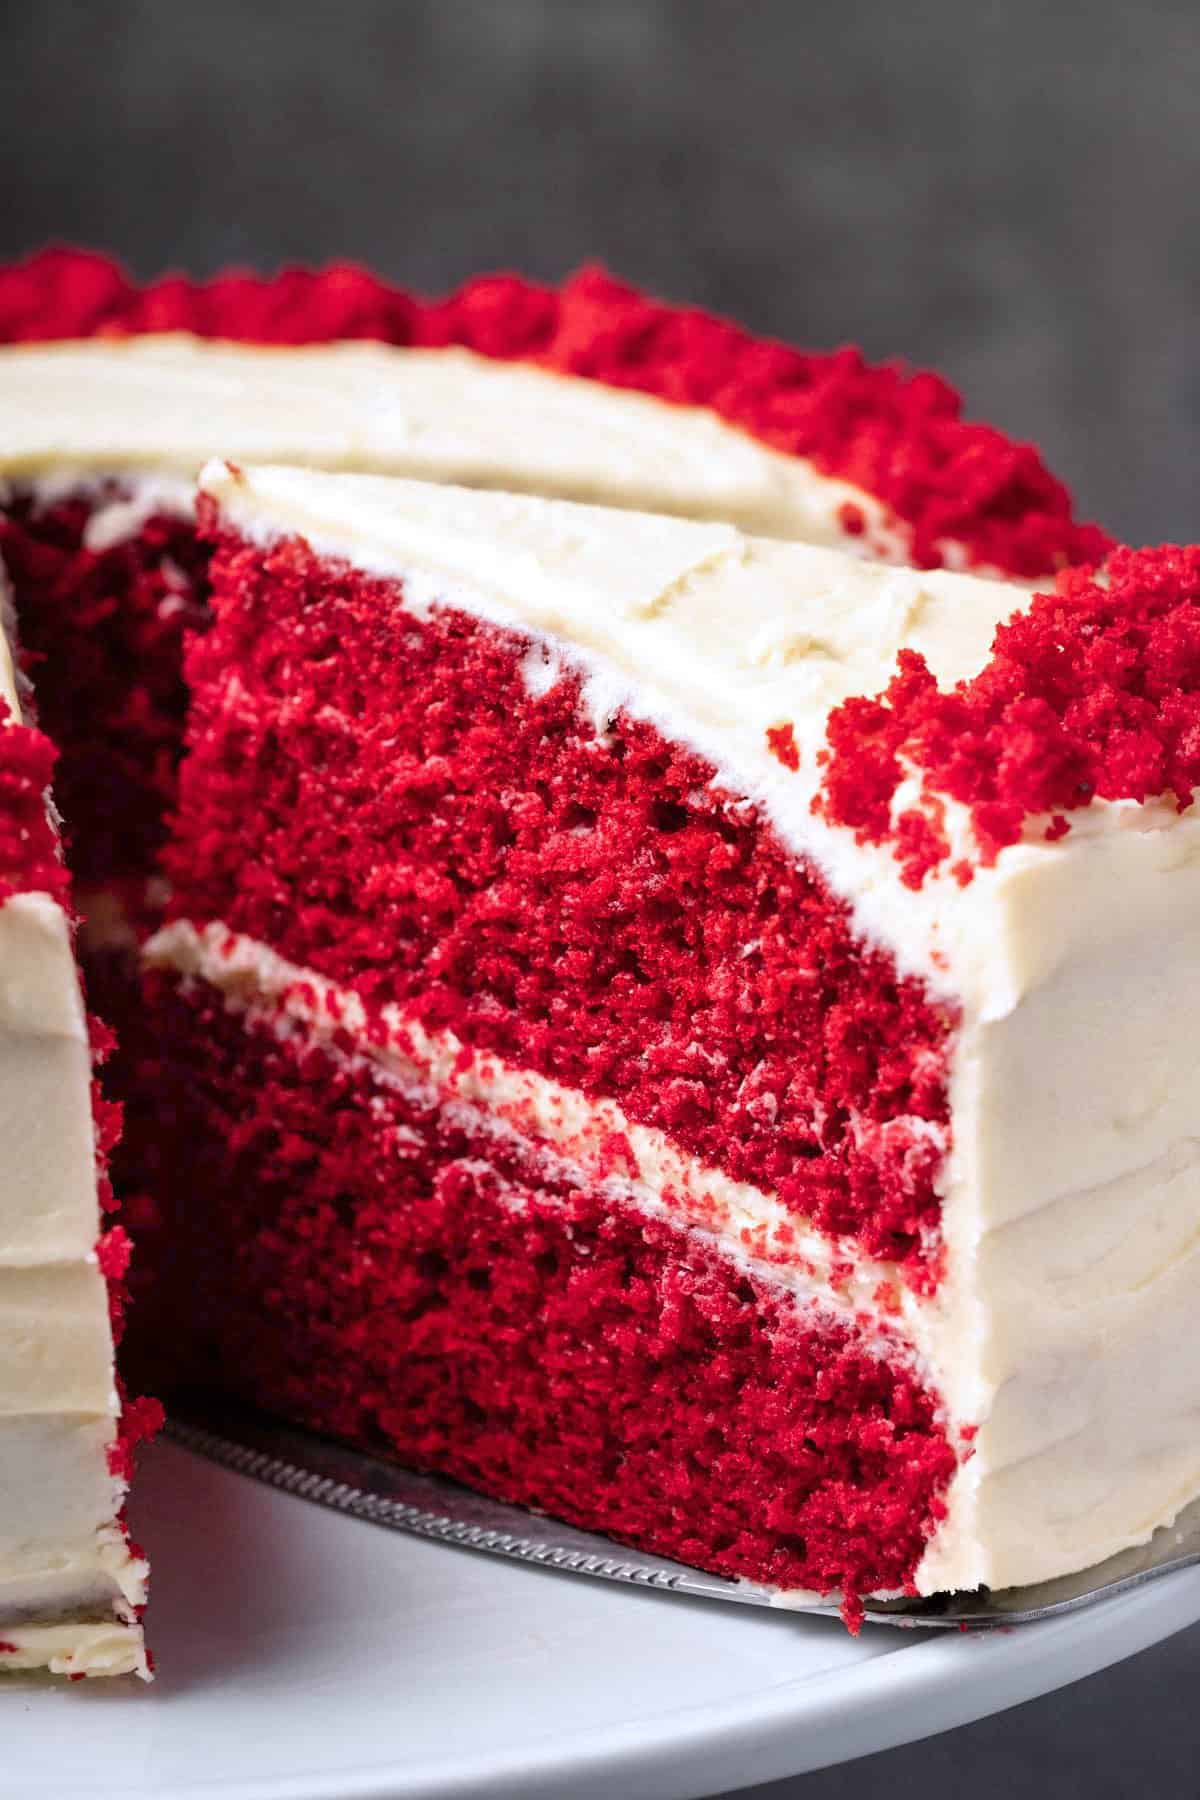
There is so much to love about a red velvet cake. The color, of course, because that’s just beautiful.
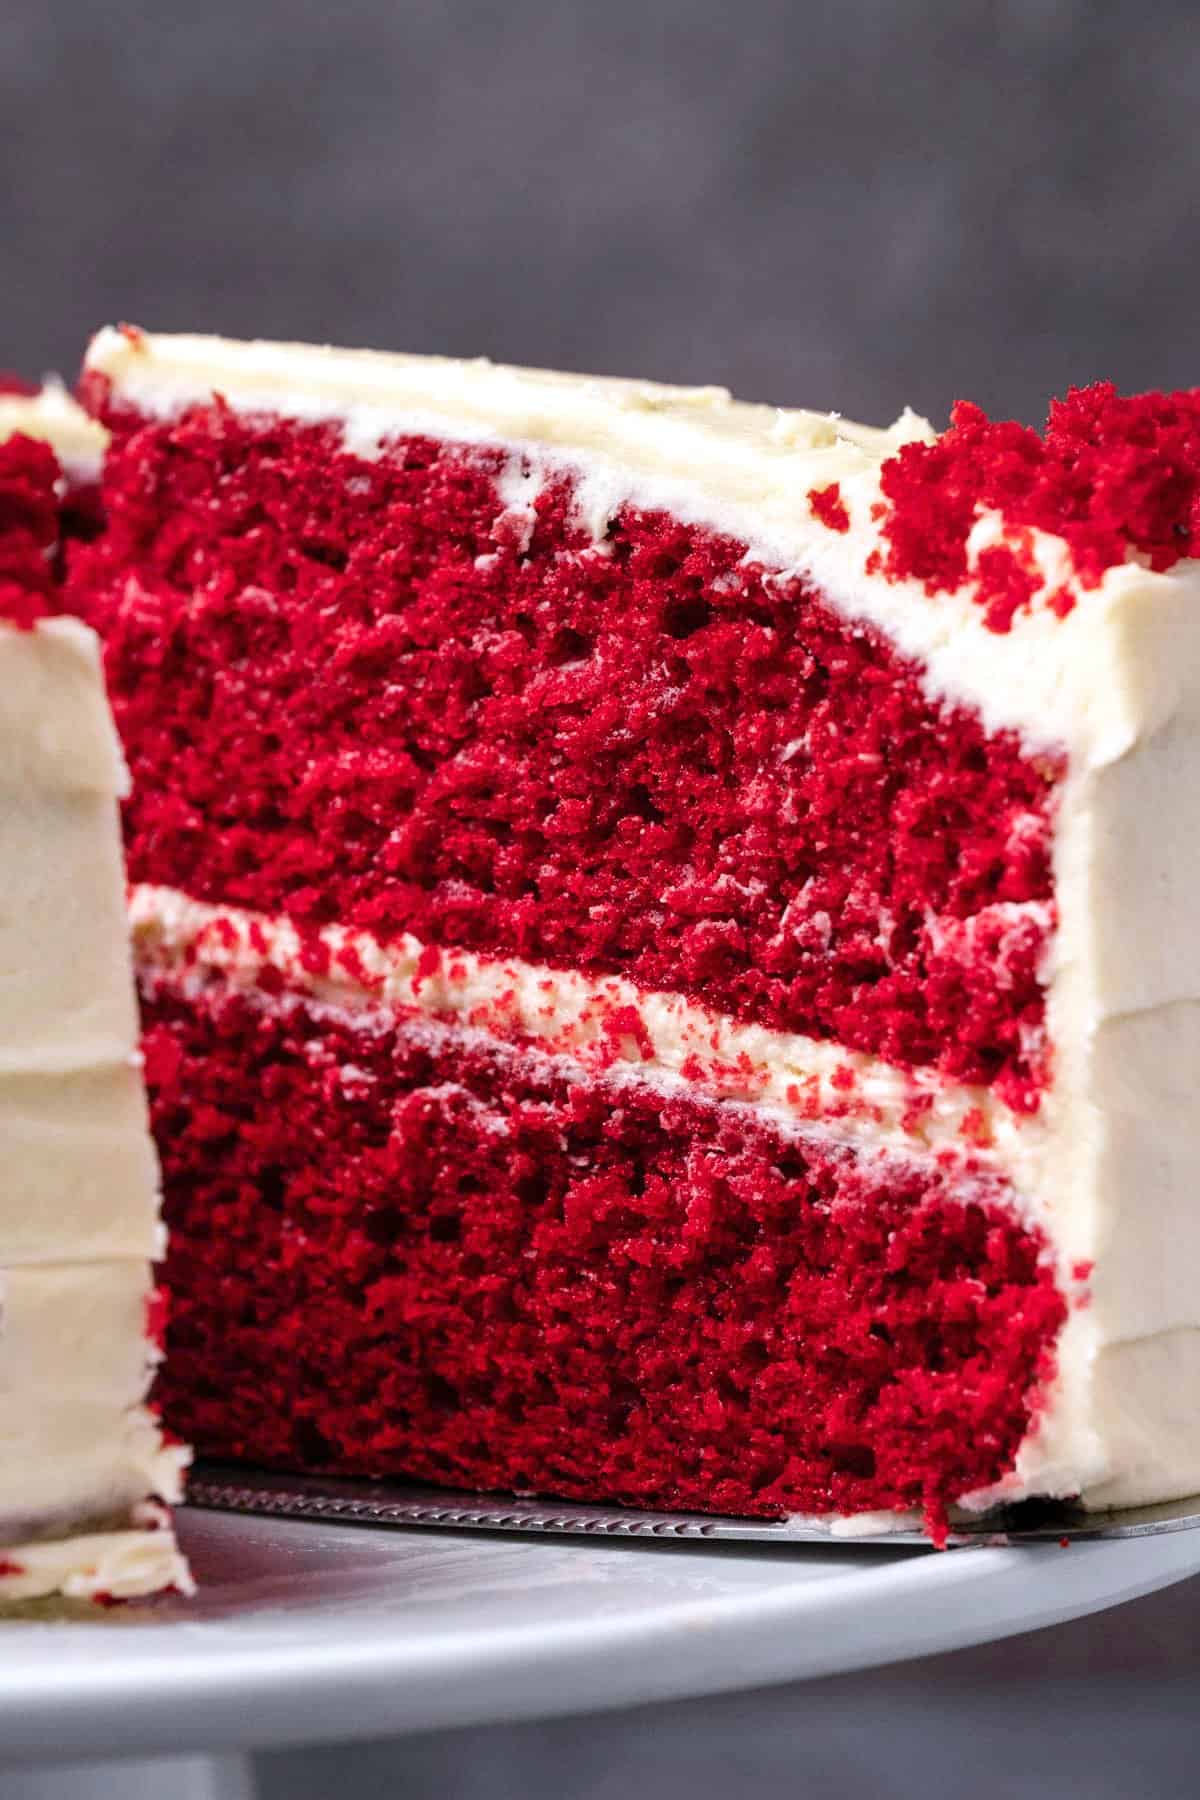
But it’s also the blend of flavors; hints of vanilla, hints of chocolate and hints of tanginess from the buttermilk are all flavors that you’ll find in this cake.
And of course the hint of tanginess in the flavor is perfectly complemented by the cream cheese frosting.
So this is just a beautiful cake that tastes as good as it looks. For more beautiful cakes also check out our divine chocolate cake, our super simple vanilla cake and our carrot cake.
And if you love red velvet also check out our red velvet cupcakes and our red velvet ice cream.
How To Make Red Velvet Cake
Full instructions and measurements can always be found in the recipe card at the bottom of the post. This is a summary of the process to go along with the process photos.
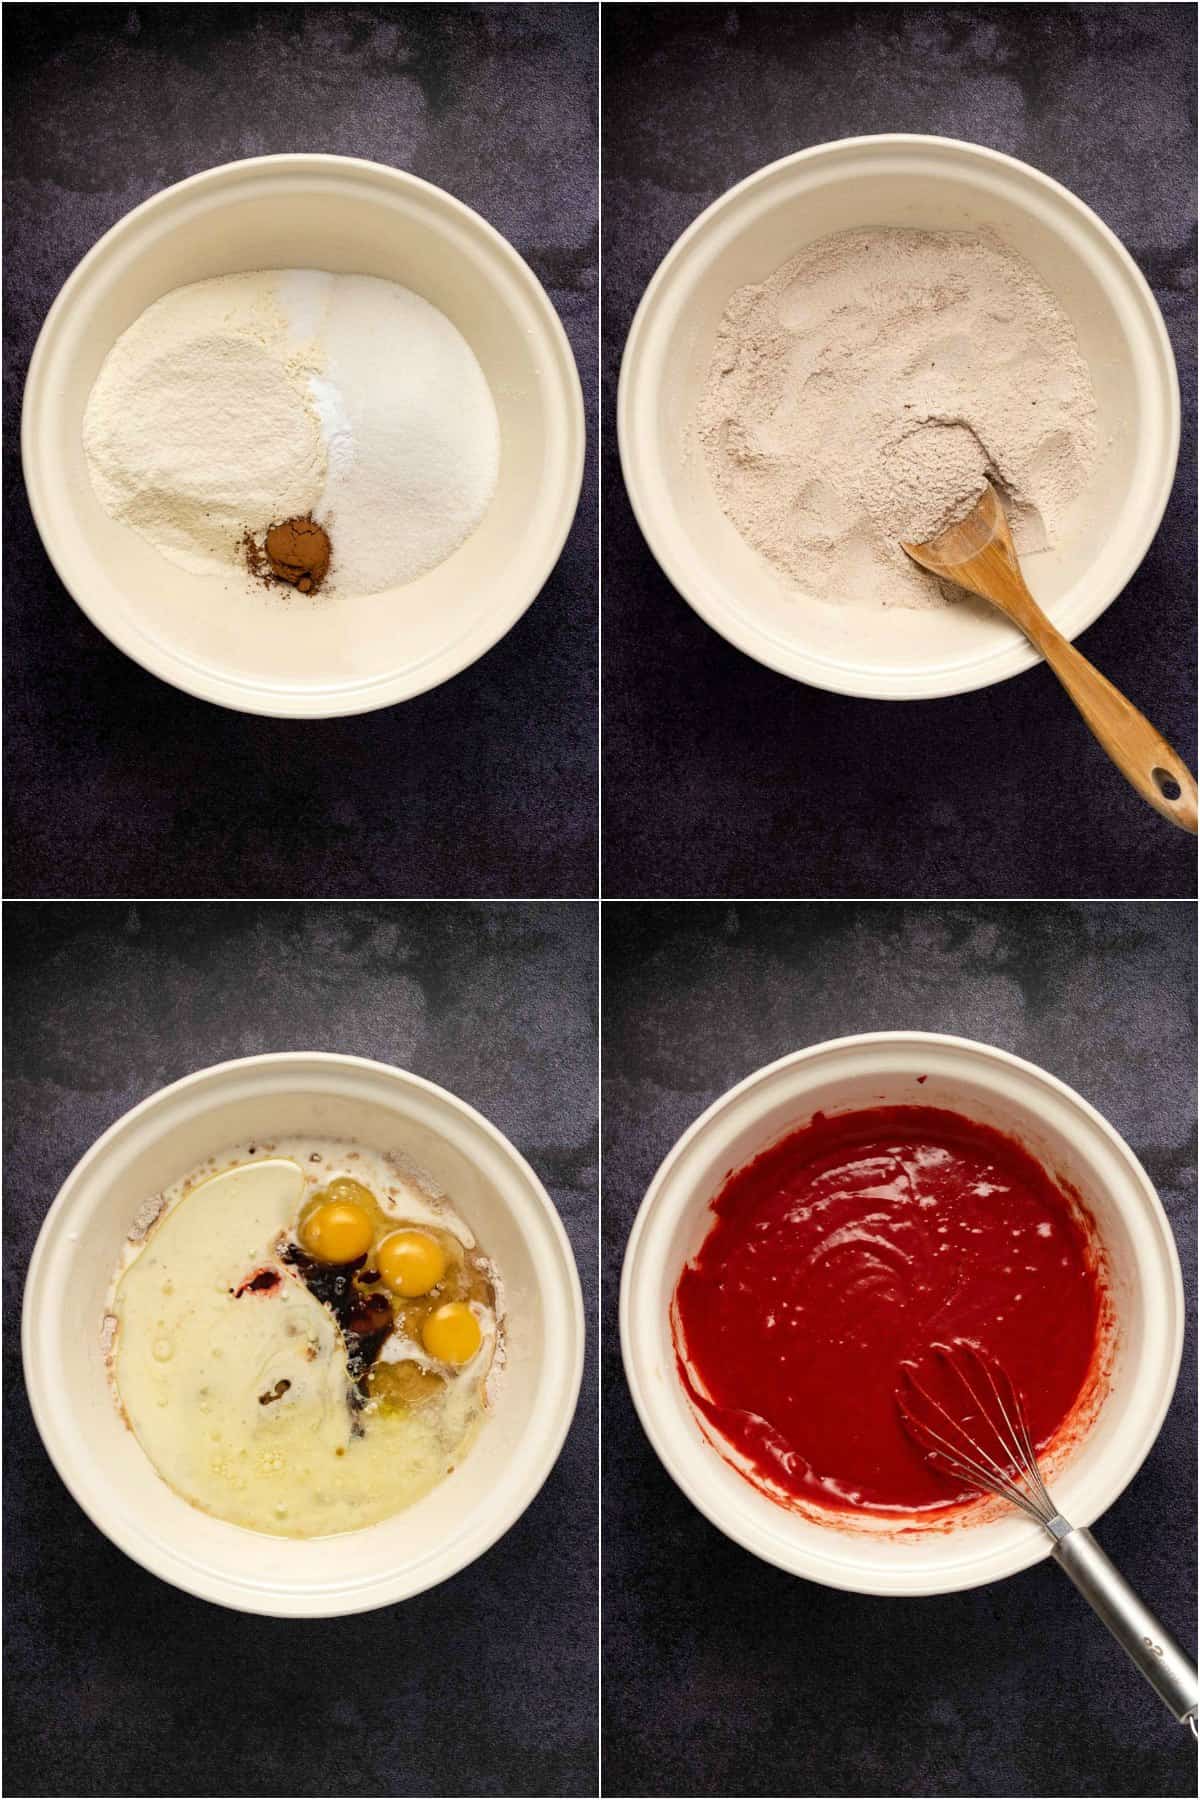
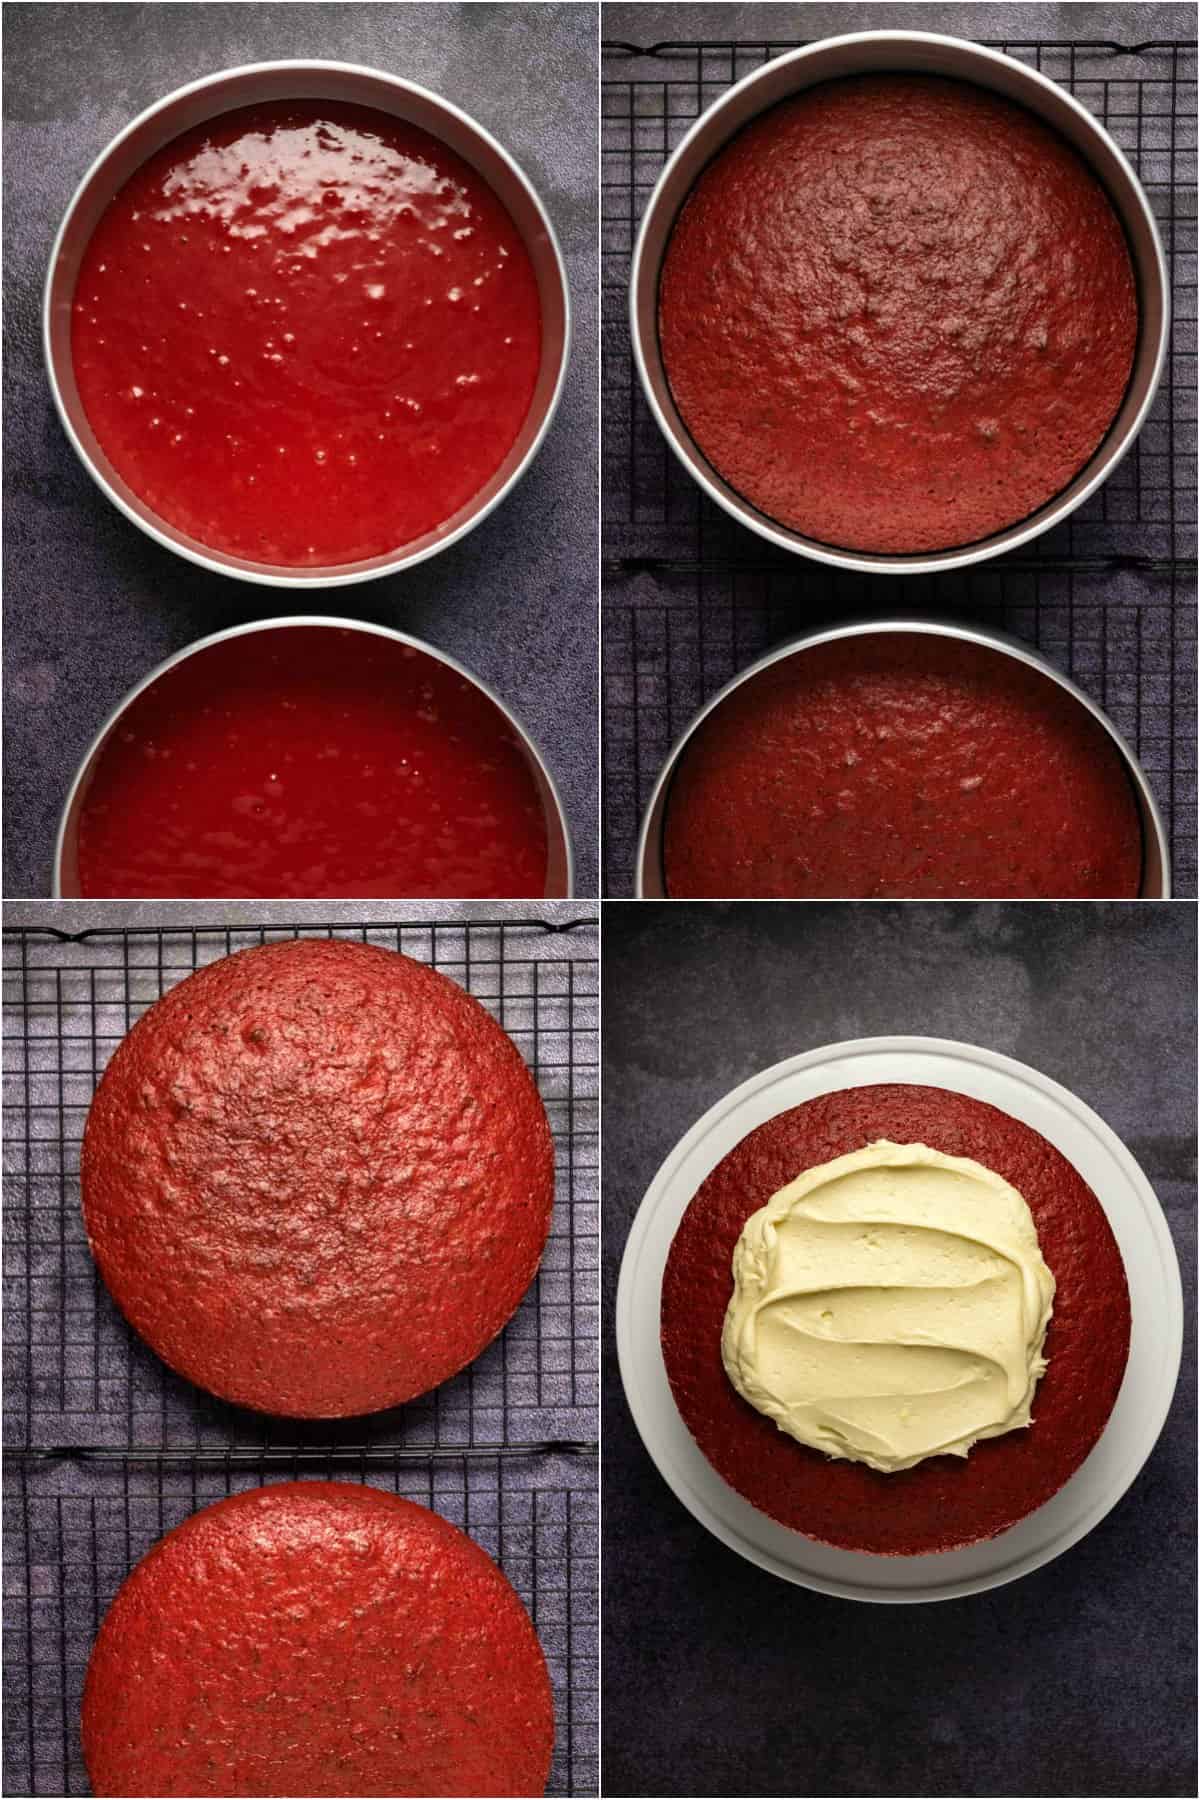
- Sift all purpose flour into a mixing bowl and add sugar, baking soda, salt and cocoa powder and mix together.
- Add buttermilk, eggs, oil, vanilla, vinegar and red food coloring and mix into a batter.
- Transfer to two 9-inch cake pans (sprayed with non-stick spray and lined with circles of parchment paper).
- Bake for 30 minutes at 350°F until a toothpick inserted into one of the cakes comes out clean.
- Transfer to a wire cooling rack to cool completely before frosting.
The Frosting
The frosting for this cake is a cream cheese frosting which is a perfect complement of flavors for this cake.
However, of course you can also choose something different if you prefer, like mixing things up with a vanilla buttercream frosting or a chocolate buttercream frosting.
Recipe Tips
Buttermilk: We tested this recipe with both a homemade buttermilk (lemon juice + milk and let it curdle) and a regular buttermilk and both work just great!
Strangely enough though I find that the cake layers are flatter and don’t require leveling when made with real buttermilk whereas they dome a bit and need some leveling when made with homemade buttermilk. But in terms of taste they are identical.
Having to level off the tops of your cake layers a bit gives you some extra cake crumbs that you can use for decoration, so that’s something to think about.
White Vinegar: This is a typical ingredient in red velvet cakes and serves two purposes – it reacts with the baking soda (as does the buttermilk) to create the rise in this cake, and it also strengthens the color.
Red Gel Food Coloring: There can be quite a difference worldwide in the strength of liquid food coloring, with some just not being strong enough to withstand the baking process, so a gel food coloring is the best option. We used Americolor Super Red (link in the recipe card), and that works really well for red velvet.
Recipe Q&A
This recipe will make around 24 cupcakes. We do have a recipe for a perfect 12 red velvet cupcakes as well.
You can use either two 9-inch cake pans or three 8-inch cake pans for this recipe.
It’s actually really easy to make this red velvet cake dairy-free, you just have to make a homemade buttermilk and use a non-dairy option such as soy milk or almond milk to make your buttermilk.
If you use a cream cheese frosting for your cake then it’s best to store the cake covered in the fridge. It will stay good for around 5 days. You can cut a slice and then let it come to room temperature before serving.
Yes, this cake is freezer friendly for up to 3 months.
More Cakes and Cupcakes!
- The Best Vanilla Cake
- The Most Divine Chocolate Cake
- The Best Carrot Cake
- Vanilla Cupcakes
- Red Velvet Cupcakes
- Crazy Cake
Red Velvet Cake
Ingredients
- 3 cups All Purpose Flour Measured correctly*
- 2 cups White Granulated Sugar
- 1 tsp Baking Soda
- 1 tsp Salt
- 1 Tbsp Cocoa Powder Natural, Unsweetened
- 1 cup Homemade Buttermilk or Regular Buttermilk
- 3 Large Eggs
- 1 cup Canola Oil Or Vegetable Oil
- 1 tsp Vanilla Extract
- 1 Tbsp Distilled White Vinegar
- 2 tsp Red Gel Food Color
For the Frosting:
- 1 Recipe Cream Cheese Frosting
Instructions
- Preheat the oven to 350°F (180°C). Spray two 9-inch cake pans* with non-stick spray and line the bottoms with circles of parchment paper.
- Sift the all purpose flour into a mixing bowl and add the sugar, baking soda, salt and cocoa powder. Mix together.
- If you're making homemade buttermilk then add 1 Tbsp lemon juice to a measuring jug and add room temperature milk up to the 1 cup line. Let it sit for a few minutes to curdle.
- Add the buttermilk, eggs, oil, vanilla, vinegar and red food coloring in with the dry ingredients and mix into a batter. Mix until it's just mixed. Use a hand whisk briefly to get rid of any lumps but don't overmix.
- Divide the batter evenly between your prepared cake pans.
- Bake for 30 minutes or until a toothpick inserted into one of the cakes comes out clean.
- Transfer to a wire cooling rack to cool completely before frosting.
Video
Notes
- The flour should be measured correctly using the spoon and level technique for measuring flour (spoon it into your measuring cup and then level off the top with a knife, don’t scoop it and don’t pack it into the cup). Alternatively weigh it on a food scale. Click ‘metric’ below the list of ingredients to get the ingredients weight in grams.
- Both homemade buttermilk and regular buttermilk work great in this cake. We noticed that regular buttermilk tends to produce flatter cake layers that don’t need leveling and homemade buttermilk produces a slightly more domed cake that you might prefer to level before frosting. You can use the crumbs from leveling to decorate the cake though.
- If you want to make a dairy-free version of this cake then you can use soy milk or almond milk to make the homemade buttermilk.
- The white vinegar reacts with the baking soda (along with the buttermilk) to cause the cake to rise, and it also strengthens the color.
- Red gel food coloring is stronger than the liquid version and is recommended for this cake.
- This recipe works great in two 9-inch cake pans or three 8-inch cake pans.
- If you frost the cake with cream cheese frosting then it’s best stored in the fridge (covered) for up to 5 days.
- Nutritional information is for the cake only. The cream cheese frosting nutritional information can be found on that separate recipe page.
Hi there,
Just wondering if you can use gram measurements? Cup measurements vary between countries quite a bit and can throw the whole recipe off.
Hi Frances! We do have the gram measurements available on the recipe. You can locate the metric button just above the instructions in the recipe card.
Hi I tried this recipe and other red velvet cakes and they never turn out red – I also put extra food coloring but it never turns red.
Hi Luli, that will be the brand of red food coloring you’re using that is to blame. I highly recommend trying the Americolor brand of gel food coloring. It works SO well.
Question? Does this recipe result in the flavor of this cake being moreso like a chocolate cake or no?. Bc I hate red velvet that tastes like a RED chocolate cake. Please give me your feedback if you’ve made this recipe. Thank u 😊
Hi Kema, it doesn’t taste at all like a chocolate cake. There are hints of chocolate in the flavor from the small amount of cocoa powder, but it’s very subtle.
Delicious red velvet cake! So moist and so easy to make!
Awesome! Thanks Nadine!
I found this recipe on pinterest and it just looked so easy and so good so I made it. And it IS so easy and so good. Will definitely make this again.
So glad you enjoyed it Pamela!