

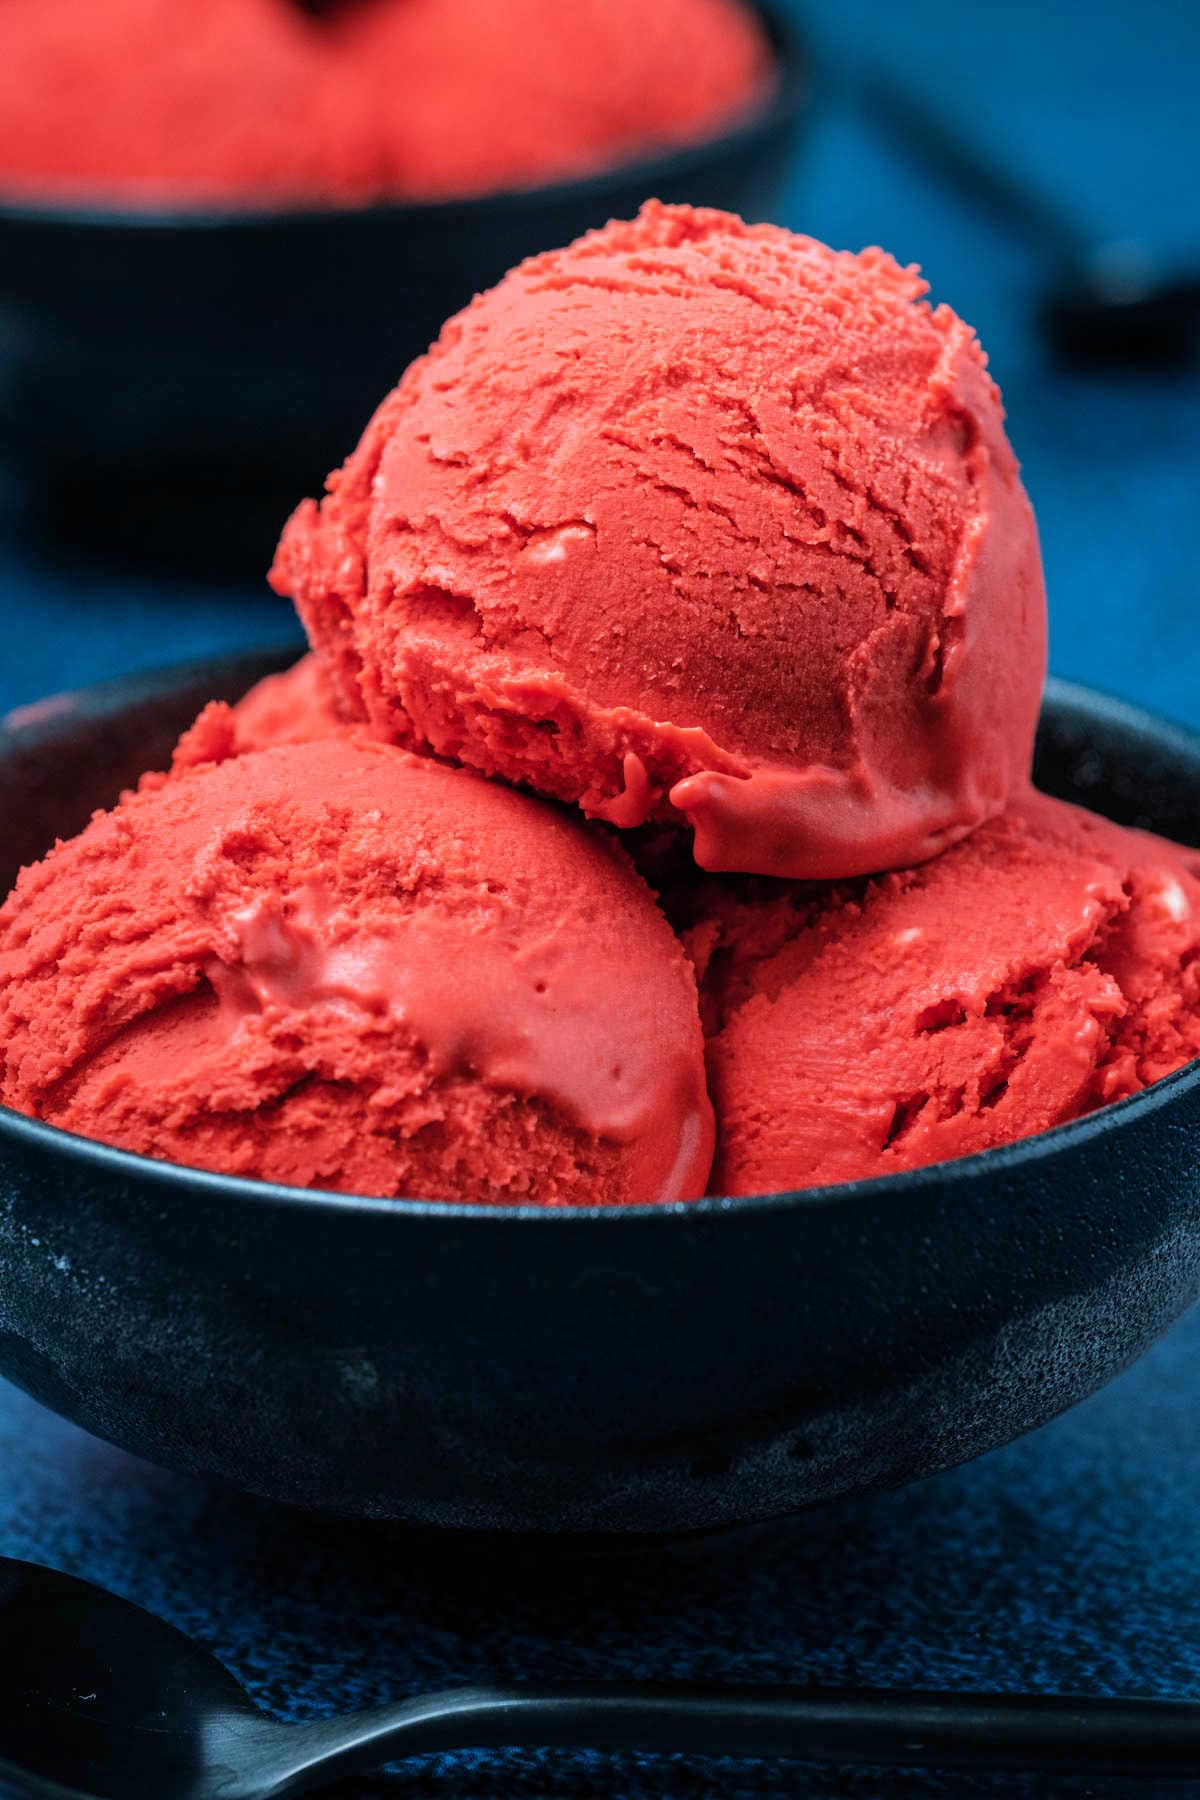
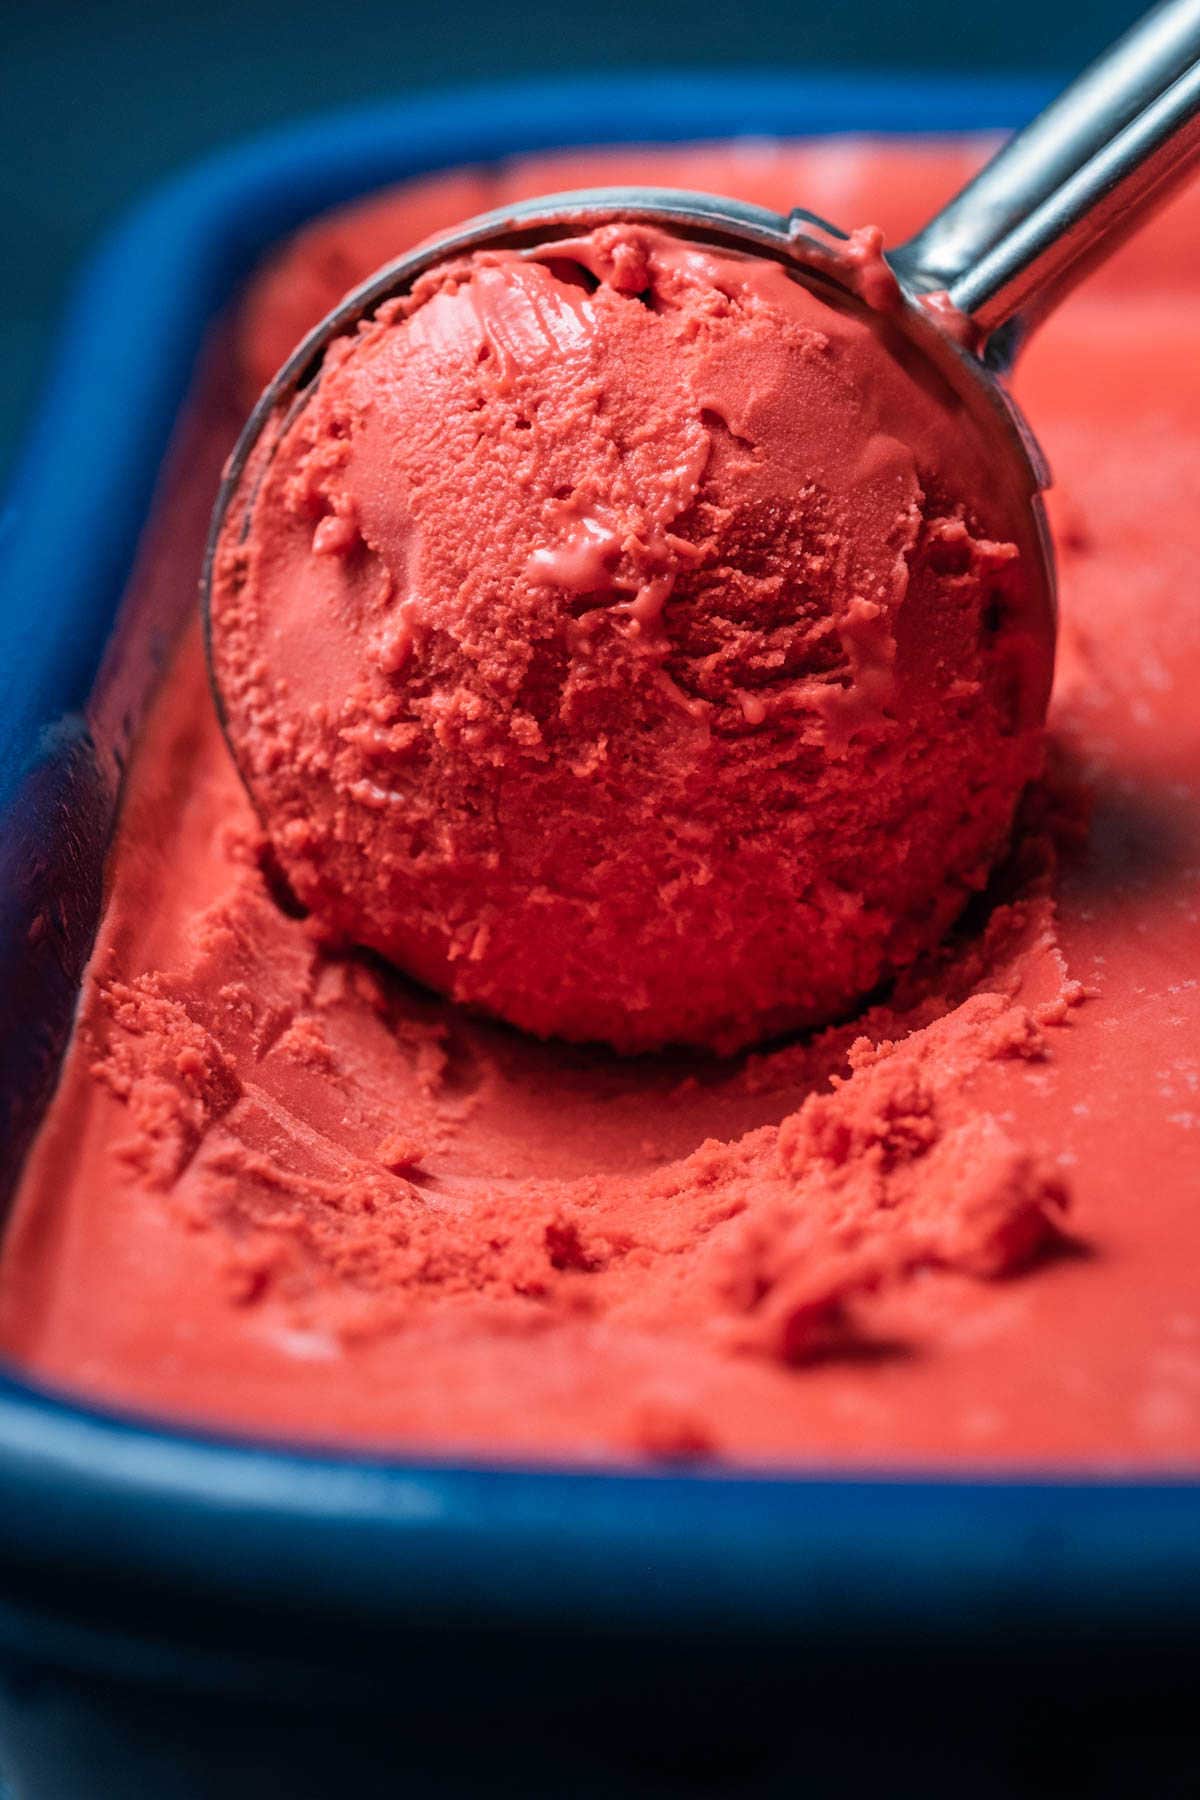
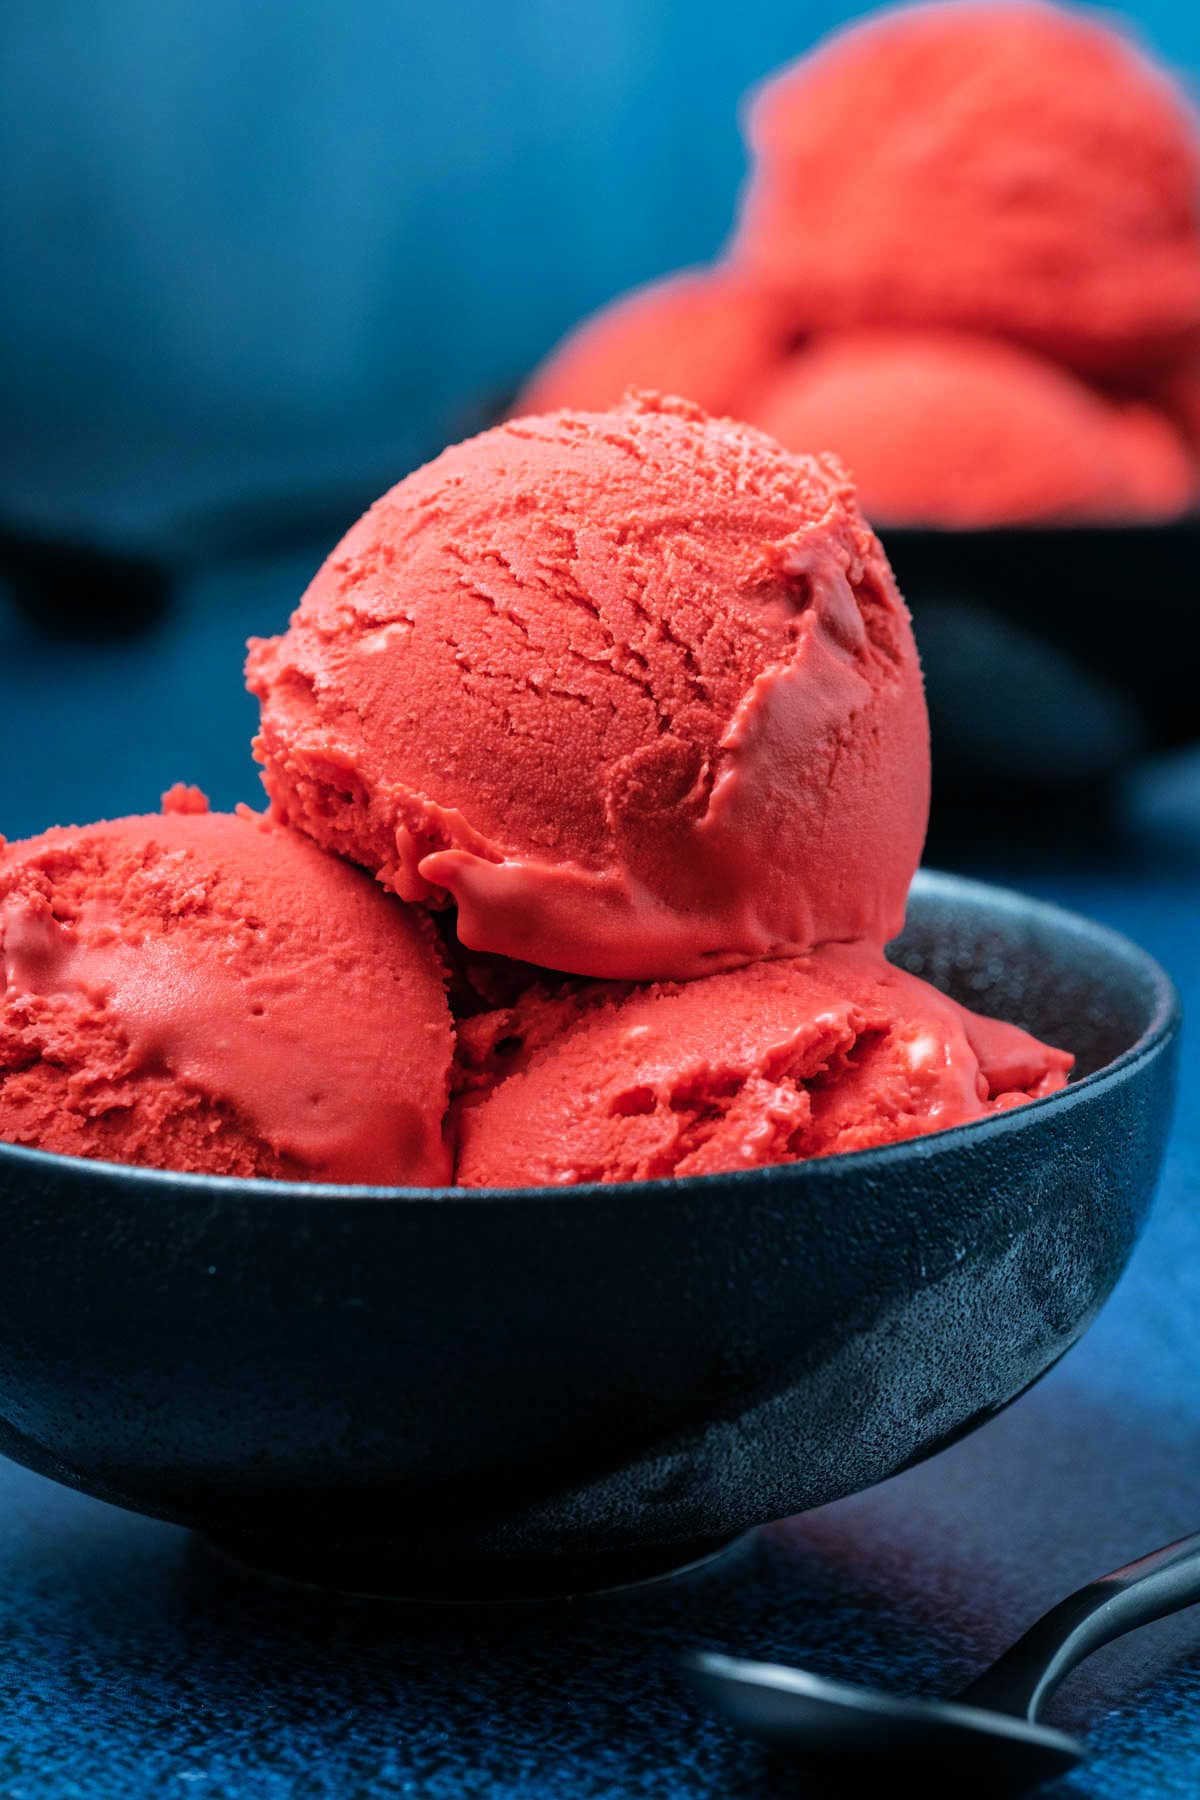
This red velvet ice cream is seriously the best ever! It’s extremely simple to make and really packs in the red velvet flavor and beautiful vibrant red velvet color.
We’re just in time for Valentine’s Day with this gorgeous red velvet ice cream recipe. It’s the perfect romantic dessert to end off a perfect romantic meal.
This ice cream is rich, creamy, smooth and packs in all the red velvet flavor you can dream of. It’s also incredibly easy to make with 6 easy ingredients.
It can also be made either with OR without an ice cream machine.
And if you love everything red velvet then check out our red velvet cake and our red velvet cupcakes.
You’ll also love our mint chocolate chip ice cream and Baileys ice cream.
What You Need To Make This Ice Cream:
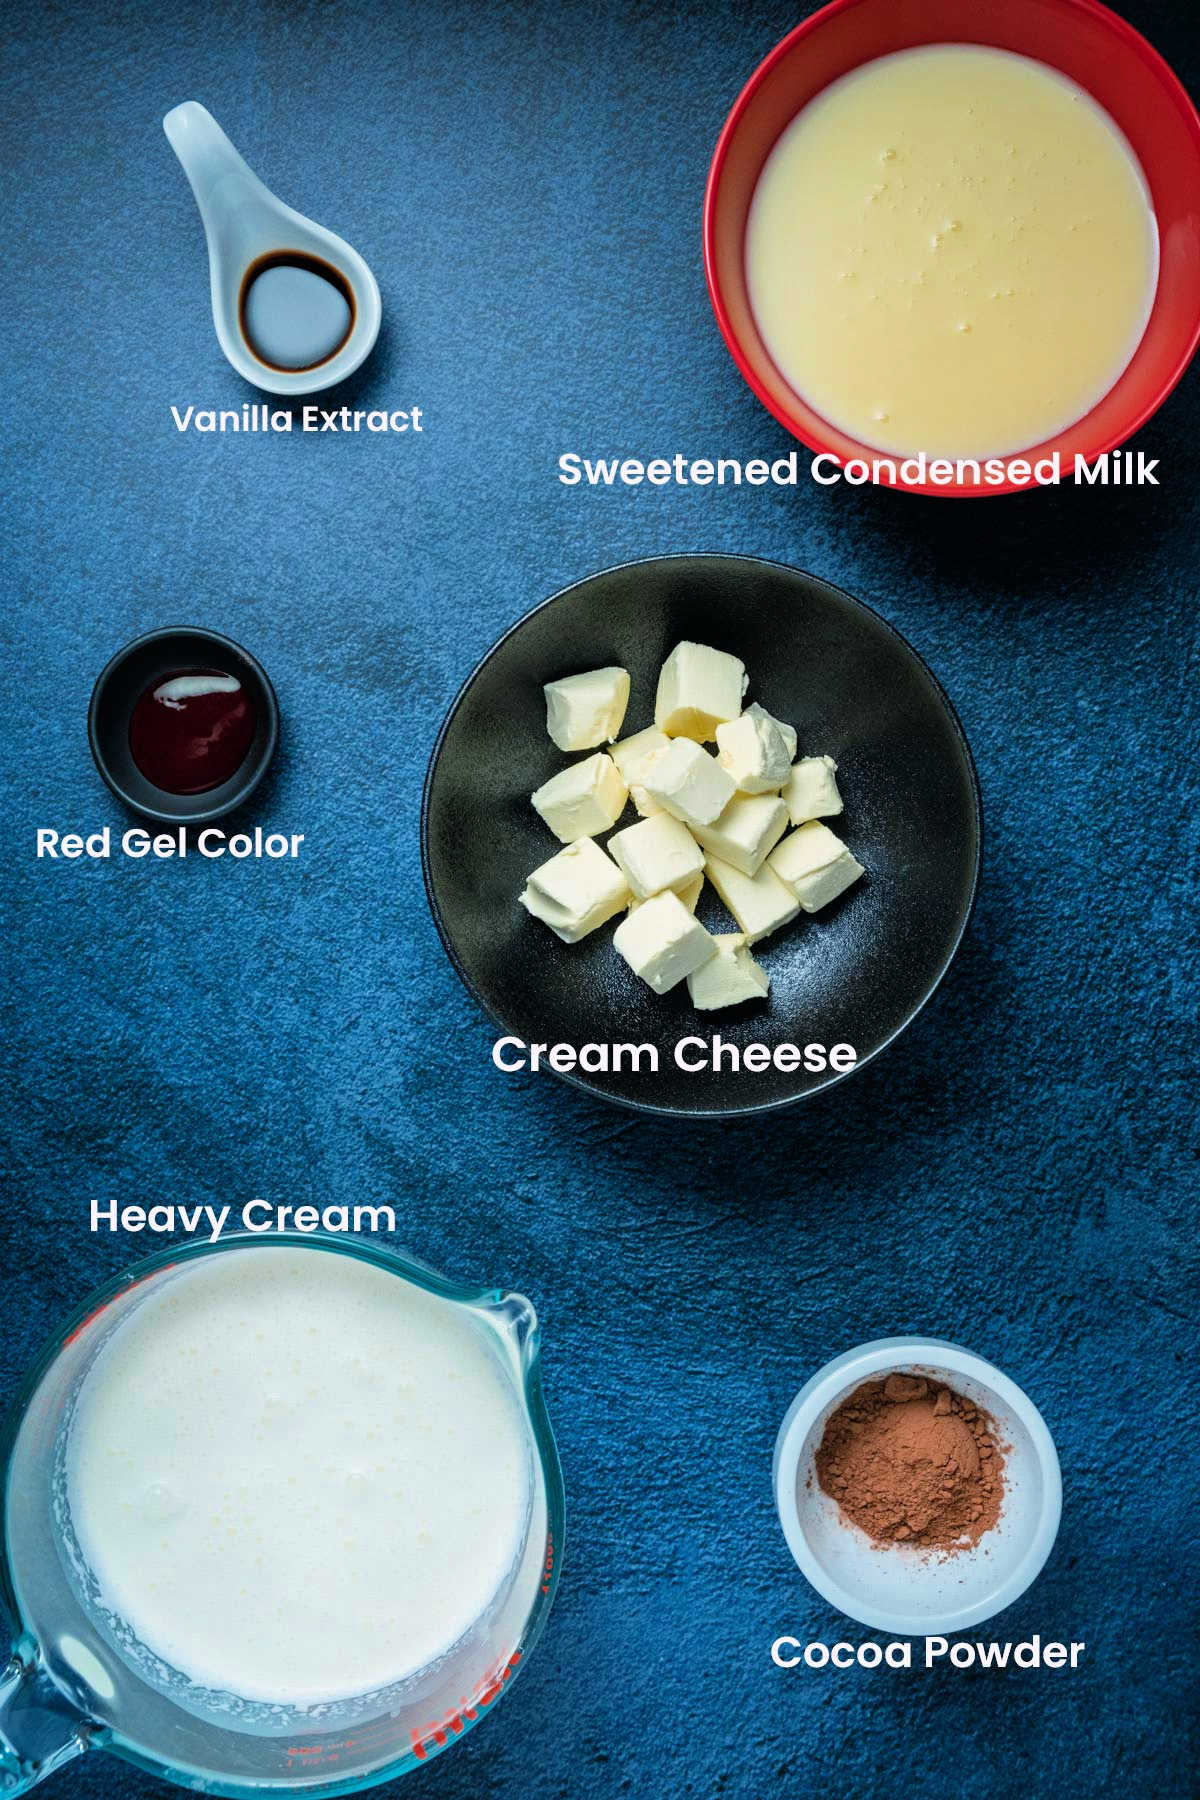
Ingredient Notes
- Sweetened condensed milk – is what sweetens this ice cream, so don’t substitute it. It must be canned, sweetened, condensed milk.
- Red gel food color – we tried this recipe with both liquid food color and gel food color and the gel works SO much better. It also enables you to use a fairly small amount (1 teaspoon) and still get this beautiful vibrant red. We used the Americolor brand. If you only have liquid red food coloring then you can use 2 Tablespoons liquid food coloring.
- Cream cheese – it’s best to use a firm brick style cream cheese like Philadelphia cream cheese. It’s also ideal for it to be full fat.
- Heavy cream – works really well to make this ice cream really rich and creamy. You can also use whipping cream.
How To Make Red Velvet Ice Cream
Full instructions and measurements can always be found in the recipe card at the bottom of the post. This is a summary of the process to go along with the process photos.
- Cut your cream cheese into cubes and place into the bowl of your stand mixer and beat until smooth.

- Add heavy cream, cocoa powder, vanilla extract and red gel food coloring and beat in until you have stiff peaks.

- Add the sweetened condensed milk and beat in briefly just to get it properly mixed.

- If you don’t have an ice cream machine, then simply transfer your ice cream mixture to a loaf pan now, smooth down, cover and freeze.
- If you do have an ice cream machine, then transfer the ice cream mixture to your ice cream machine and churn it until it reaches a soft serve consistency.
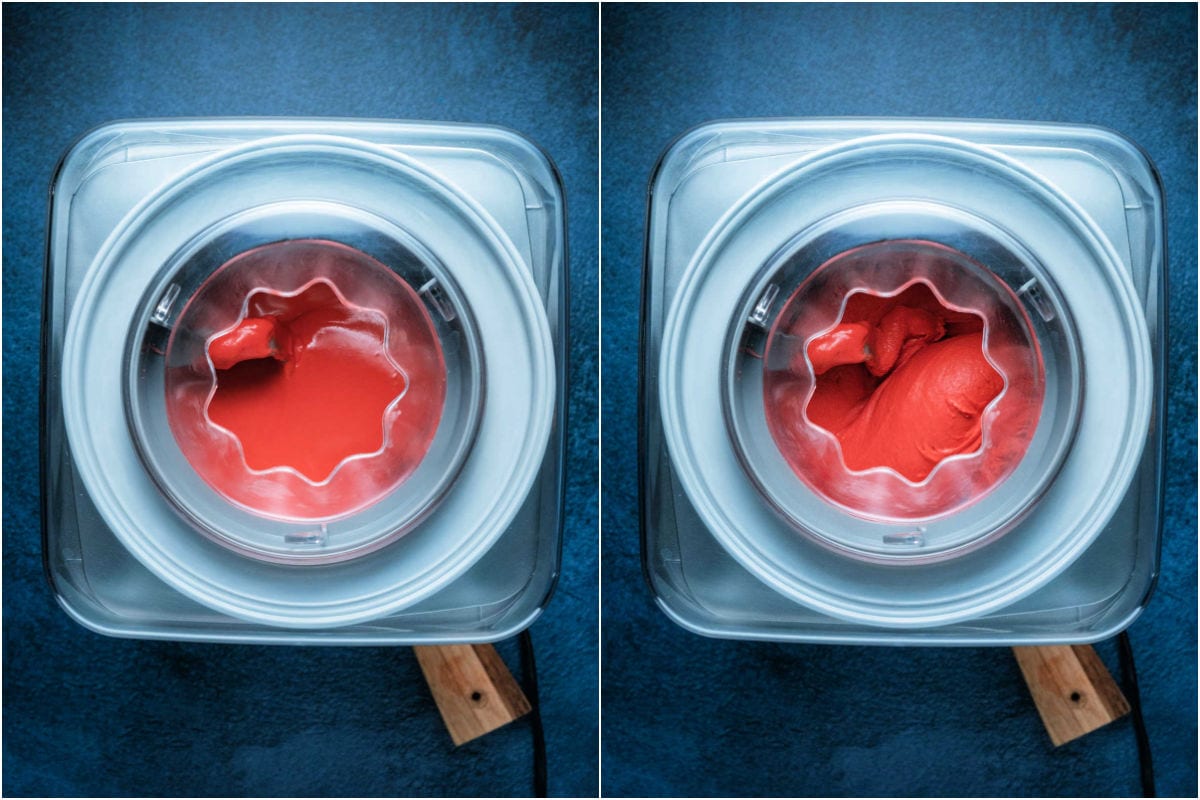
- Transfer to a loaf pan and smooth down.
- Cover with foil and freeze until set.

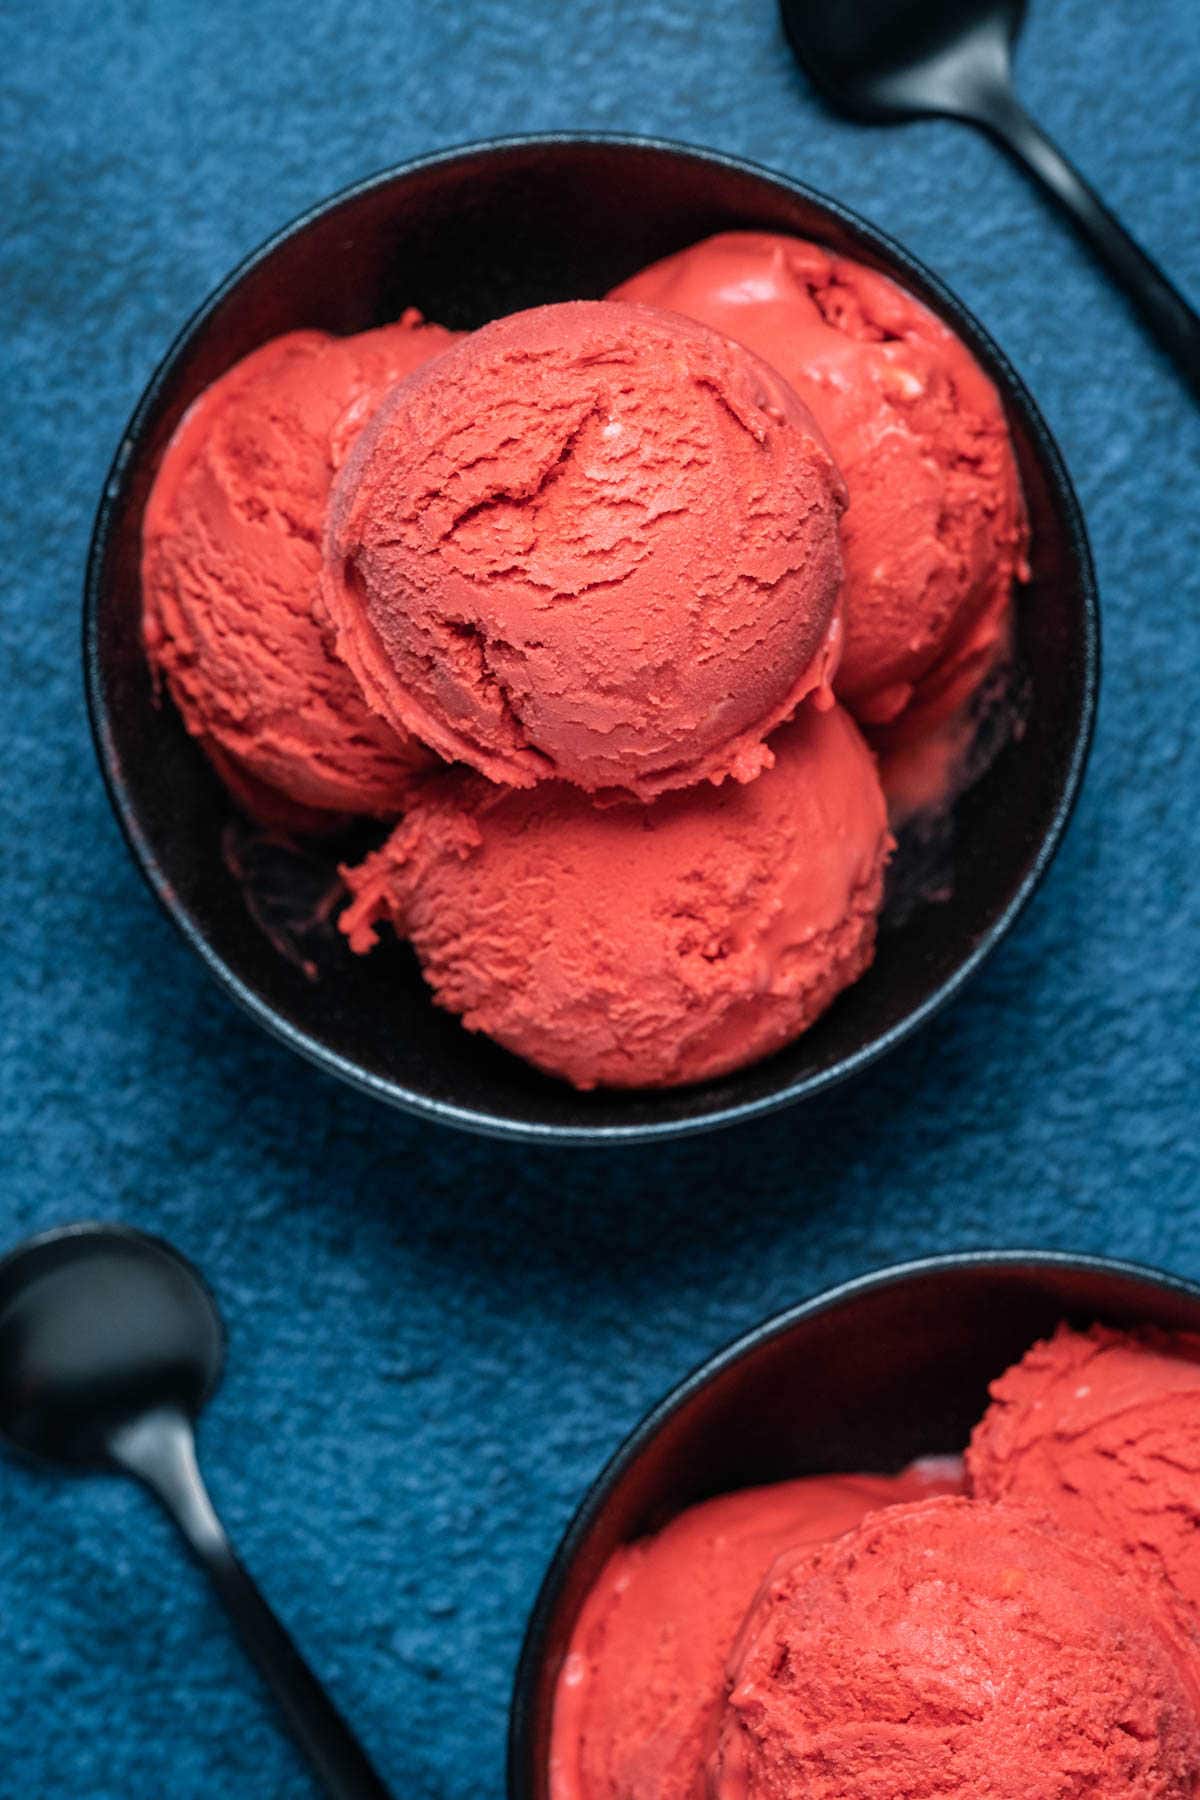
- Scoop and serve!

Recipe FAQ
The flavor is just like red velvet cake, with a wonderful mix of flavors; hints of vanilla, hints of chocolate and a slight tanginess that comes from the cream cheese.
You certainly can! This ice cream contains instructions for making it both with an ice cream machine and without.
It’s best to enjoy your homemade ice cream within about 2 weeks for the best taste and texture results. Of course, it’s ice cream so it can be stored for a lot longer, but there is the possibility that ice crystals can form in your ice cream which affects the texture. So it’s ideal to enjoy it within 2 weeks.
More Delicious Ice Cream Recipes
- Cotton Candy Ice Cream
- Oreo Ice Cream
- Peppermint Ice Cream
- Biscoff Ice Cream
- Cookies and Cream Nice Cream
- Carrot Ice Cream
Did you make this recipe? Be sure to leave a comment and rating below.
Red Velvet Ice Cream
Ingredients
- 4 ounces Cream Cheese Full Fat, Brick Style
- 2 cups Heavy Cream or Whipping Cream Cold
- 1 Tbsp Cocoa Powder Unsweetened
- 1 tsp Vanilla Extract
- 1 tsp Red Gel Food Color or 2 Tbsp Liquid Red Color
- 14 ounces Sweetened Condensed Milk Canned
Instructions
- Cut your cream cheese into cubes and place into the bowl of your stand mixer and beat until smooth.
- Add heavy cream, cocoa powder, vanilla extract and red gel food coloring and beat in until you have stiff peaks.
- Add the sweetened condensed milk and beat in briefly just to get it properly mixed.
- If you don't have an ice cream machine, then simply transfer your ice cream mixture to a loaf pan now, smooth down, cover with foil and freeze.
- If you do have an ice cream machine, then transfer the ice cream mixture to your ice cream machine and churn it until it reaches a soft serve consistency.
- Transfer to a loaf pan and smooth down.
- Cover with foil and freeze until set.
- Scoop and serve.
Notes
- Cream cheese – it’s best to use a firm brick style cream cheese like Philadelphia cream cheese, though any cream cheese will do.
- Red gel food color – we tried this recipe with both liquid food color and gel food color and the gel works SO much better. It also enables you to use a fairly small amount (1 teaspoon) and still get this beautiful vibrant red. We used the Americolor brand. If you only have liquid red food coloring then you can use 2 Tablespoons liquid food coloring.
- Ice Cream Machine – the difference between this ice cream made in an ice cream machine or made without an ice cream machine is quite small and subtle. The ice cream sets more solidly and can be harder to scoop when it’s not churned (heat your ice cream scoop in hot water before scooping to combat this). It’s also very slightly more ‘light and fluffy’ after churning. So the verdict is that if you have an ice cream machine you may as well use it for a 2% better texture. But it’s still wonderful when it’s made with the no-churn method, so it’s also an ideal ice cream to make without a machine.
- Storage – It’s best to enjoy your homemade ice cream within about 2 weeks for the best taste and texture results. Of course, it’s ice cream so it can be stored for a lot longer, but there is the possibility that ice crystals can form in your ice cream which affects the texture. So it’s ideal to enjoy it within 2 weeks.
I like it with whipped cream and hot fudge and Oreos inside it was the best
Happy to hear you enjoyed the recipe!
I like that recipe I used to make it at home with my parents it was the best dessert ever
Awesome!