
Classic homemade chocolate pudding made from scratch with simple ingredients. A perfect make-ahead dessert.
This chocolate pudding recipe is so simple and quick. You’ll never want the boxed mixes again once you taste the homemade version.
It also makes a wonderful make-ahead option because these puddings keep in the fridge for up to a week.
Of course if you love easy chocolate desserts then also check out our chocolate tart, chocolate tiffin and our homemade hot chocolate.
What You’ll Need To Make It:
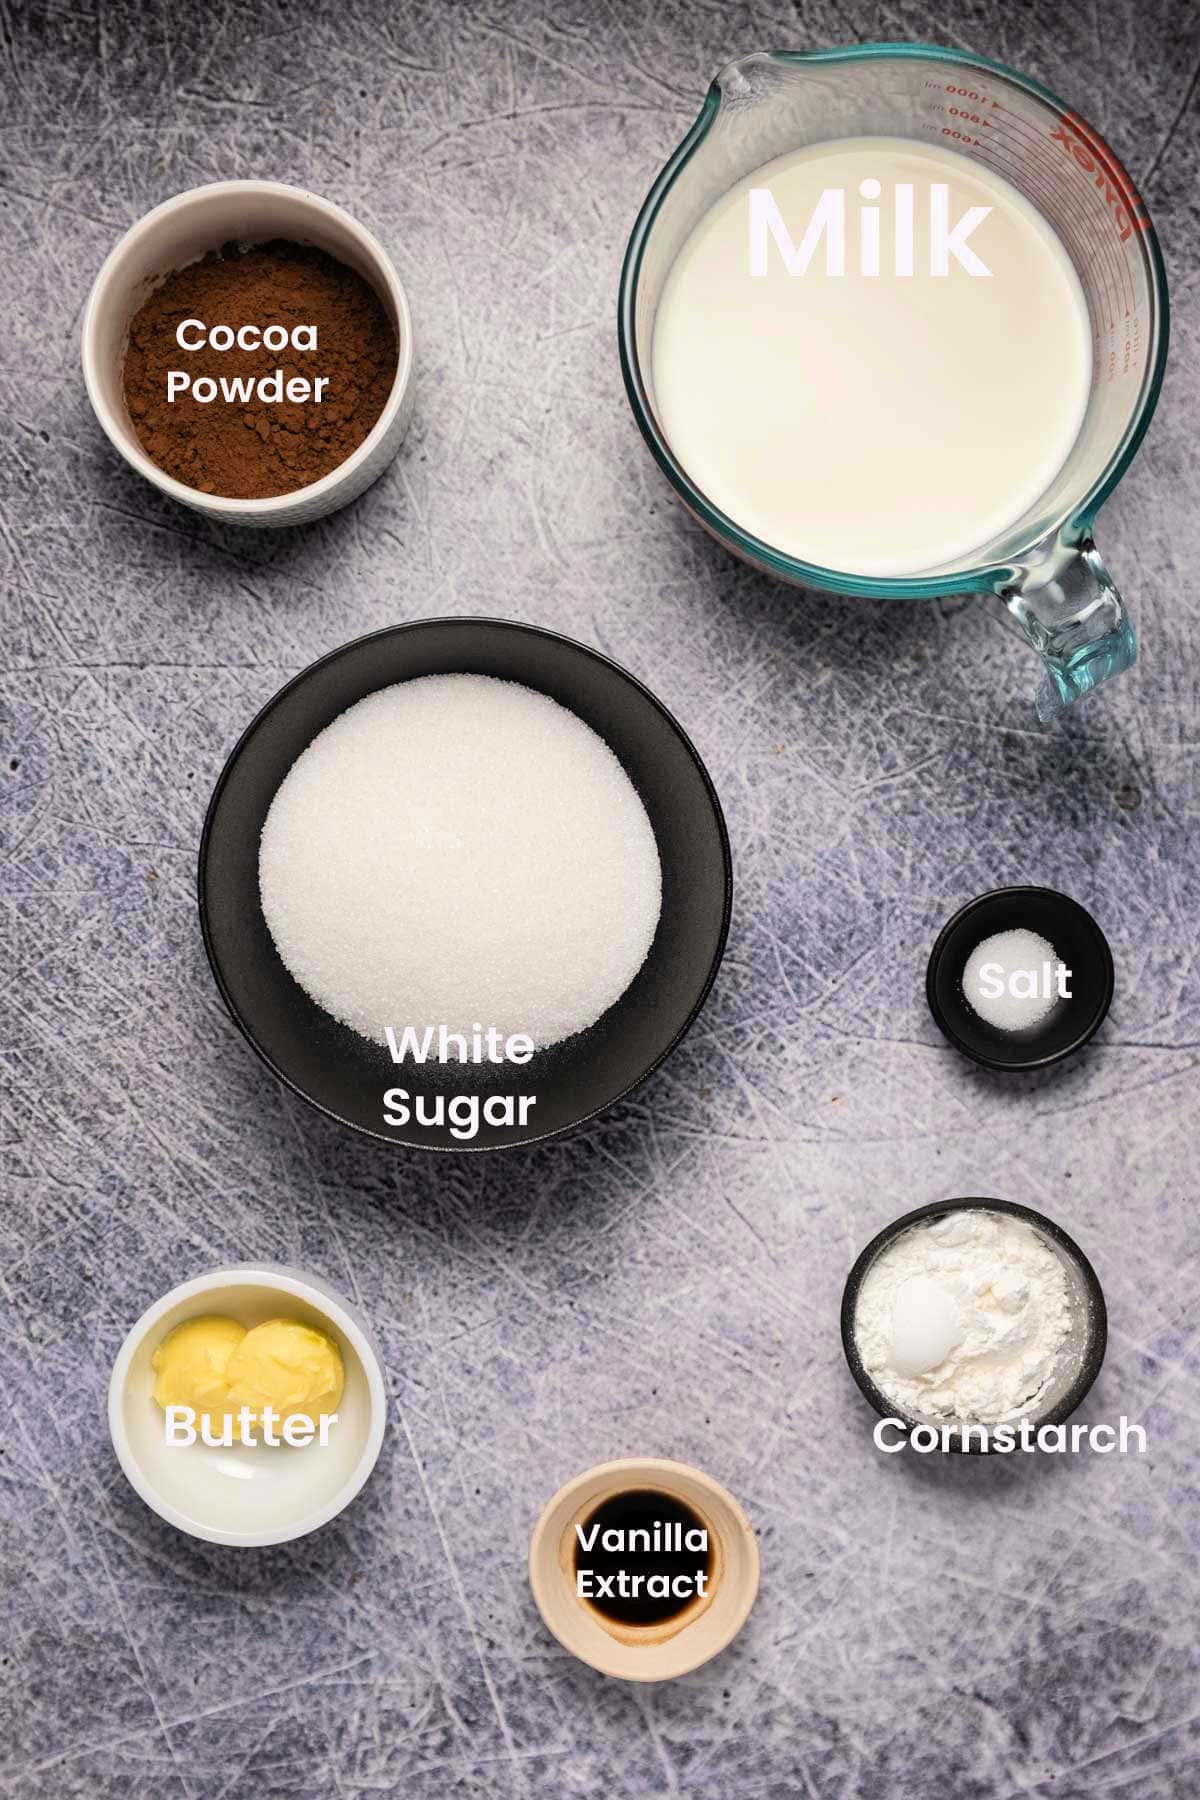
Ingredient Notes
- Milk – whole milk (full cream) works best so that the pudding is thick and creamy and sets well. However, this recipe also works well with soy milk if you want a non-dairy option.
- Cocoa powder – should be natural and unsweetened, something like Hershey’s.
- Butter – this can be salted or unsalted, it doesn’t make a difference to this recipe. For a non-dairy option you can use a vegan butter like Earth Balance.
How To Make Chocolate Pudding
Full instructions and measurements can always be found in the recipe card at the bottom of the post. This is a summary of the process to go along with the process photos.
- Add sugar, cocoa powder, cornstarch and salt to a saucepan and mix them together.

- Add milk slowly and whisk it in. Heat to medium heat and whisk while it heats.
- Bring it to the boil and let it boil for a full minute (whisking all the time) until it thickens.

- Remove from the heat and add in butter and vanilla extract and whisk in.

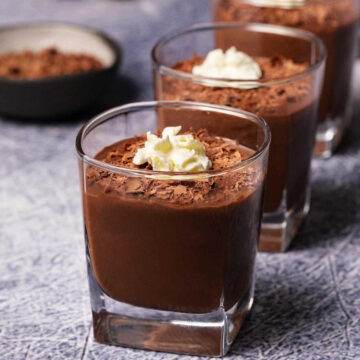
- Pour out into small glasses or ramekins and smooth down.
- To prevent it from forming a skin on top of the puddings, top with plastic wrap so that the plastic wrap is pressed directly on the surface of the pudding.
- Place into the fridge to set (2-3 hours).

Recipe Tips
Medium heat – if the heat is too high then it can burn before it’s thickened. So don’t rush it, medium heat is fine.
Whisk all the time – keep whisking as it heats and when it comes to the boil, keep whisking until it’s thickened. This is how you keep the pudding smooth and free of lumps.
Boil for 1 minute – Bring to the boil and boil for a minimum of one full minute until thickened. The pudding should have noticeably thickened before you remove it from the heat.
Plastic wrap – placing plastic wrap over the top of the glasses and directly touching the surface of the pudding stops the pudding from forming a skin on top. This is optional though as a skin on top is not a big issue.

Recipe Q&A
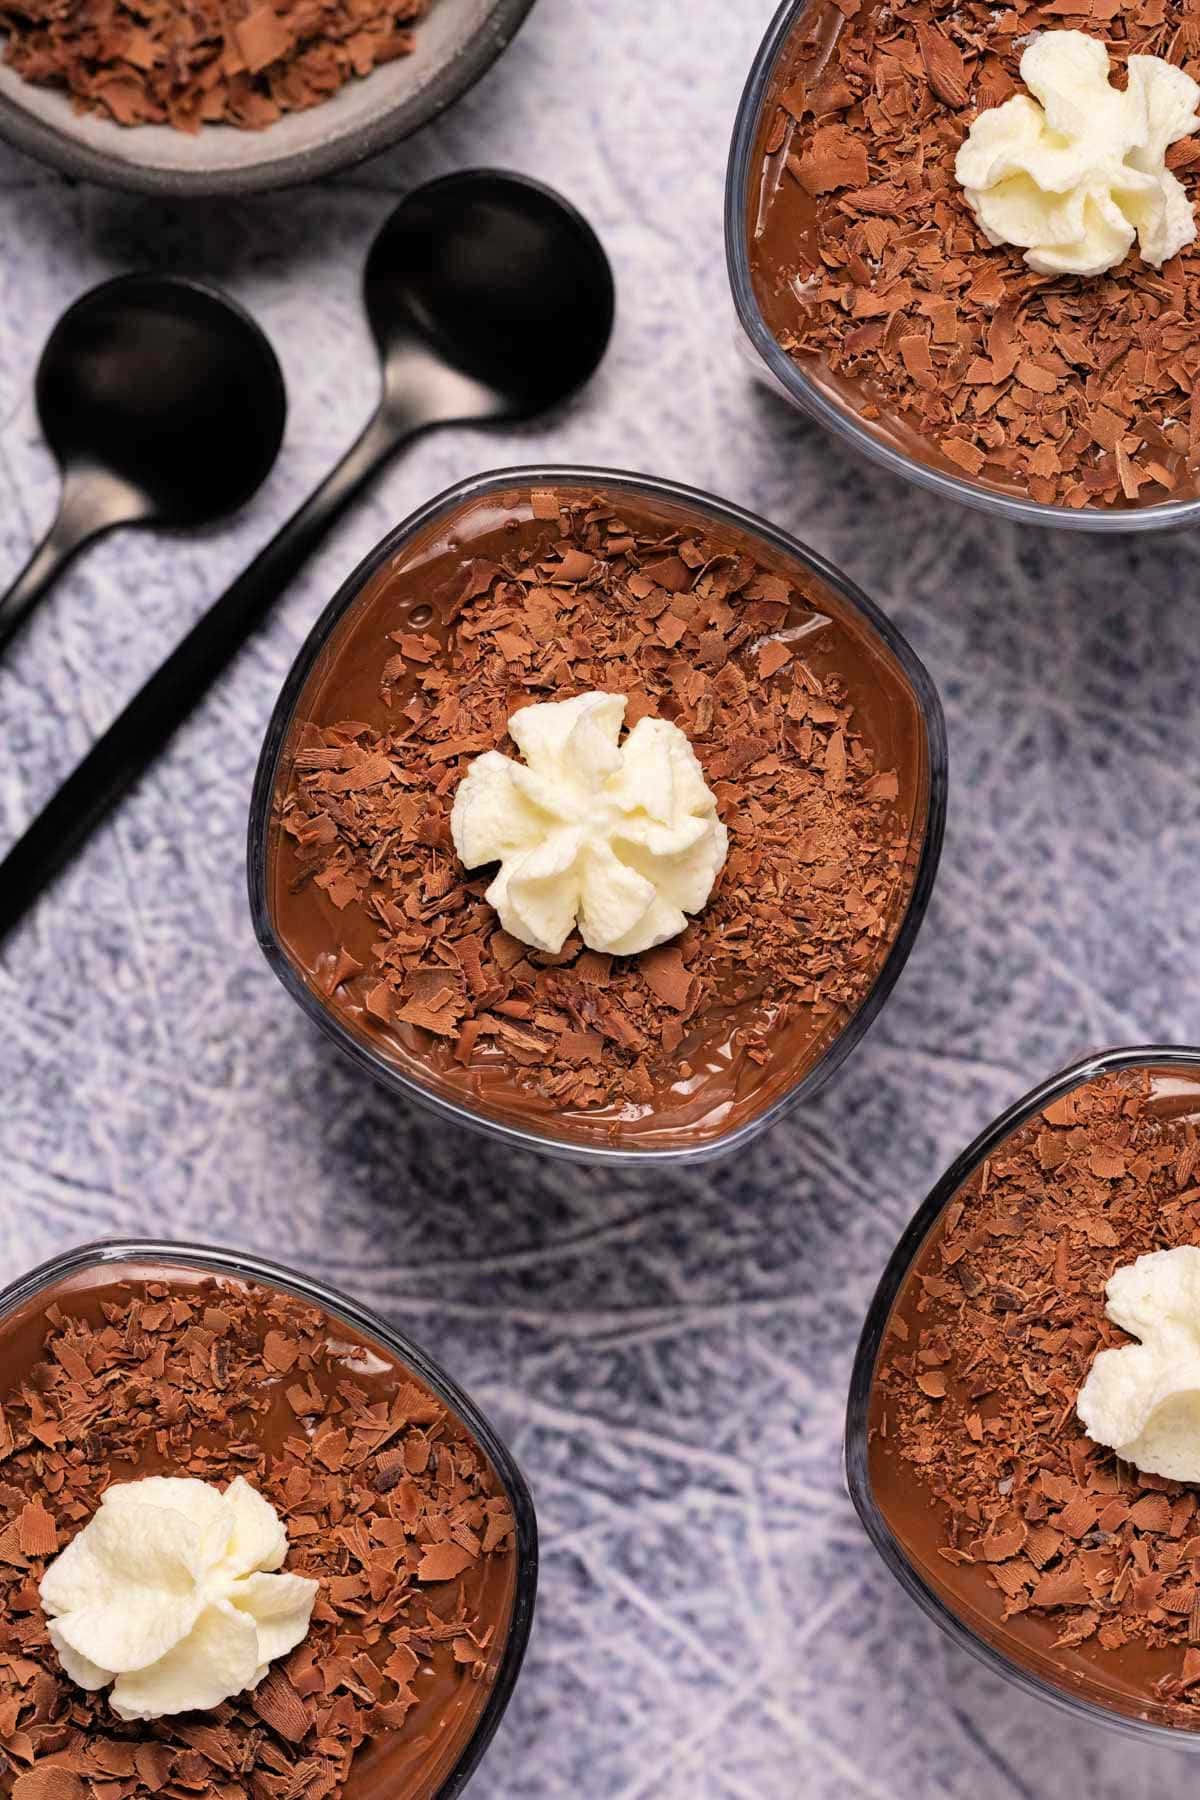
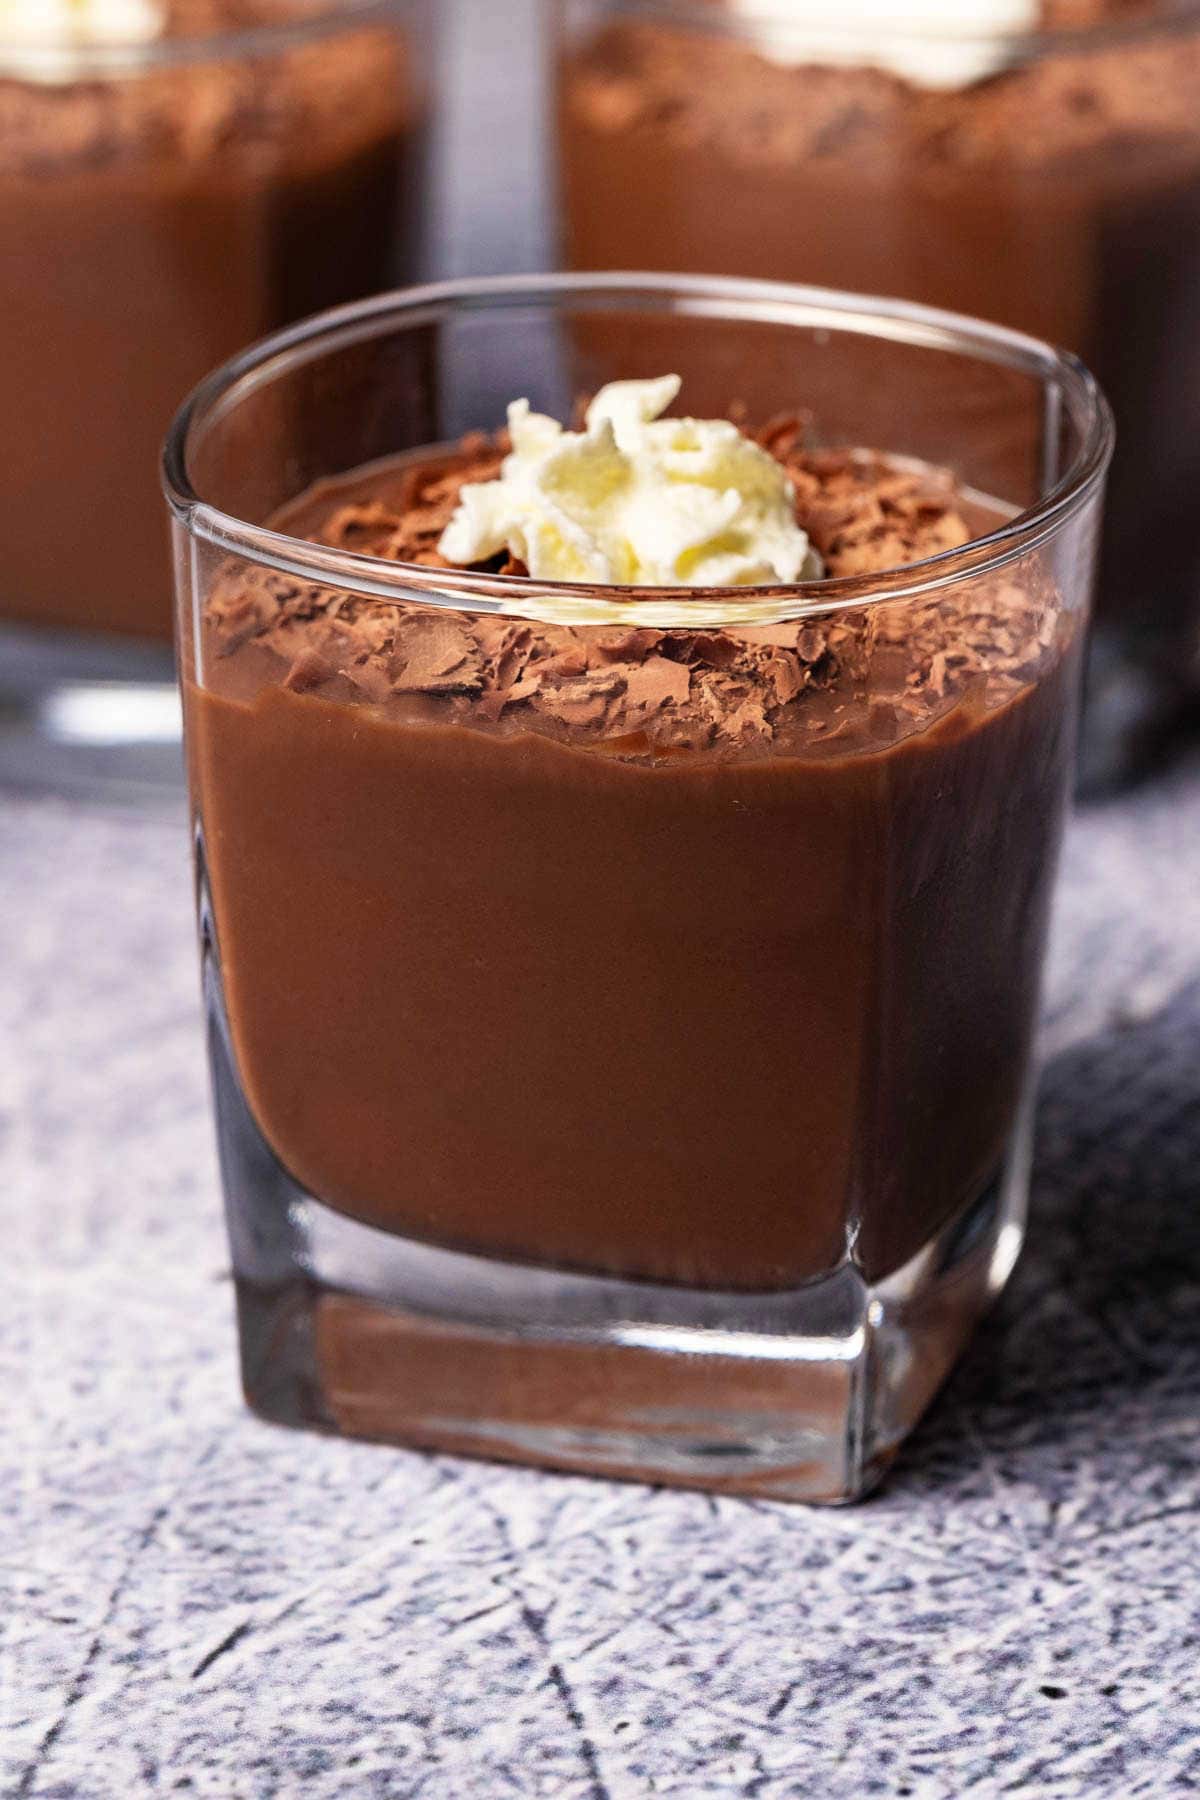
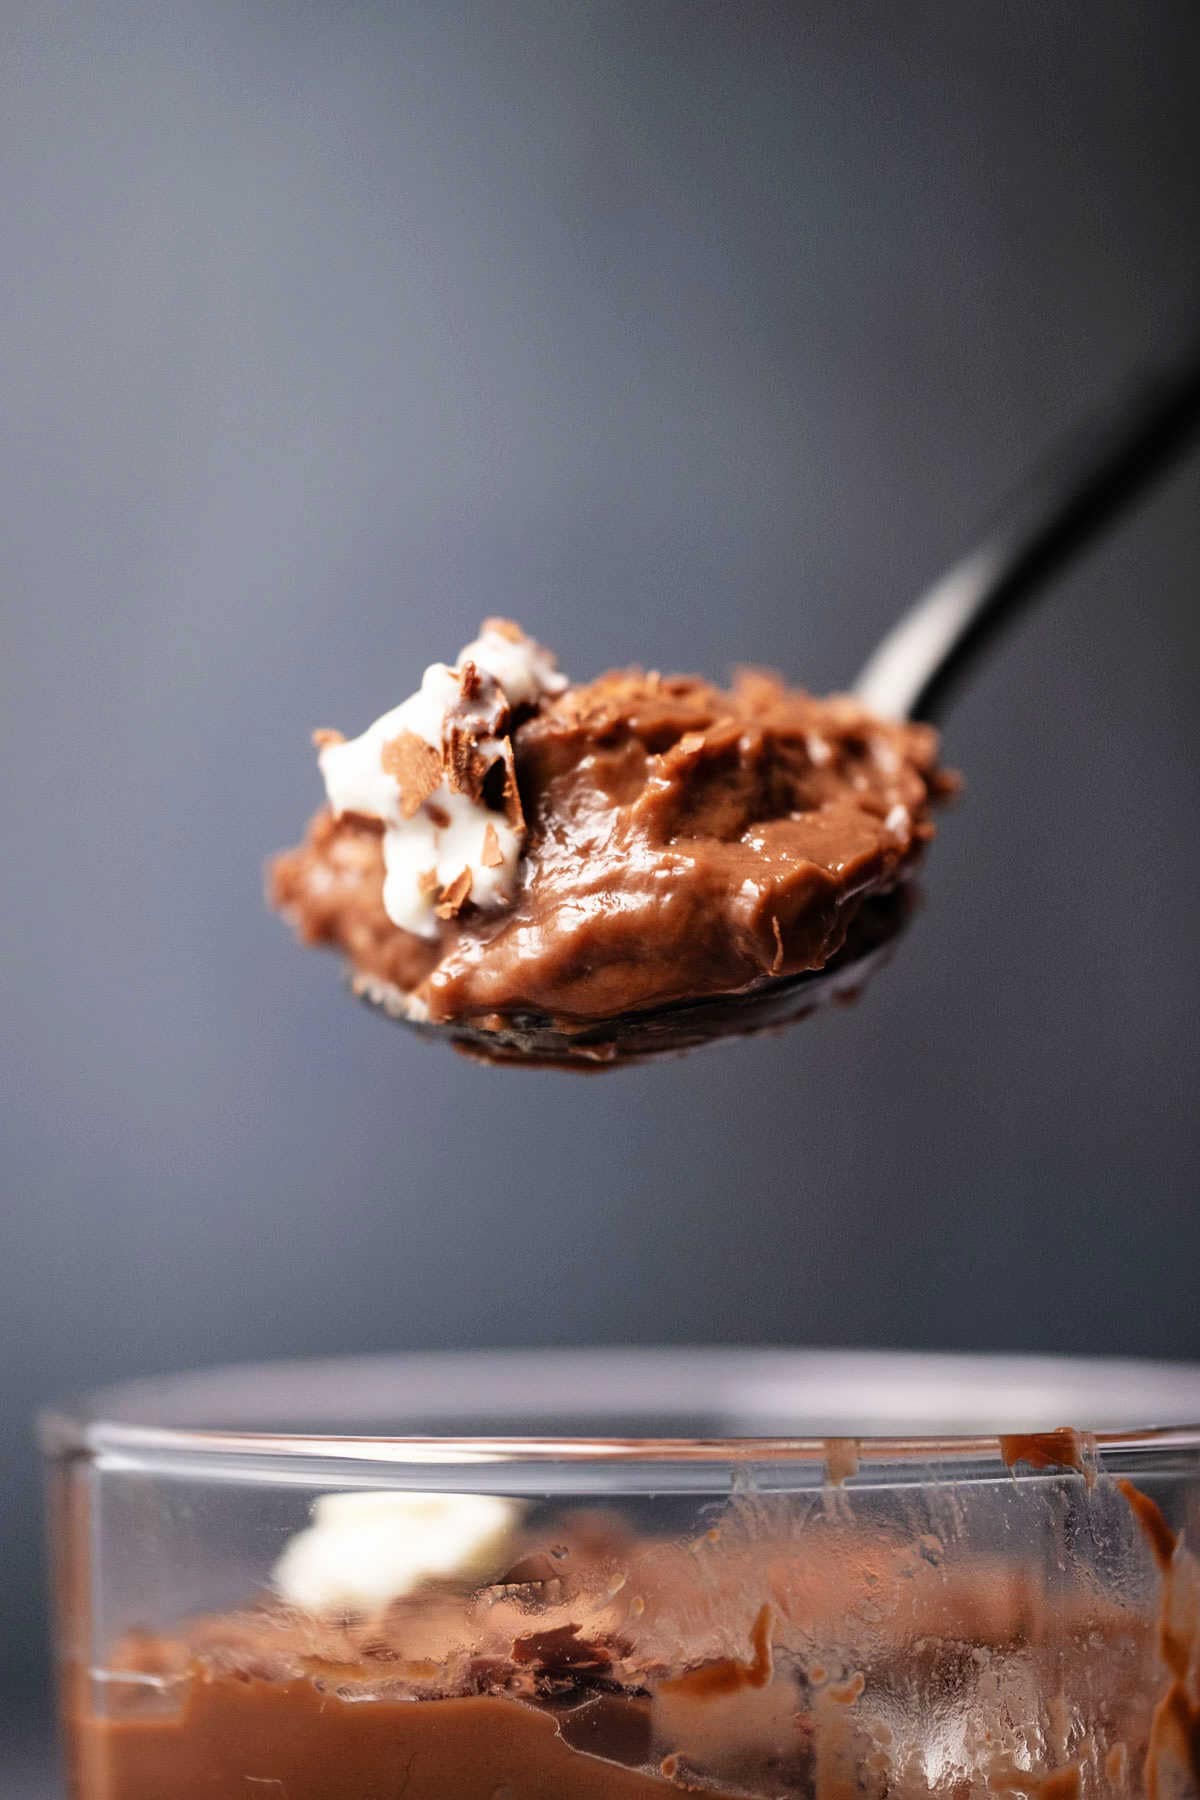
You can serve it plain or top it with whipped cream and chocolate shavings.
Keep it stored in the fridge and enjoy within 7 days.
It’s not ideal for freezing as the texture can change when thawed.

More Chocolate Desserts
- Double Chocolate Cookies
- Chocolate Cake
- Chocolate Cupcakes
- Fudgy Brownies
- Chocolate Peanut Butter Cookies
- Small Chocolate Cake
Did you make this recipe? Be sure to leave a comment and rating below.
Chocolate Pudding
Ingredients
- ¾ cup White Granulated Sugar
- ⅓ cup Cocoa Powder Unsweetened
- 3 Tbsp Cornstarch
- ¼ tsp Salt
- 2 and ¼ cups Whole Milk
- 2 Tbsp Butter
- 1 tsp Vanilla Extract
For Serving (Optional)
- Whipped Cream
- Chocolate Shavings
Instructions
- Add sugar, cocoa powder, cornstarch and salt to a saucepan and mix them together.
- Add milk slowly and whisk it in. Heat to medium heat and whisk while it heats.
- Bring it to the boil and let it boil for a full minute (whisking all the time) until it thickens.
- Remove from the heat and add in butter and vanilla extract and whisk in.
- Pour out into small glasses or ramekins and smooth down.
- To prevent it from forming a skin on top of the puddings, top with plastic wrap so that the plastic wrap is pressed directly on the surface of the pudding.
- Place into the fridge to set (2-3 hours).
- Serve with whipped cream and chocolate shavings (optional).
Video
Notes
- Medium heat – if the heat is too high then it can burn before it’s thickened. So don’t rush it, medium heat is fine.
- Whisk all the time – keep whisking as it heats and when it comes to the boil, keep whisking until it’s thickened. This is how you keep the pudding smooth and free of lumps.
- Boil for 1 minute – Bring to the boil and boil for a minimum of one full minute until thickened. The pudding should have noticeably thickened before you remove it from the heat.
- Plastic wrap – placing plastic wrap over the top of the glasses and directly touching the surface of the pudding stops the pudding from forming a skin on top. This is optional though as a skin on top is not a big issue.
- Keep it stored in the fridge and enjoy within 7 days. It’s not ideal for freezing as the texture can change when thawed.
- Nutritional information is for pudding only and excludes the optional whipped cream and chocolate shavings.
Leave a Reply