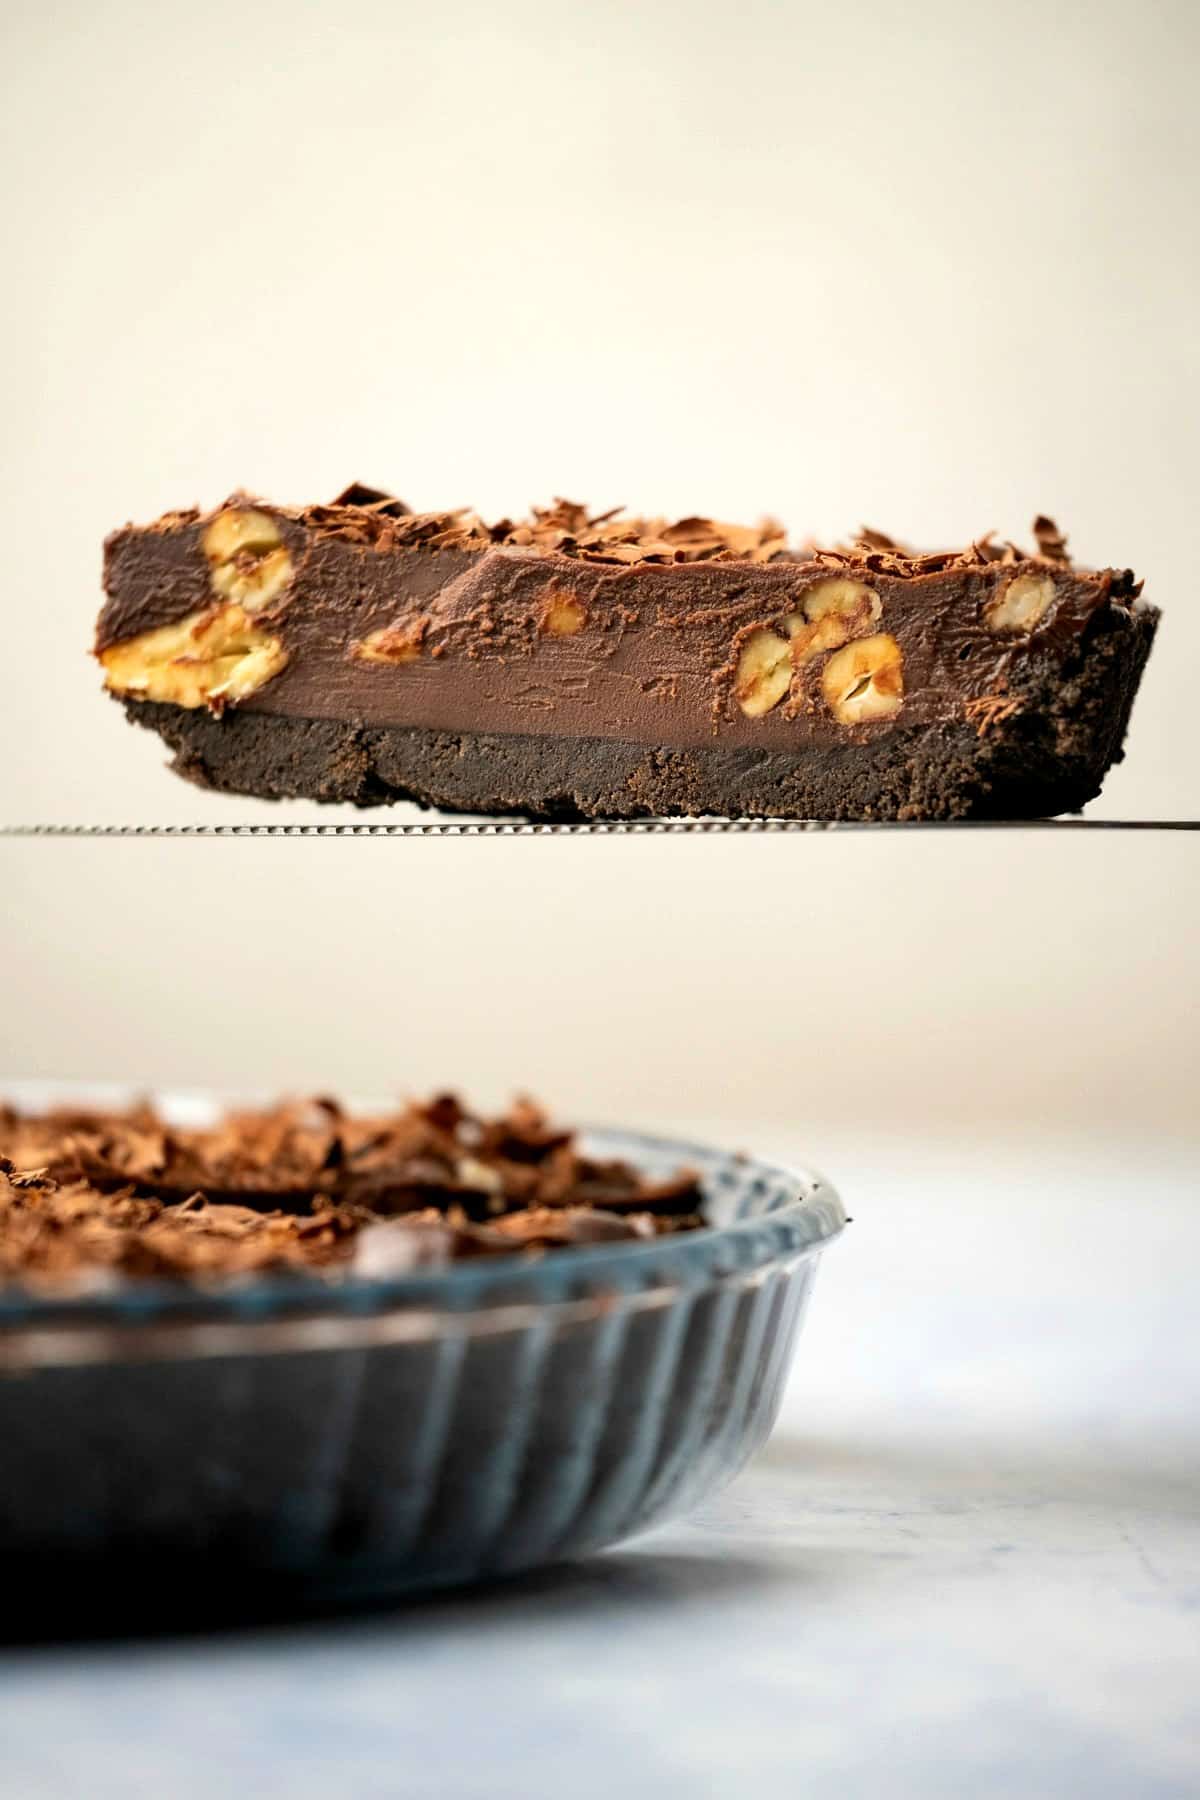
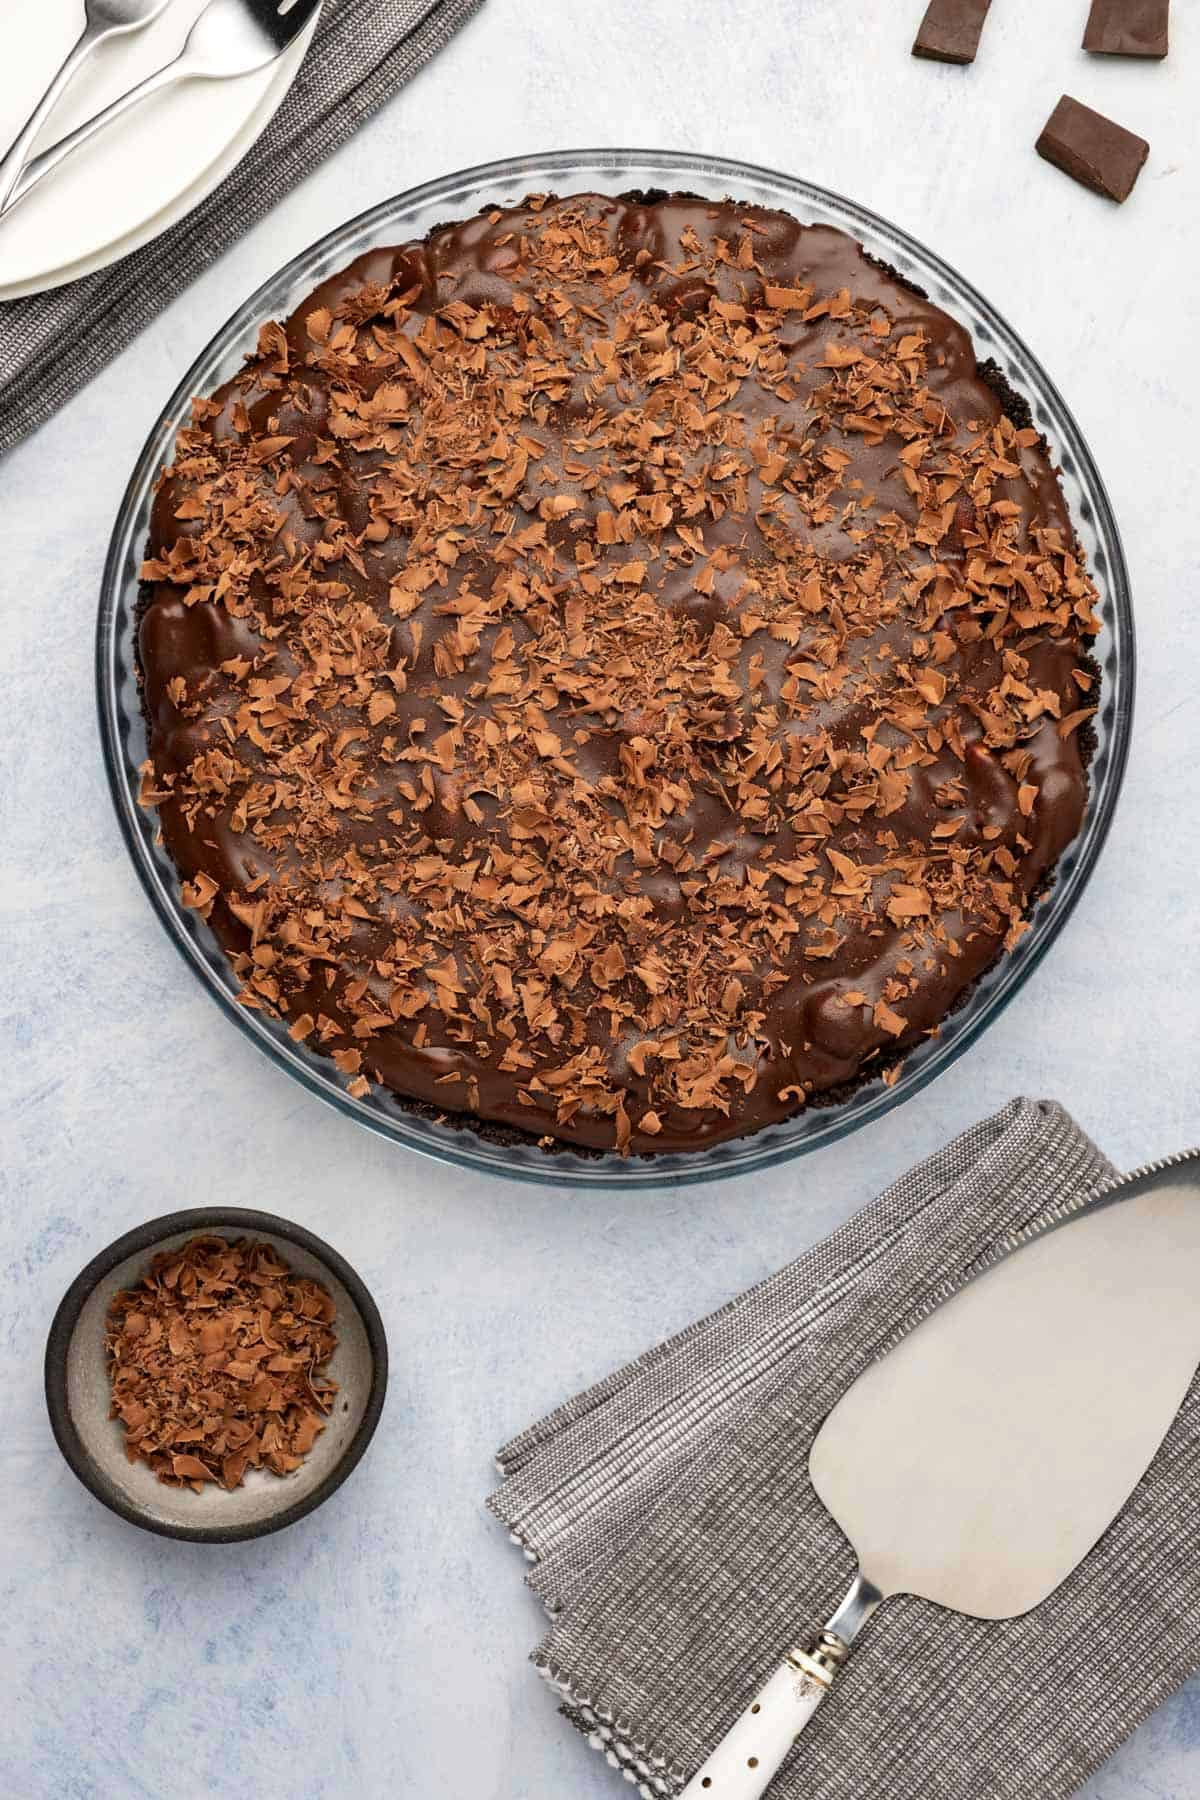
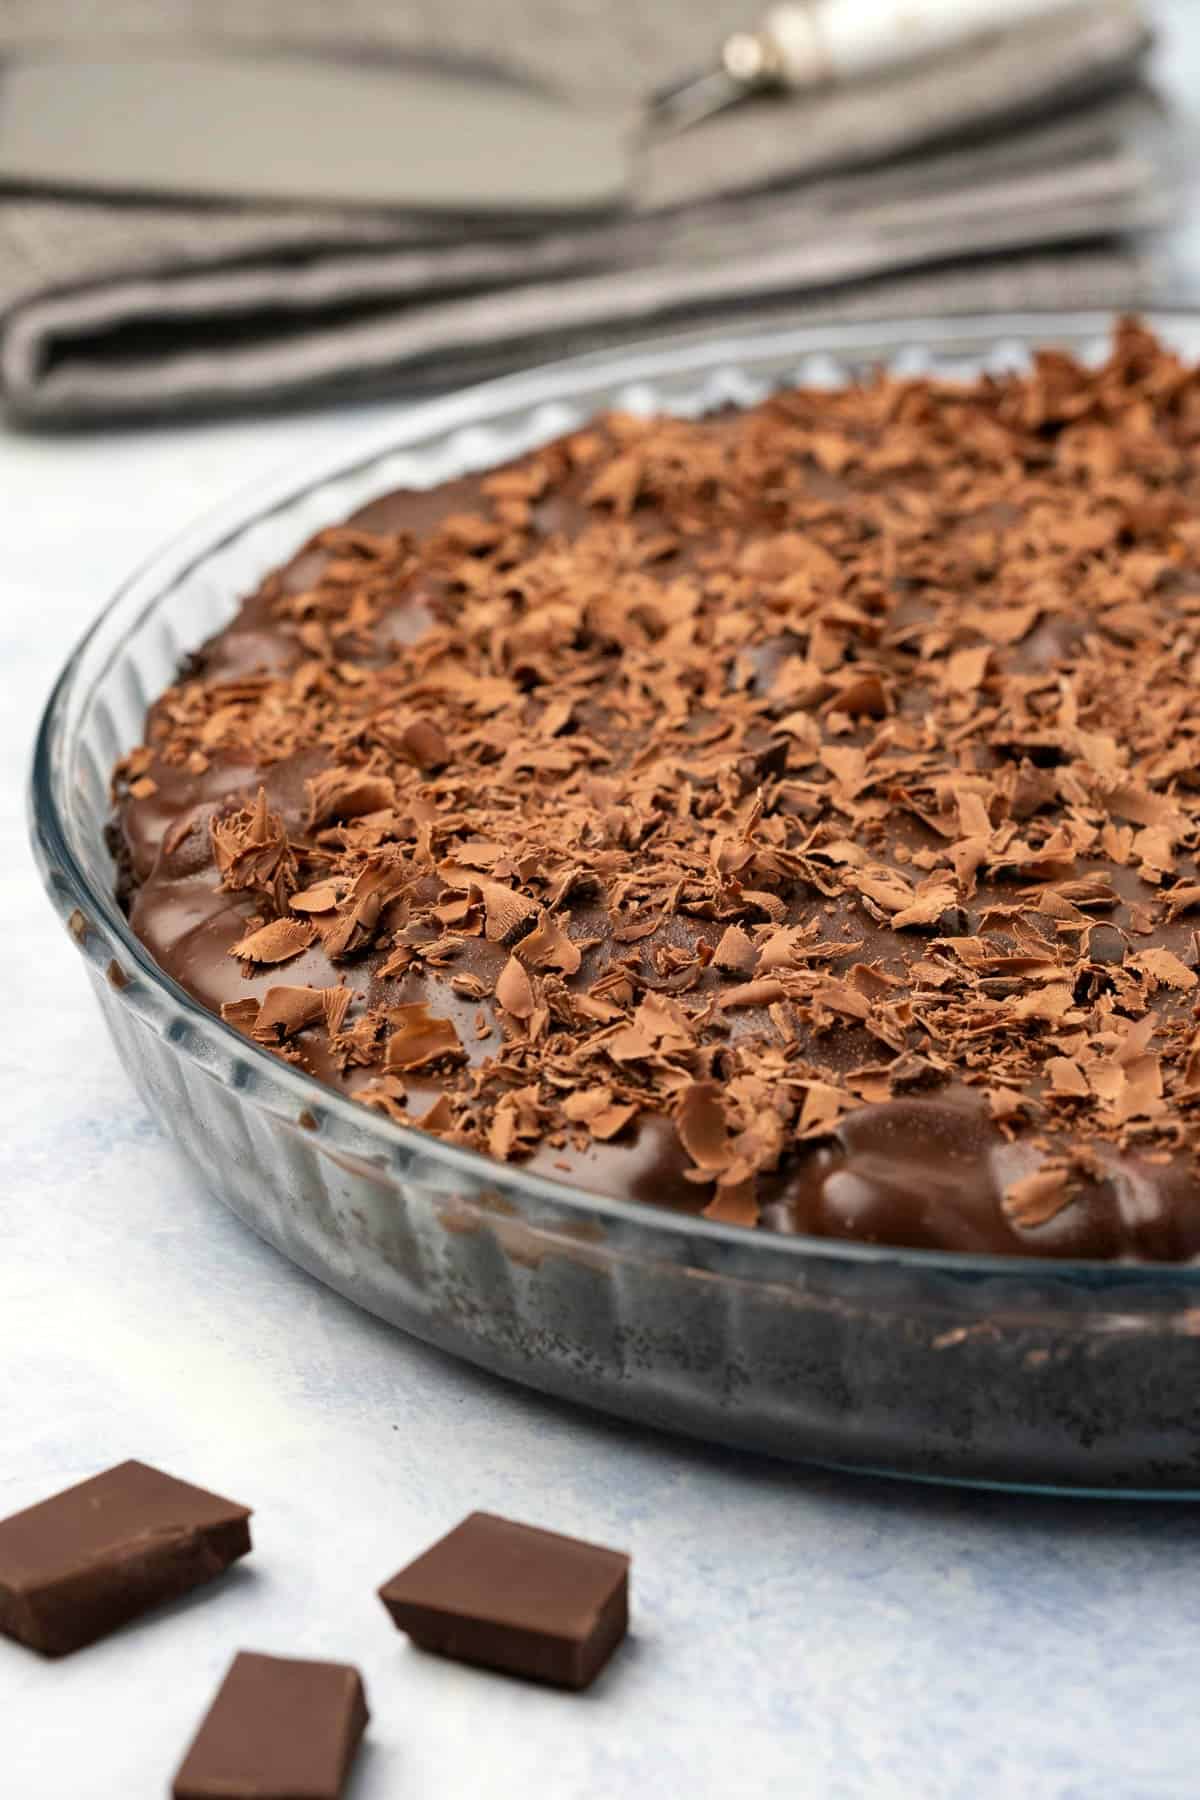
This delicious no-bake chocolate tart is made with an oreo cookie crust and a rich chocolate ganache filling. Totally divine!
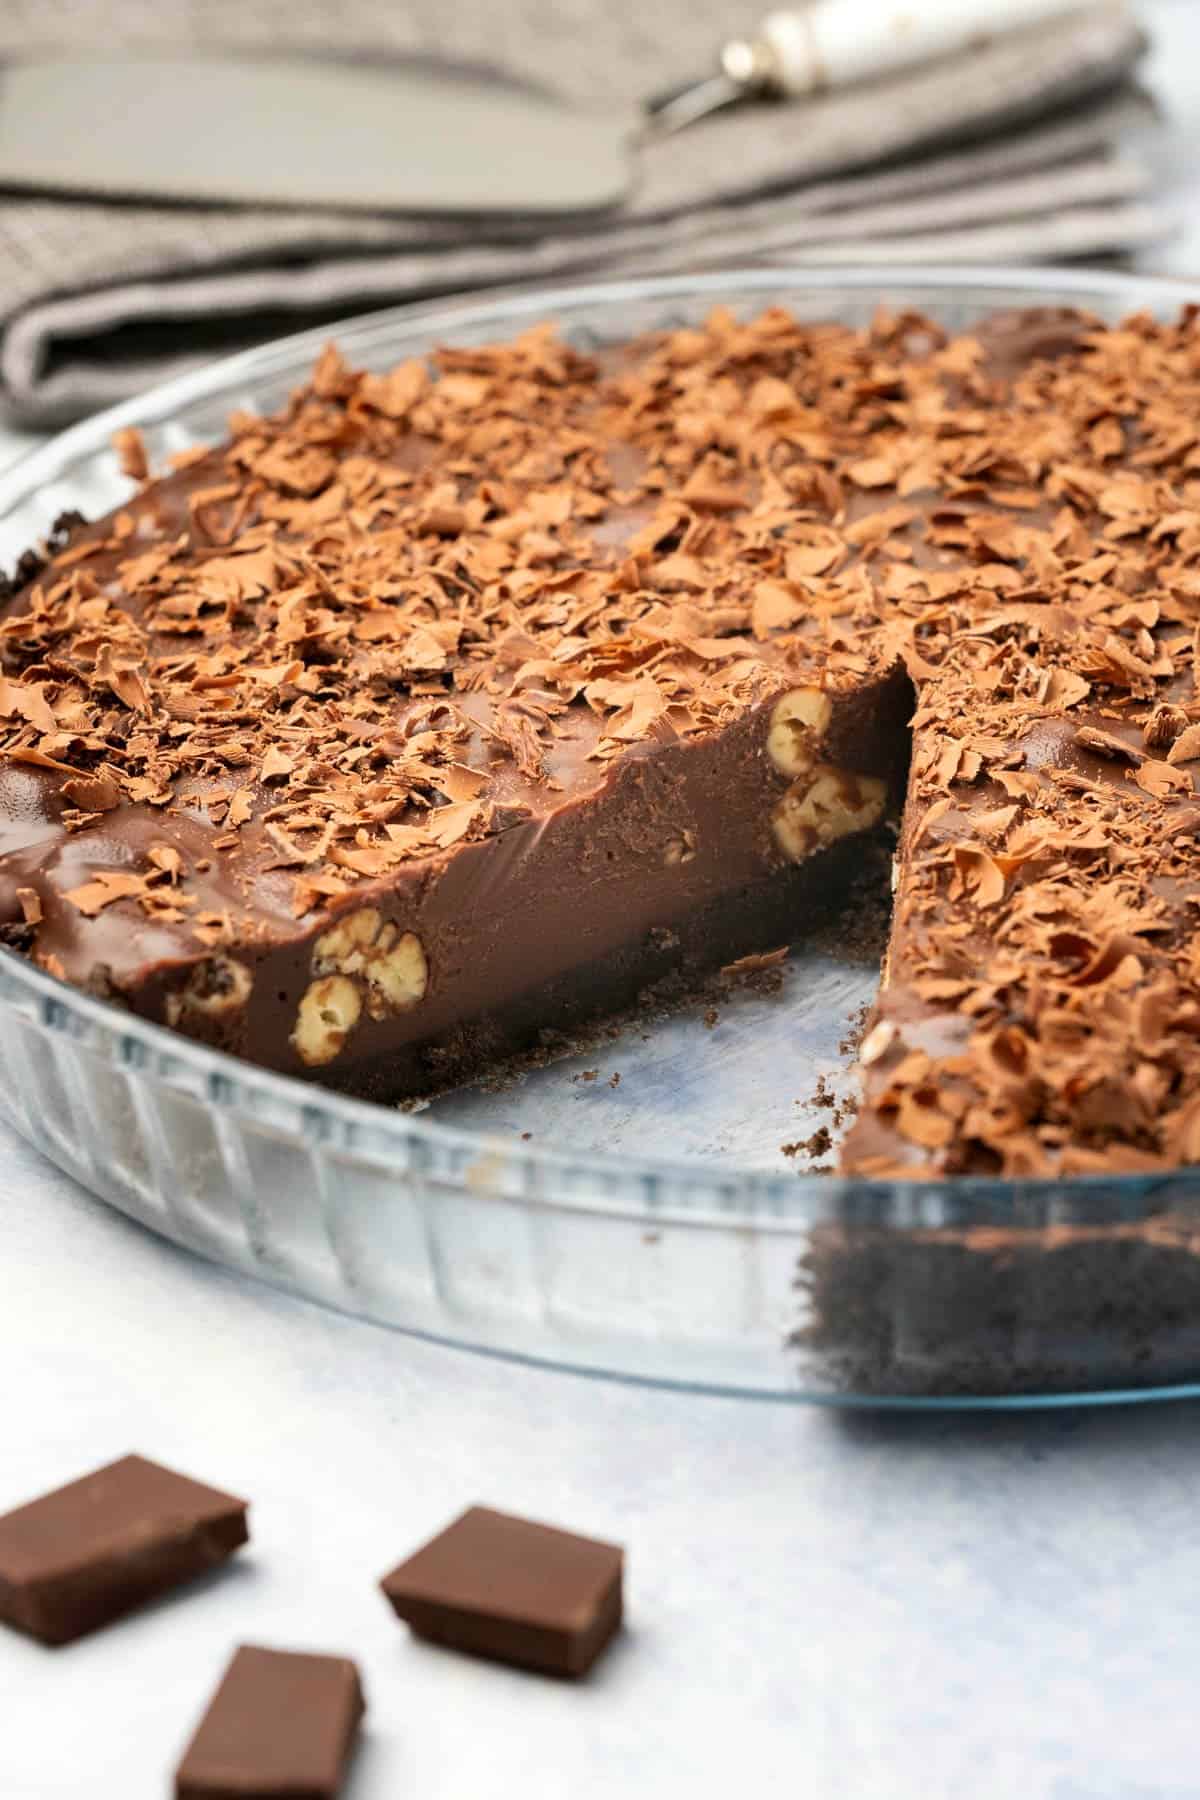
This chocolate tart is simply wonderful. Not just because of how it tastes (and it tastes amazing) but because of how easy it is to make!
The hardest thing about making this tart is having the patience to wait for it to set in the fridge.
This is totally perfect for chocolate lovers everywhere and if you happen to know someone like this, well Valentine’s Day is just around the corner! Nudge nudge wink wink!
Also check out our totally divine chocolate cake which is also chocolate heaven.
And for more no-bake desserts check out our fabulous biscoff cheesecake.
How To Make Chocolate Tart
Full instructions and measurements can always be found in the recipe card at the bottom of the post. This is a summary of the process to go along with the process photos.
The Crust:
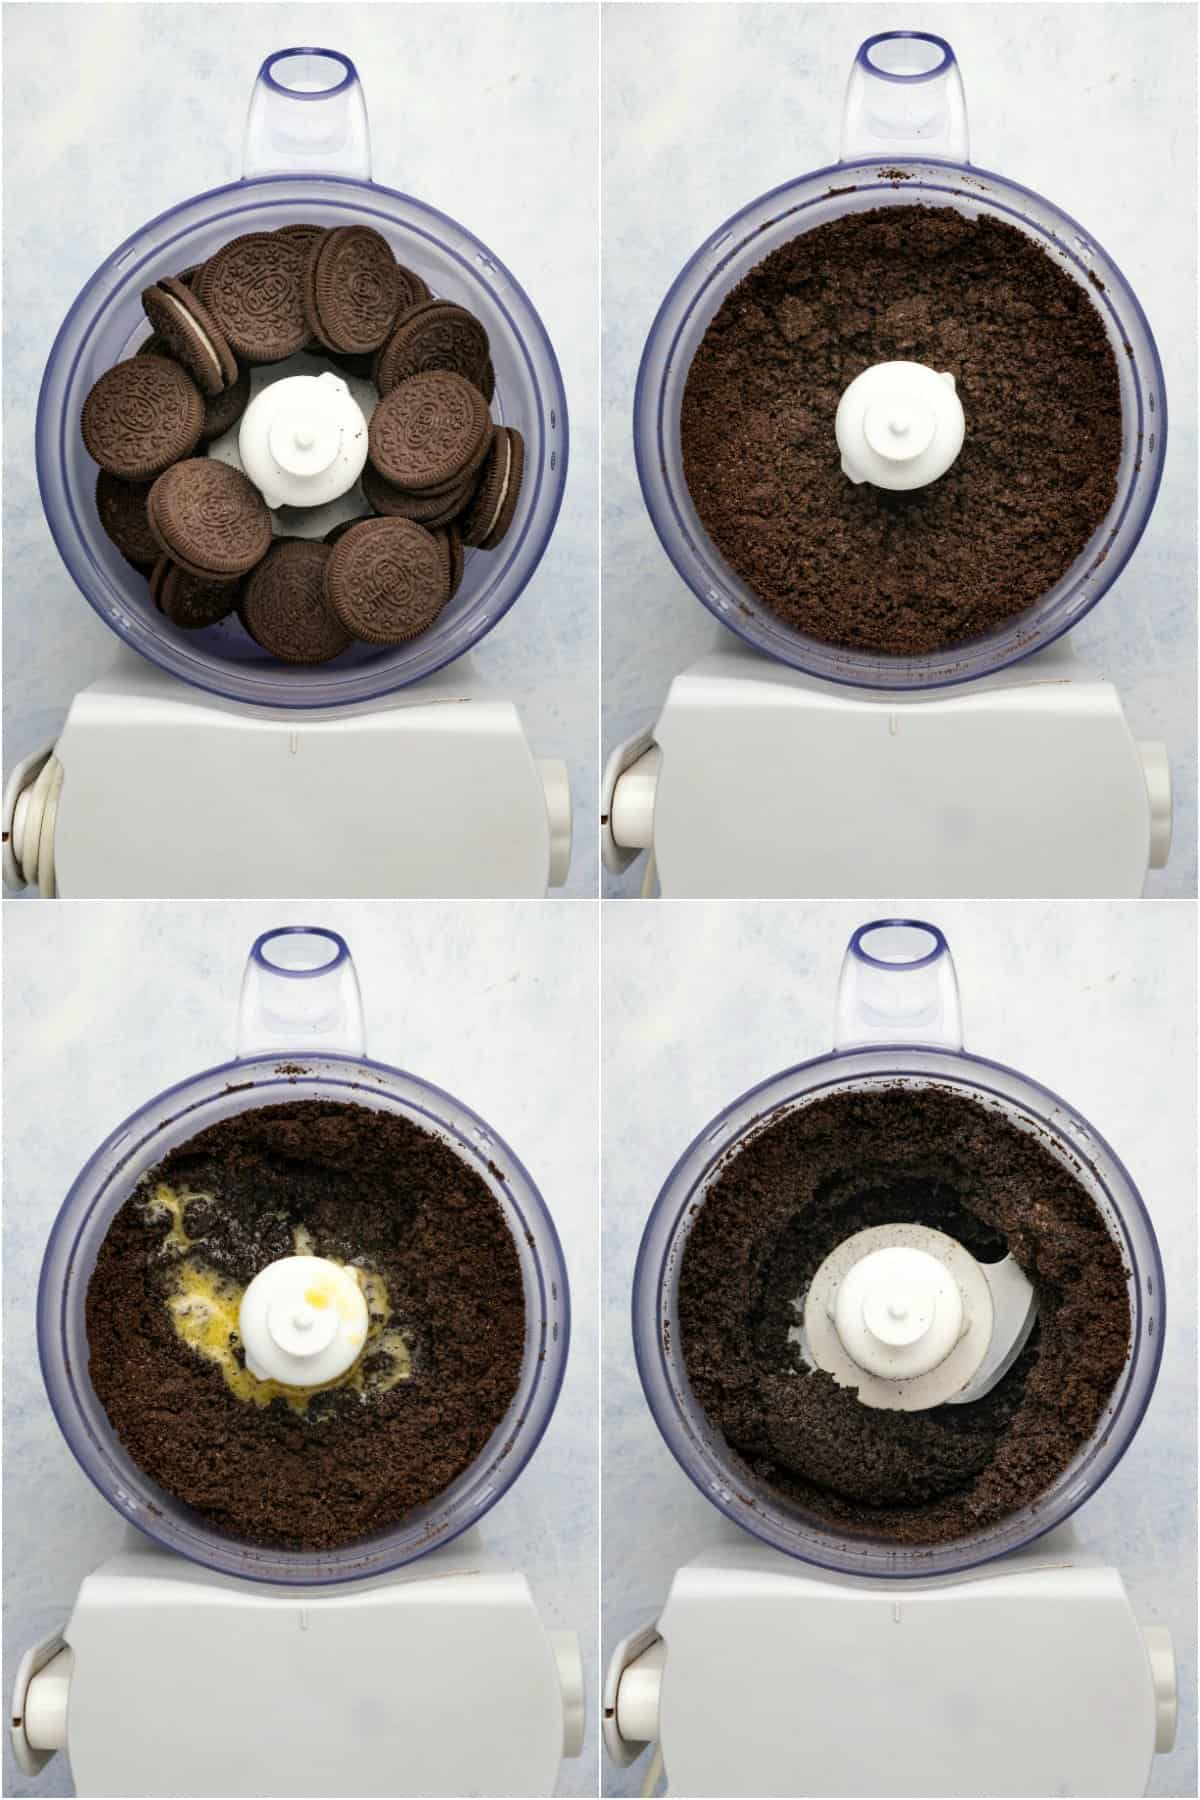
- Add whole oreo cookies to your food processor – there’s no need to remove the white fillings first – and process into crumbs. Then add melted butter and process again until well combined.
- Transfer this to a 9-inch pie dish (sprayed with non-stick spray) and pat down firmly with the back of a spoon. Place into the fridge to set while you work on the filling.
The Filling:
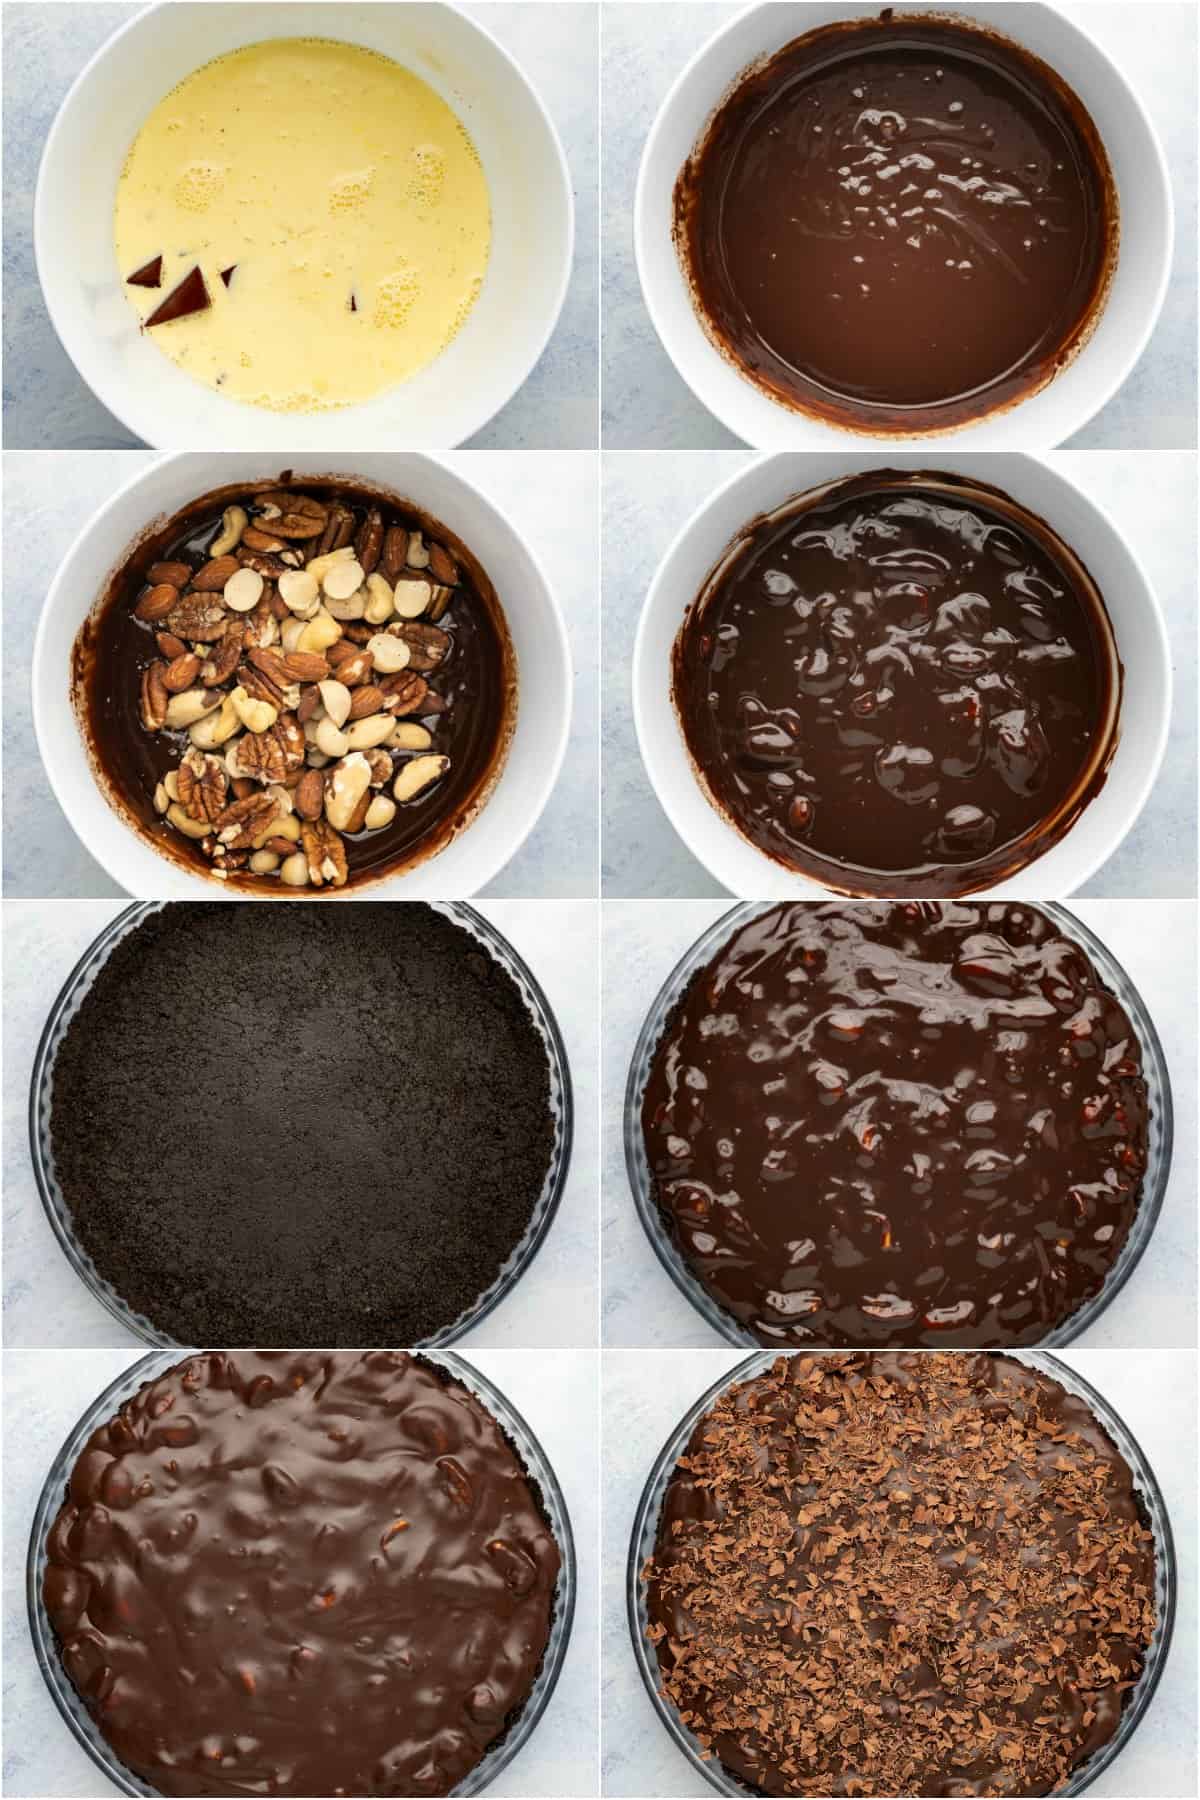
- Break up chocolate and place it into a bowl. Heat up heavy cream to a simmer (you can do this in the microwave or on the stovetop) and then pour the cream over the chocolate making sure the chocolate is completely covered and let it sit for a minute.
- Whisk it up with a hand whisk until you have a thick chocolate sauce.
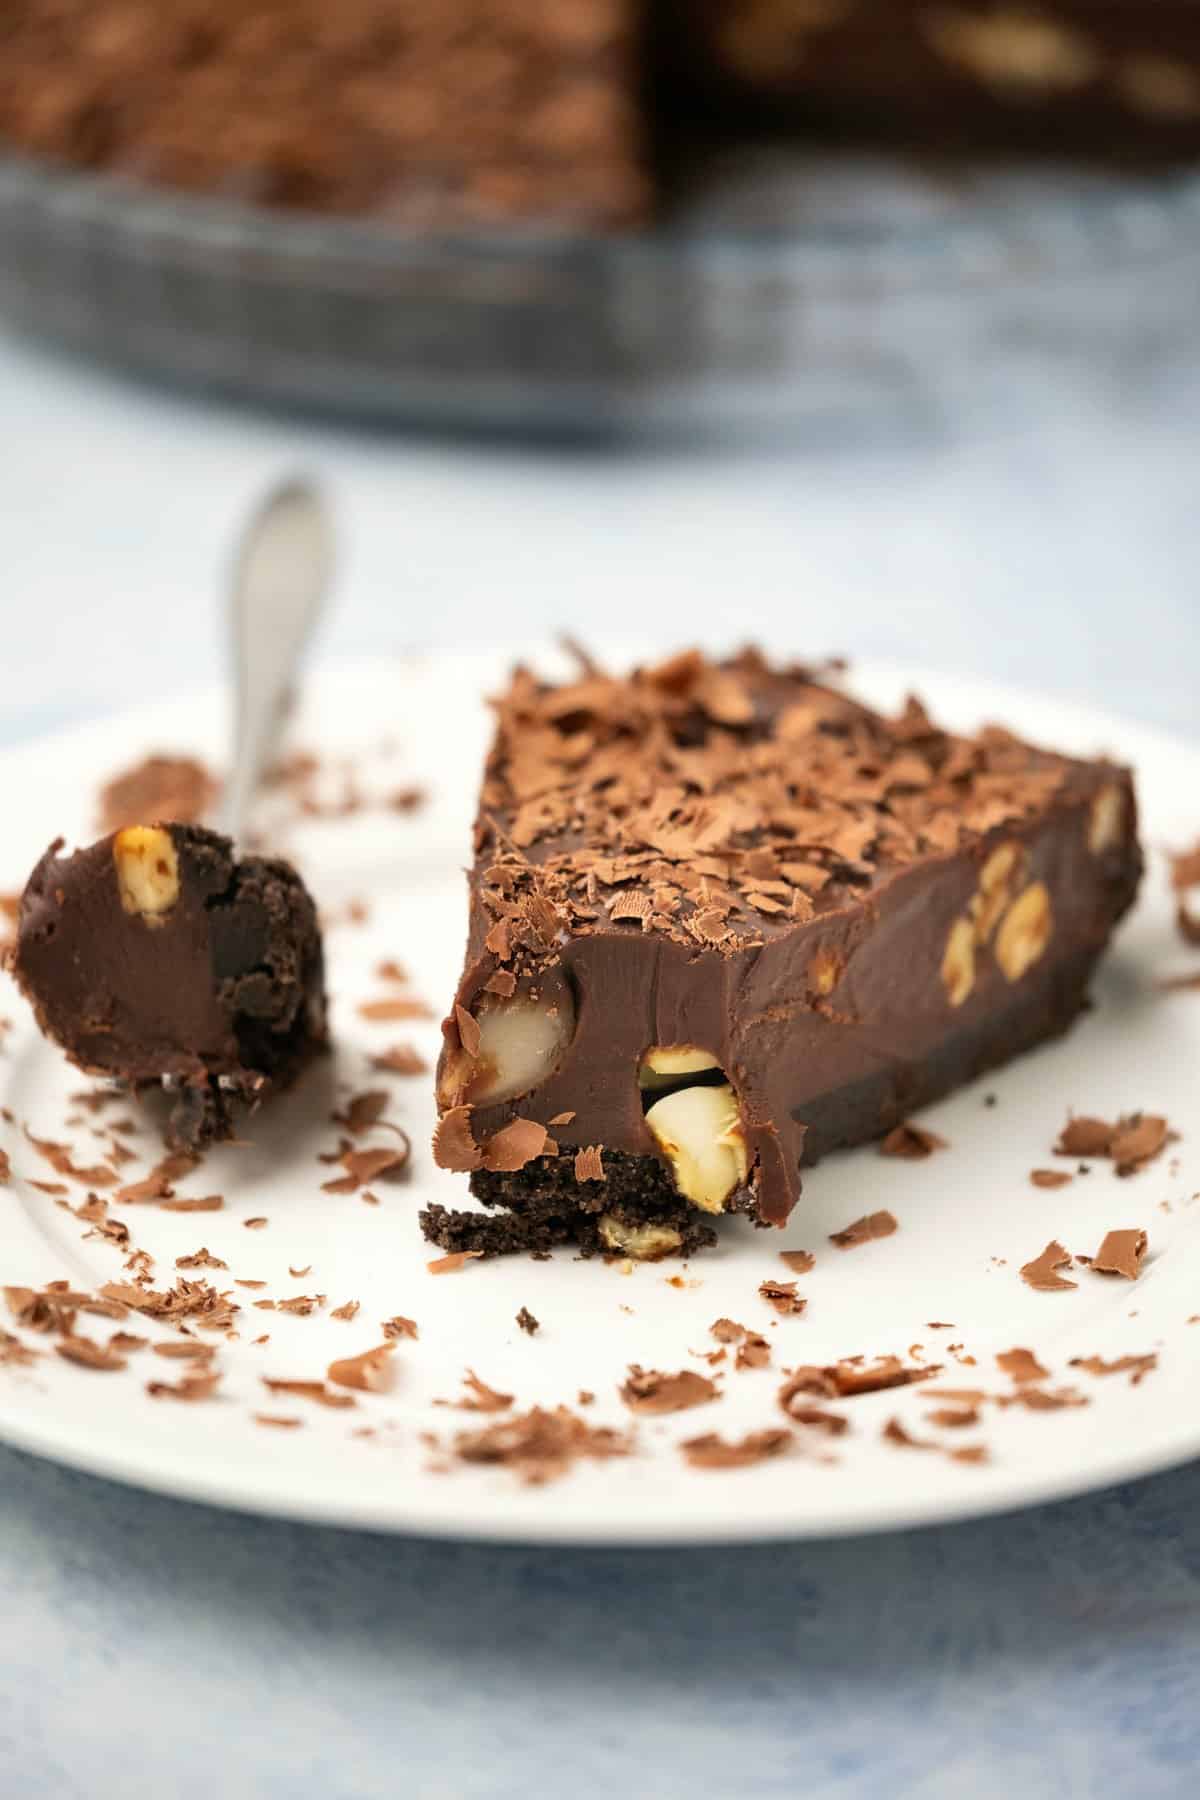
- Add in some mixed salted nuts and fold into the chocolate. Pour this out over your oreo pie crust and smooth down. Refrigerate for several hours until completely firm and set.
- Decorate with some grated chocolate shavings and serve!
Recipe Tips
Don’t let your cream come to a boil. It just needs to be heated to the point that it’s just beginning to simmer a little. You need it to be very hot so that it melts the chocolate but it should never boil.
You can either heat the cream in the microwave or on the stovetop. If you’re using the microwave then place the cream into a microwave safe dish or measuring jug and heat it in intervals keeping a close eye on it so that it doesn’t boil. If you’re heating it on the stovetop then give it a stir regularly and keep a close watch on it. Remove it the moment it reaches a simmer.
Roasted Salted Nuts: The saltiness of the nuts creates the perfect contrast to the sweetness of this tart. We used mixed nuts but any roasted salted nut will do fine, such as pecans, macadamias, almonds, peanuts etc.
Make It Dairy-Free
It’s very possible to make this chocolate tart dairy-free, you simply have to use a vegan butter product like Earth Balance or a dairy free margarine for the oreo cookie crust.
Use canned coconut cream or full fat canned coconut milk for the filling – coconut cream is better than coconut milk but as long as it’s full fat, both will work – and of course use a dairy free dark chocolate. Lindt has some dark chocolate that is dairy-free and works great in this dessert.
Make It Nut-Free
You can make this tart nut-free by leaving the nuts out altogether. Alternatively you can replace the nuts with something else like dried fruit.
Storing and Freezing
Keep it covered in the fridge where it will last for around 5 days. It’s ideal to keep this tart in the fridge as it will get a little soft at room temperature.
It is also freezer friendly if you want to freeze it. Let it thaw in the fridge and then serve as usual.

More Delicious Chocolate Recipes!
- Double Chocolate Cookies
- The Best Chocolate Cupcakes
- Homemade Hot Chocolate
- Chocolate Tiffin
- Best Ever Fudgy Brownies
- Chocolate Pudding

Chocolate Tart
Ingredients
For The Crust:
- 28 Oreo Cookies *
- ⅓ cup Butter Lightly Salted, Melted
For the Filling:
- 12 ounces Chocolate (2 cups Chopped)
- 1 and ¼ cups Heavy Cream
- 1 and ½ cups Roasted Salted Mixed Nuts
For Decoration:
- Chocolate Shavings
Instructions
- Add the oreo cookies to your food processor and process into crumbs.
- Add the melted butter in with the cookie crumbs and process again until well combined.
- Transfer to a 9-inch pie dish (sprayed with non-stick spray) and press down firmly with the back of a spoon, working it up the sides a little bit. Place into the fridge to set while you work on the filling.
- Break up the chocolate and place it into a bowl.
- Heat the heavy cream to a simmer* and then pour the cream over the chocolate making sure the chocolate is completely covered. Let it sit for a minute.
- Whisk up the cream and chocolate with a hand whisk until you have a thick chocolate sauce.
- Add in the roasted salted mixed nuts and fold them into the chocolate.
- Pour out over your oreo pie crust and smooth down.
- Refrigerate for several hours or overnight until completely firm and set.
- Decorate with some grated chocolate shavings (optional) and serve.
Video
Notes
- There’s no need to remove the white fillings from the oreo cookies first, you just process the cookies whole.
- You can heat the cream to a simmer either in the microwave or on the stovetop. If you’re heating in the microwave then place the cream into a microwave safe dish or measuring jug and heat in intervals until very hot. If you’re heating on the stovetop then stir occasionally and the moment it reaches a simmer, remove from the heat.
- Make It Dairy-Free: You can make this tart dairy-free if you use a dairy-free butter like Earth Balance or a dairy free margarine. Canned coconut cream or canned full fat coconut milk (coconut cream works better) can be used in place of heavy cream and made the exact same way. Then just use a dairy-free dark chocolate.
- Make It Nut-Free: You can leave out the nuts altogether in this tart if you want to make it nut free or substitute something else like dried fruit instead.
- Keep the tart in the fridge where it will last for around 5 days. It is also freezer friendly. It will tend to get too soft if stored at room temperature so fridge is best.
- Prep time does not include the several hours that the tart needs to chill in the fridge.



This is amazing and I can’t believe how easy it is! I will definitely be making this regularly from now on. It’s a keeper.
I know it is SO easy! So glad you liked it! xo